It took a good long while, but I finally got tired of seeing the front door for the bot open all the time and decided to make a latch for it. There were some latch designs on Thingiverse, but nothing really close enough to what I had in mind to use as a starting place even, so I just started from scratch in OpenSCAD.
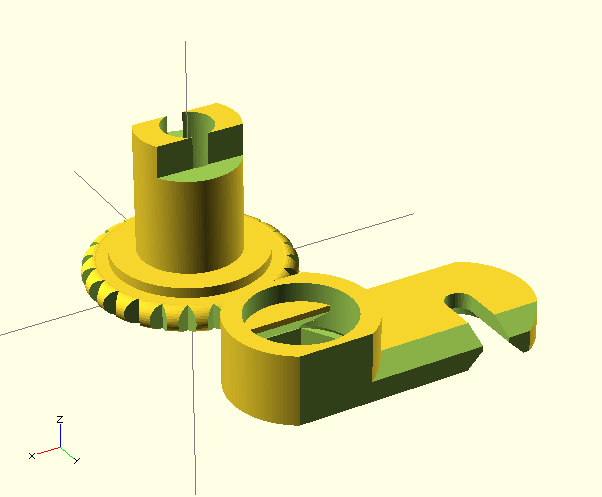
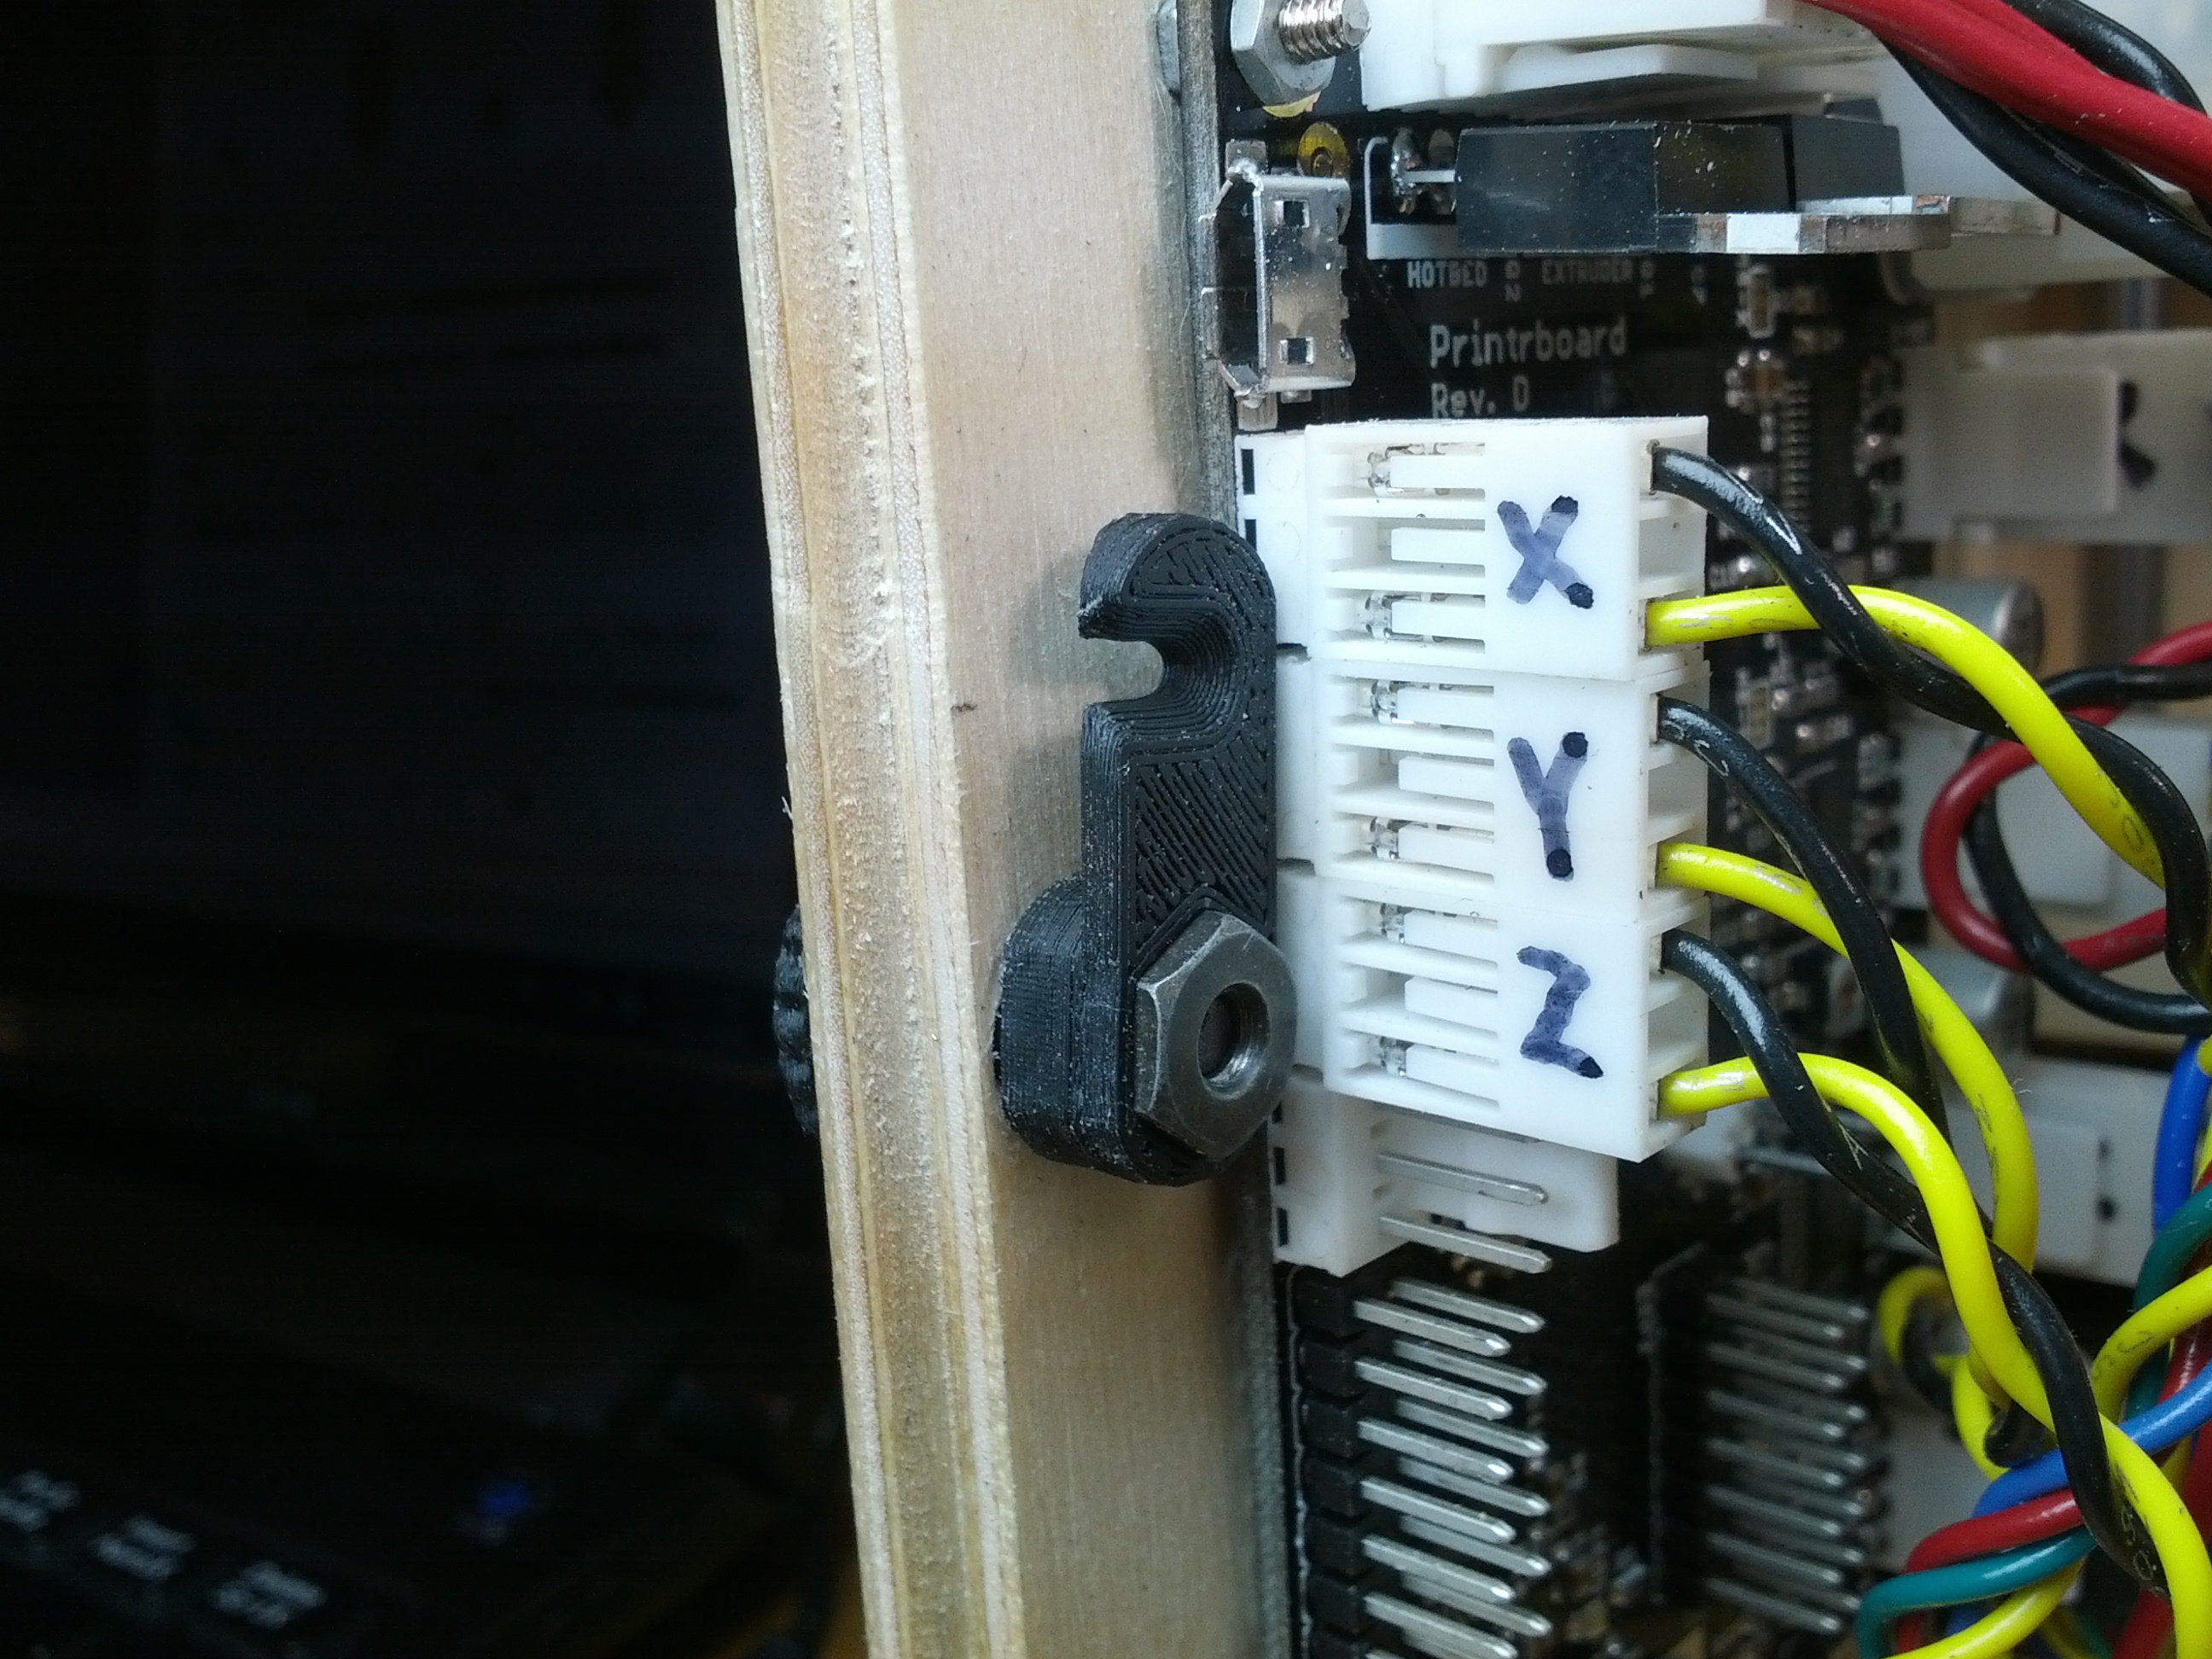
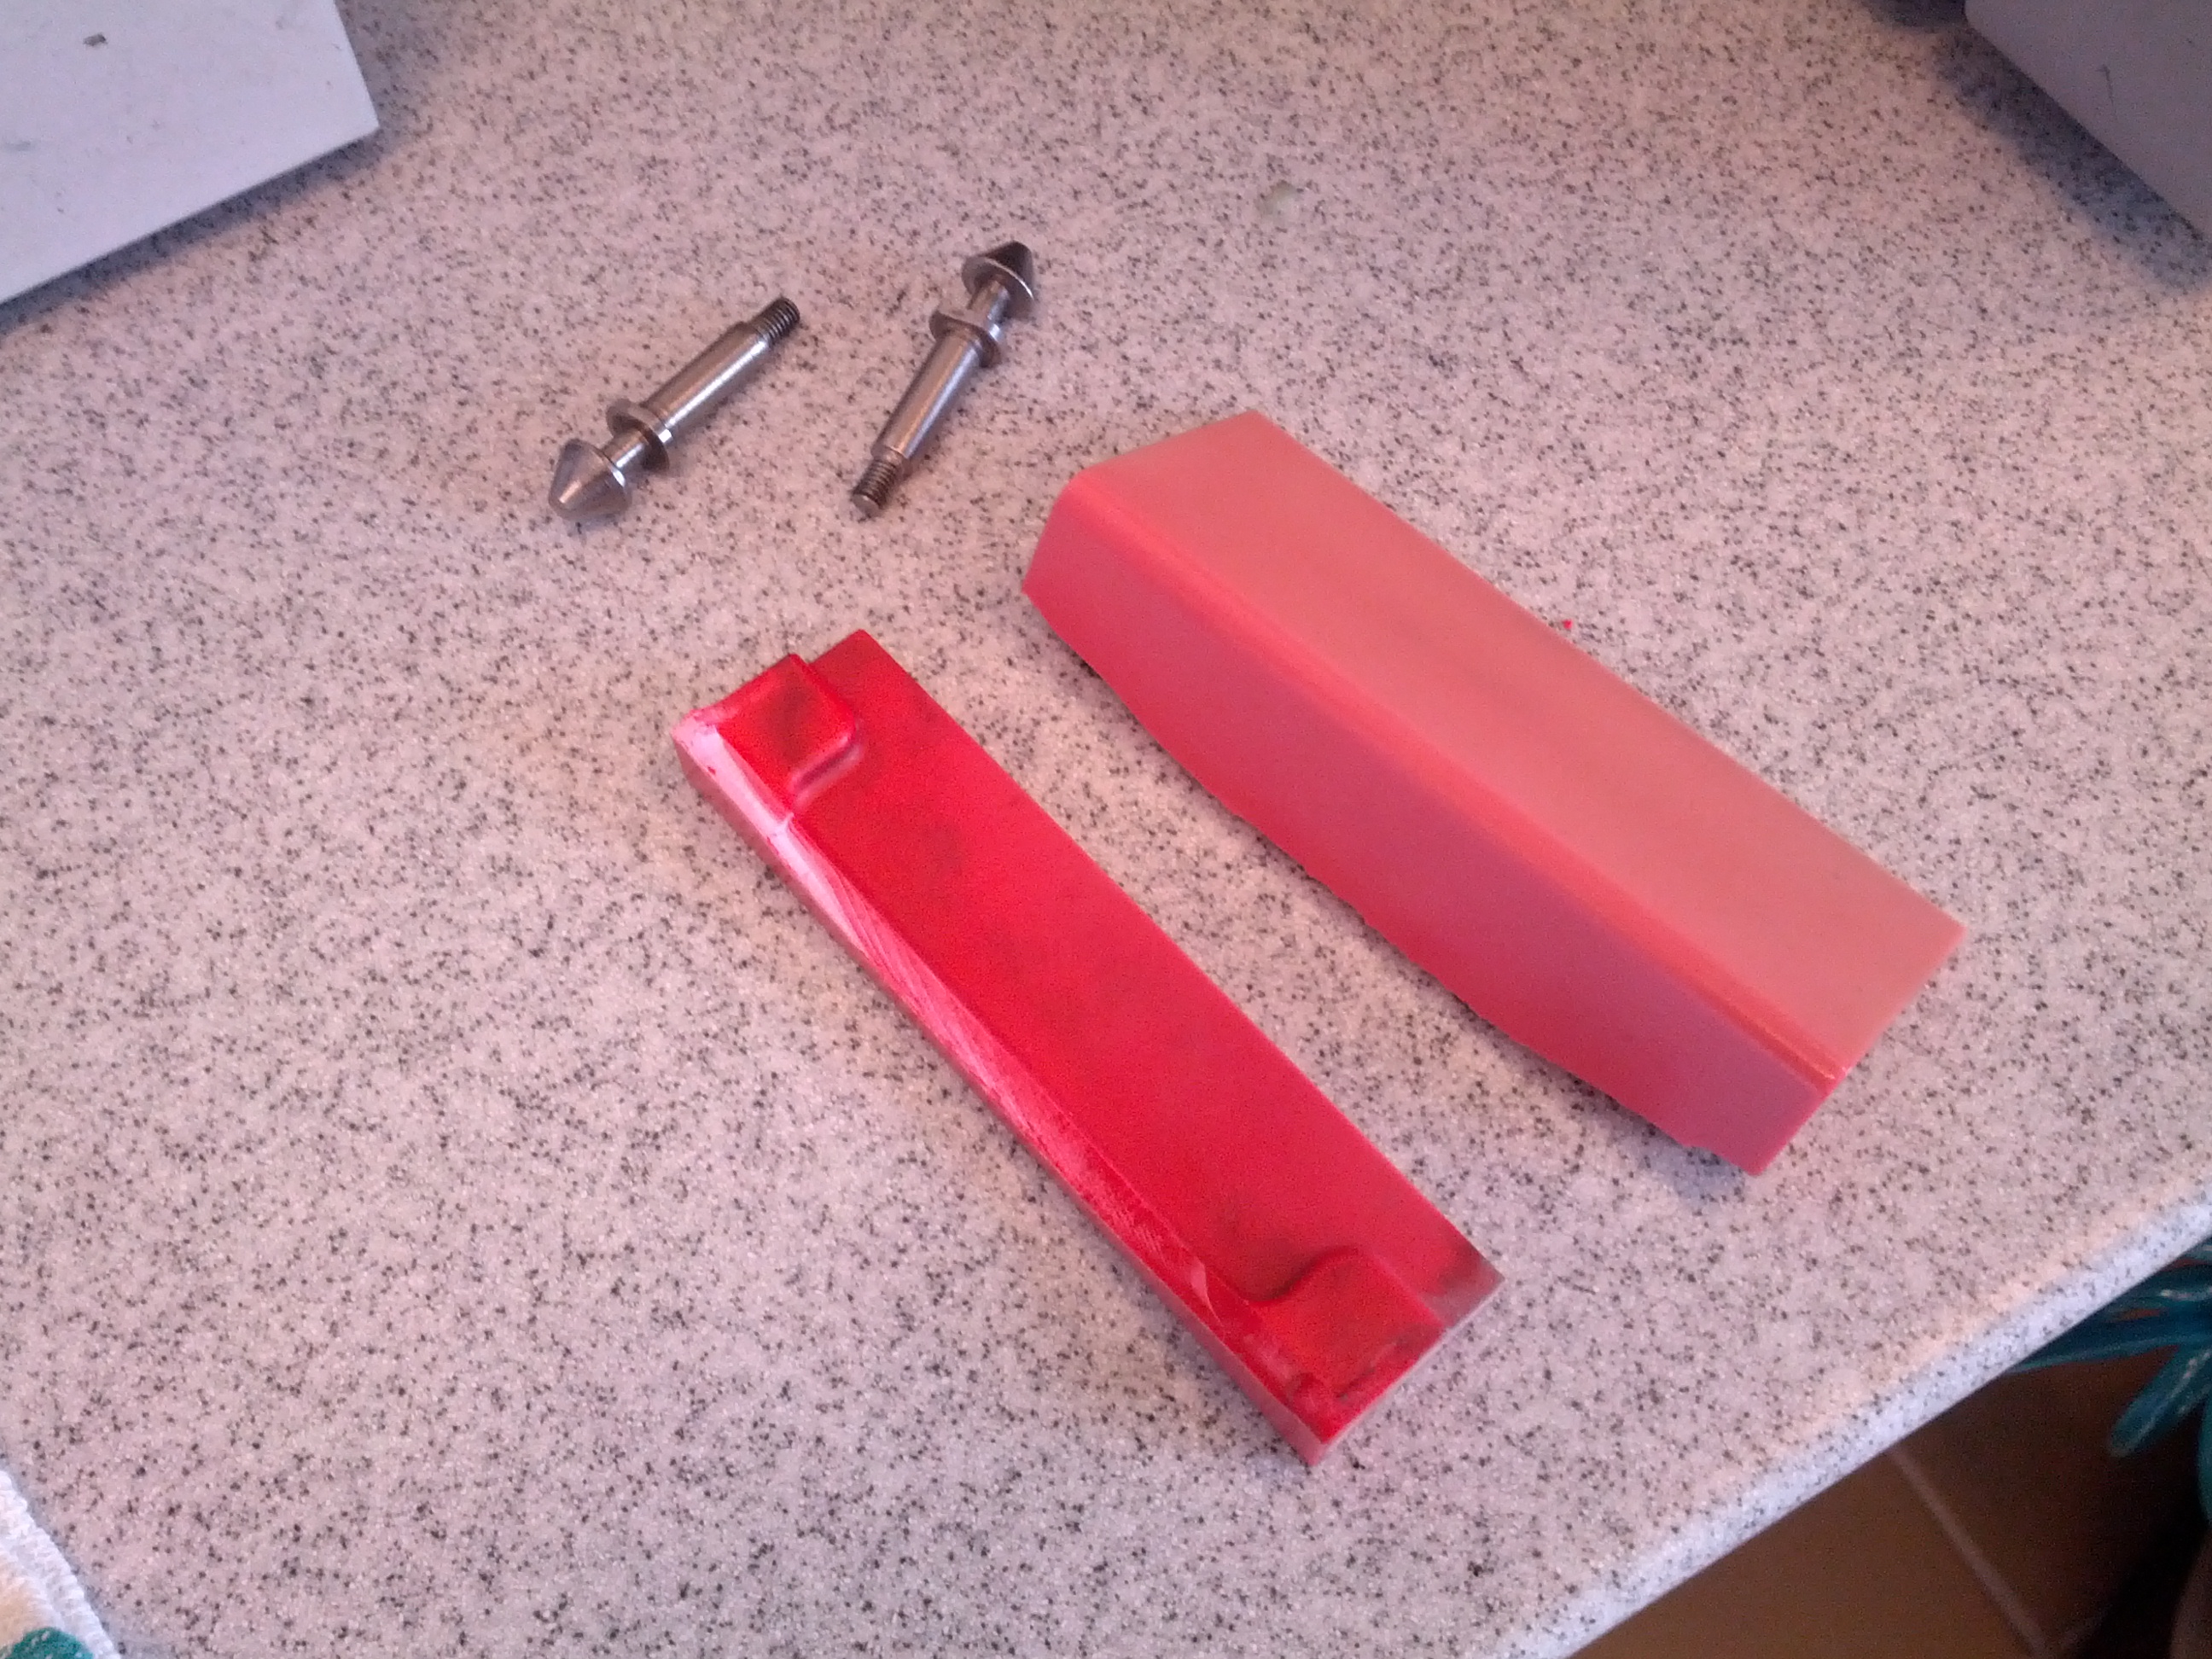
What I came up with was a low profile knob on the outside (I wanted it to be lower than the outside edges of the corner protectors) with a shaft going through the door and locking into a latch on the insde. The latch would then have a bevel on its underside to allow it to slip past the inside edge of the panel the door fits into (the door frame?) more easily and also have a beveled cut out for a small retaining screw (something for it to sort of latch onto). The assembly would then be held together by a screw through the shaft and a trapped nut on the back side.
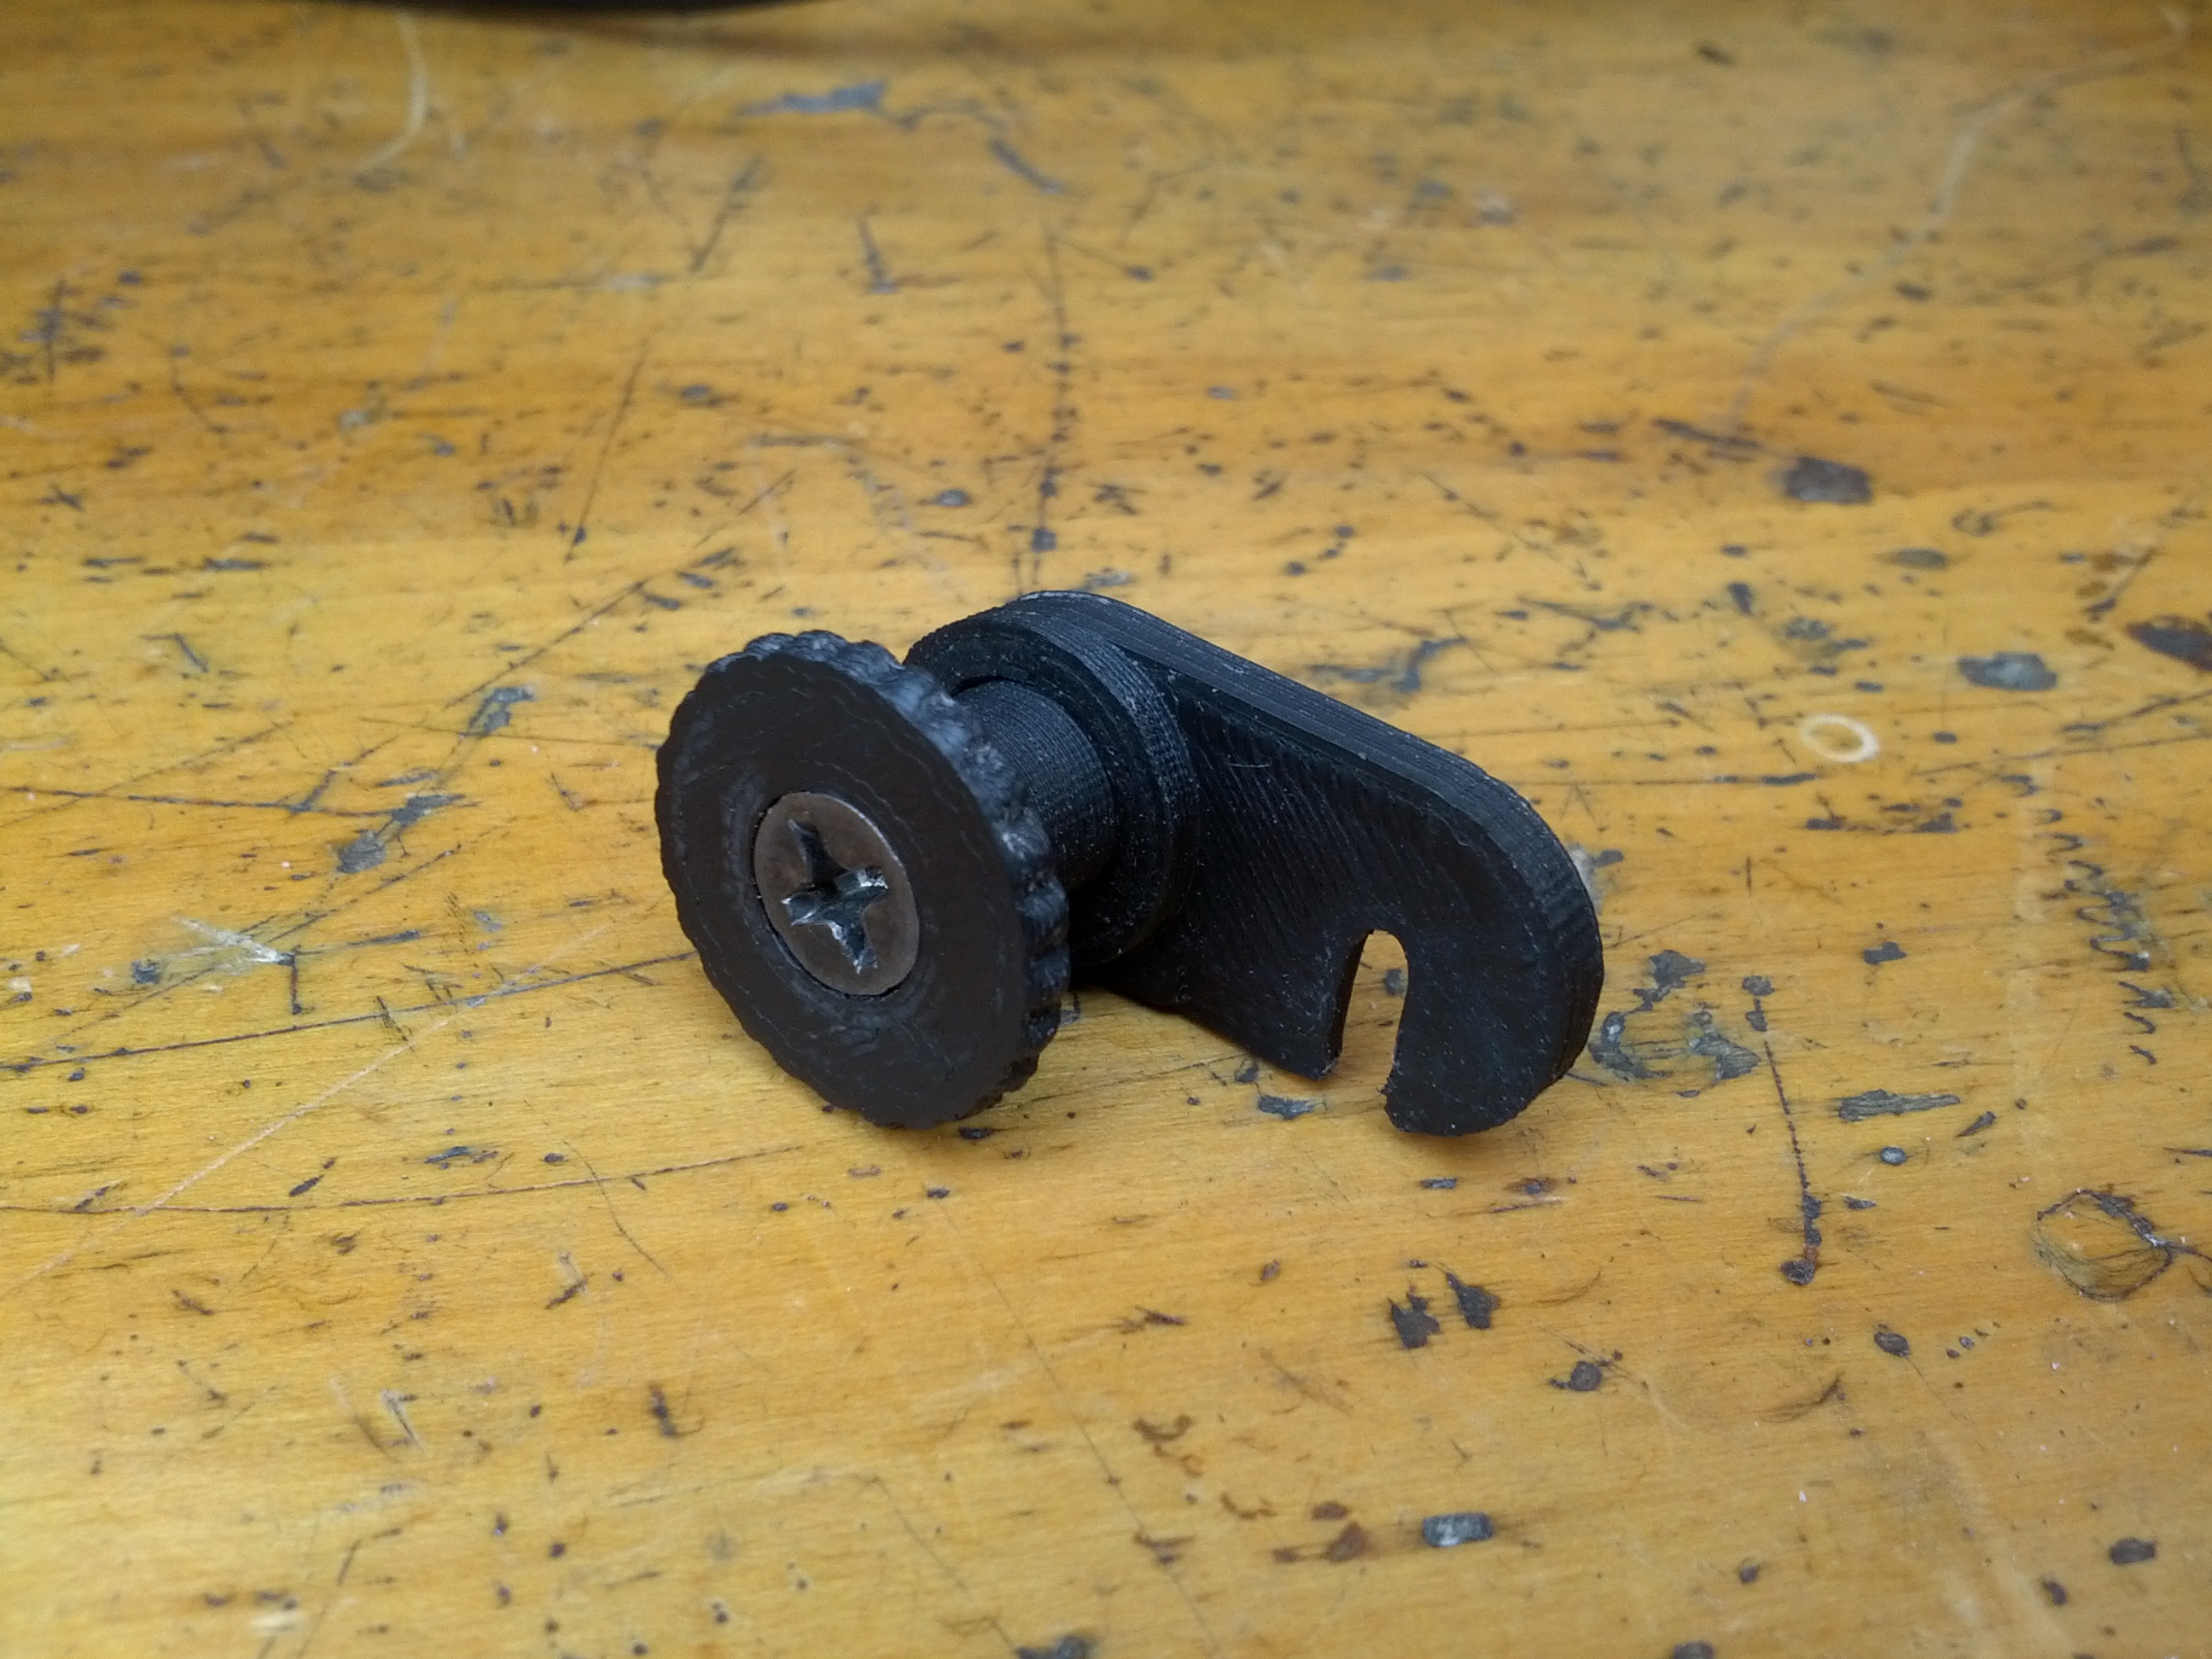

I uploaded a slightly more generic version to Thingiverse, but had to include a lot of slop factors in the design since I still haven’t calibrated any of my axes or extrusion width. The final version that I ended up using looked more like this (including some tweaks to make it print the overhangs more easily and to narrow the latch slightly while still allowing clearance for the trapped nut).
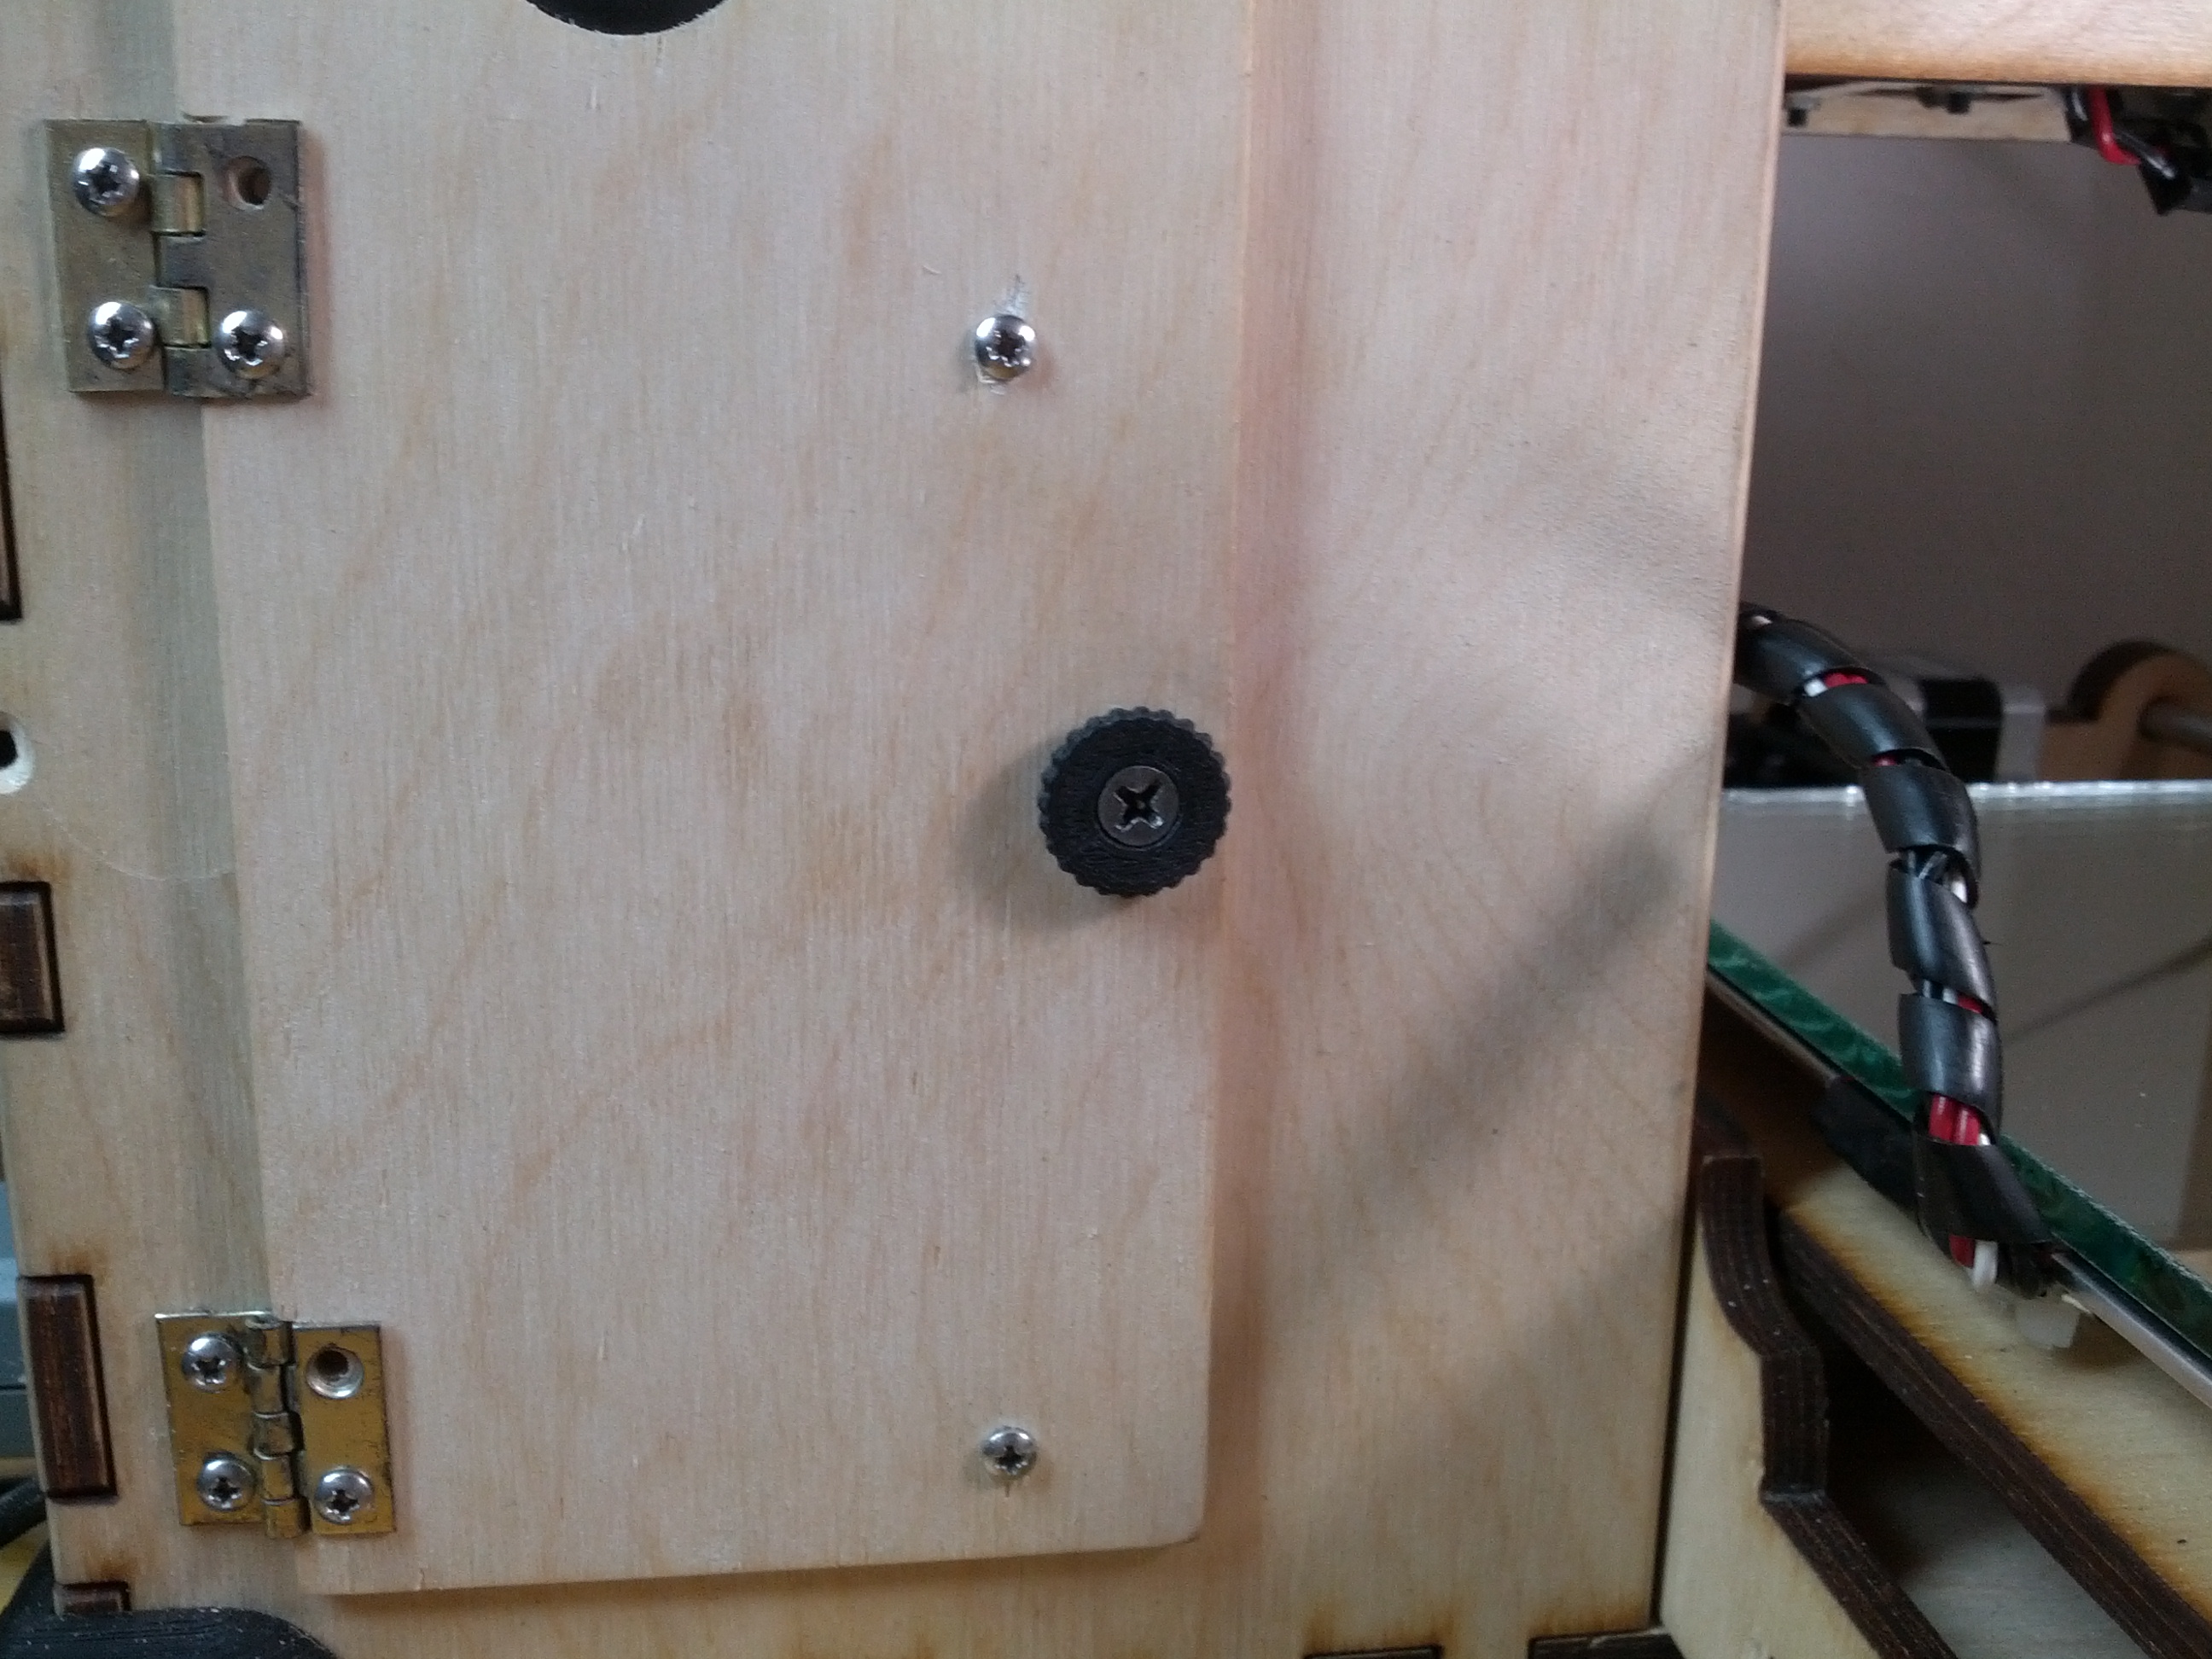
No, I have not yet replaced the stainless steel screws for the hinges and for mounting the motherboard with oxidized brass screws yet. I will, I promise.
I keep saying that a lot of the stuff I’ve been making has been for work, and since I work for a pretty discreet company, I haven’t been able to post anything about it. One piece I was able to make recently seems generic/innocuous enough that I feel comfortable sharing it here (gasp).
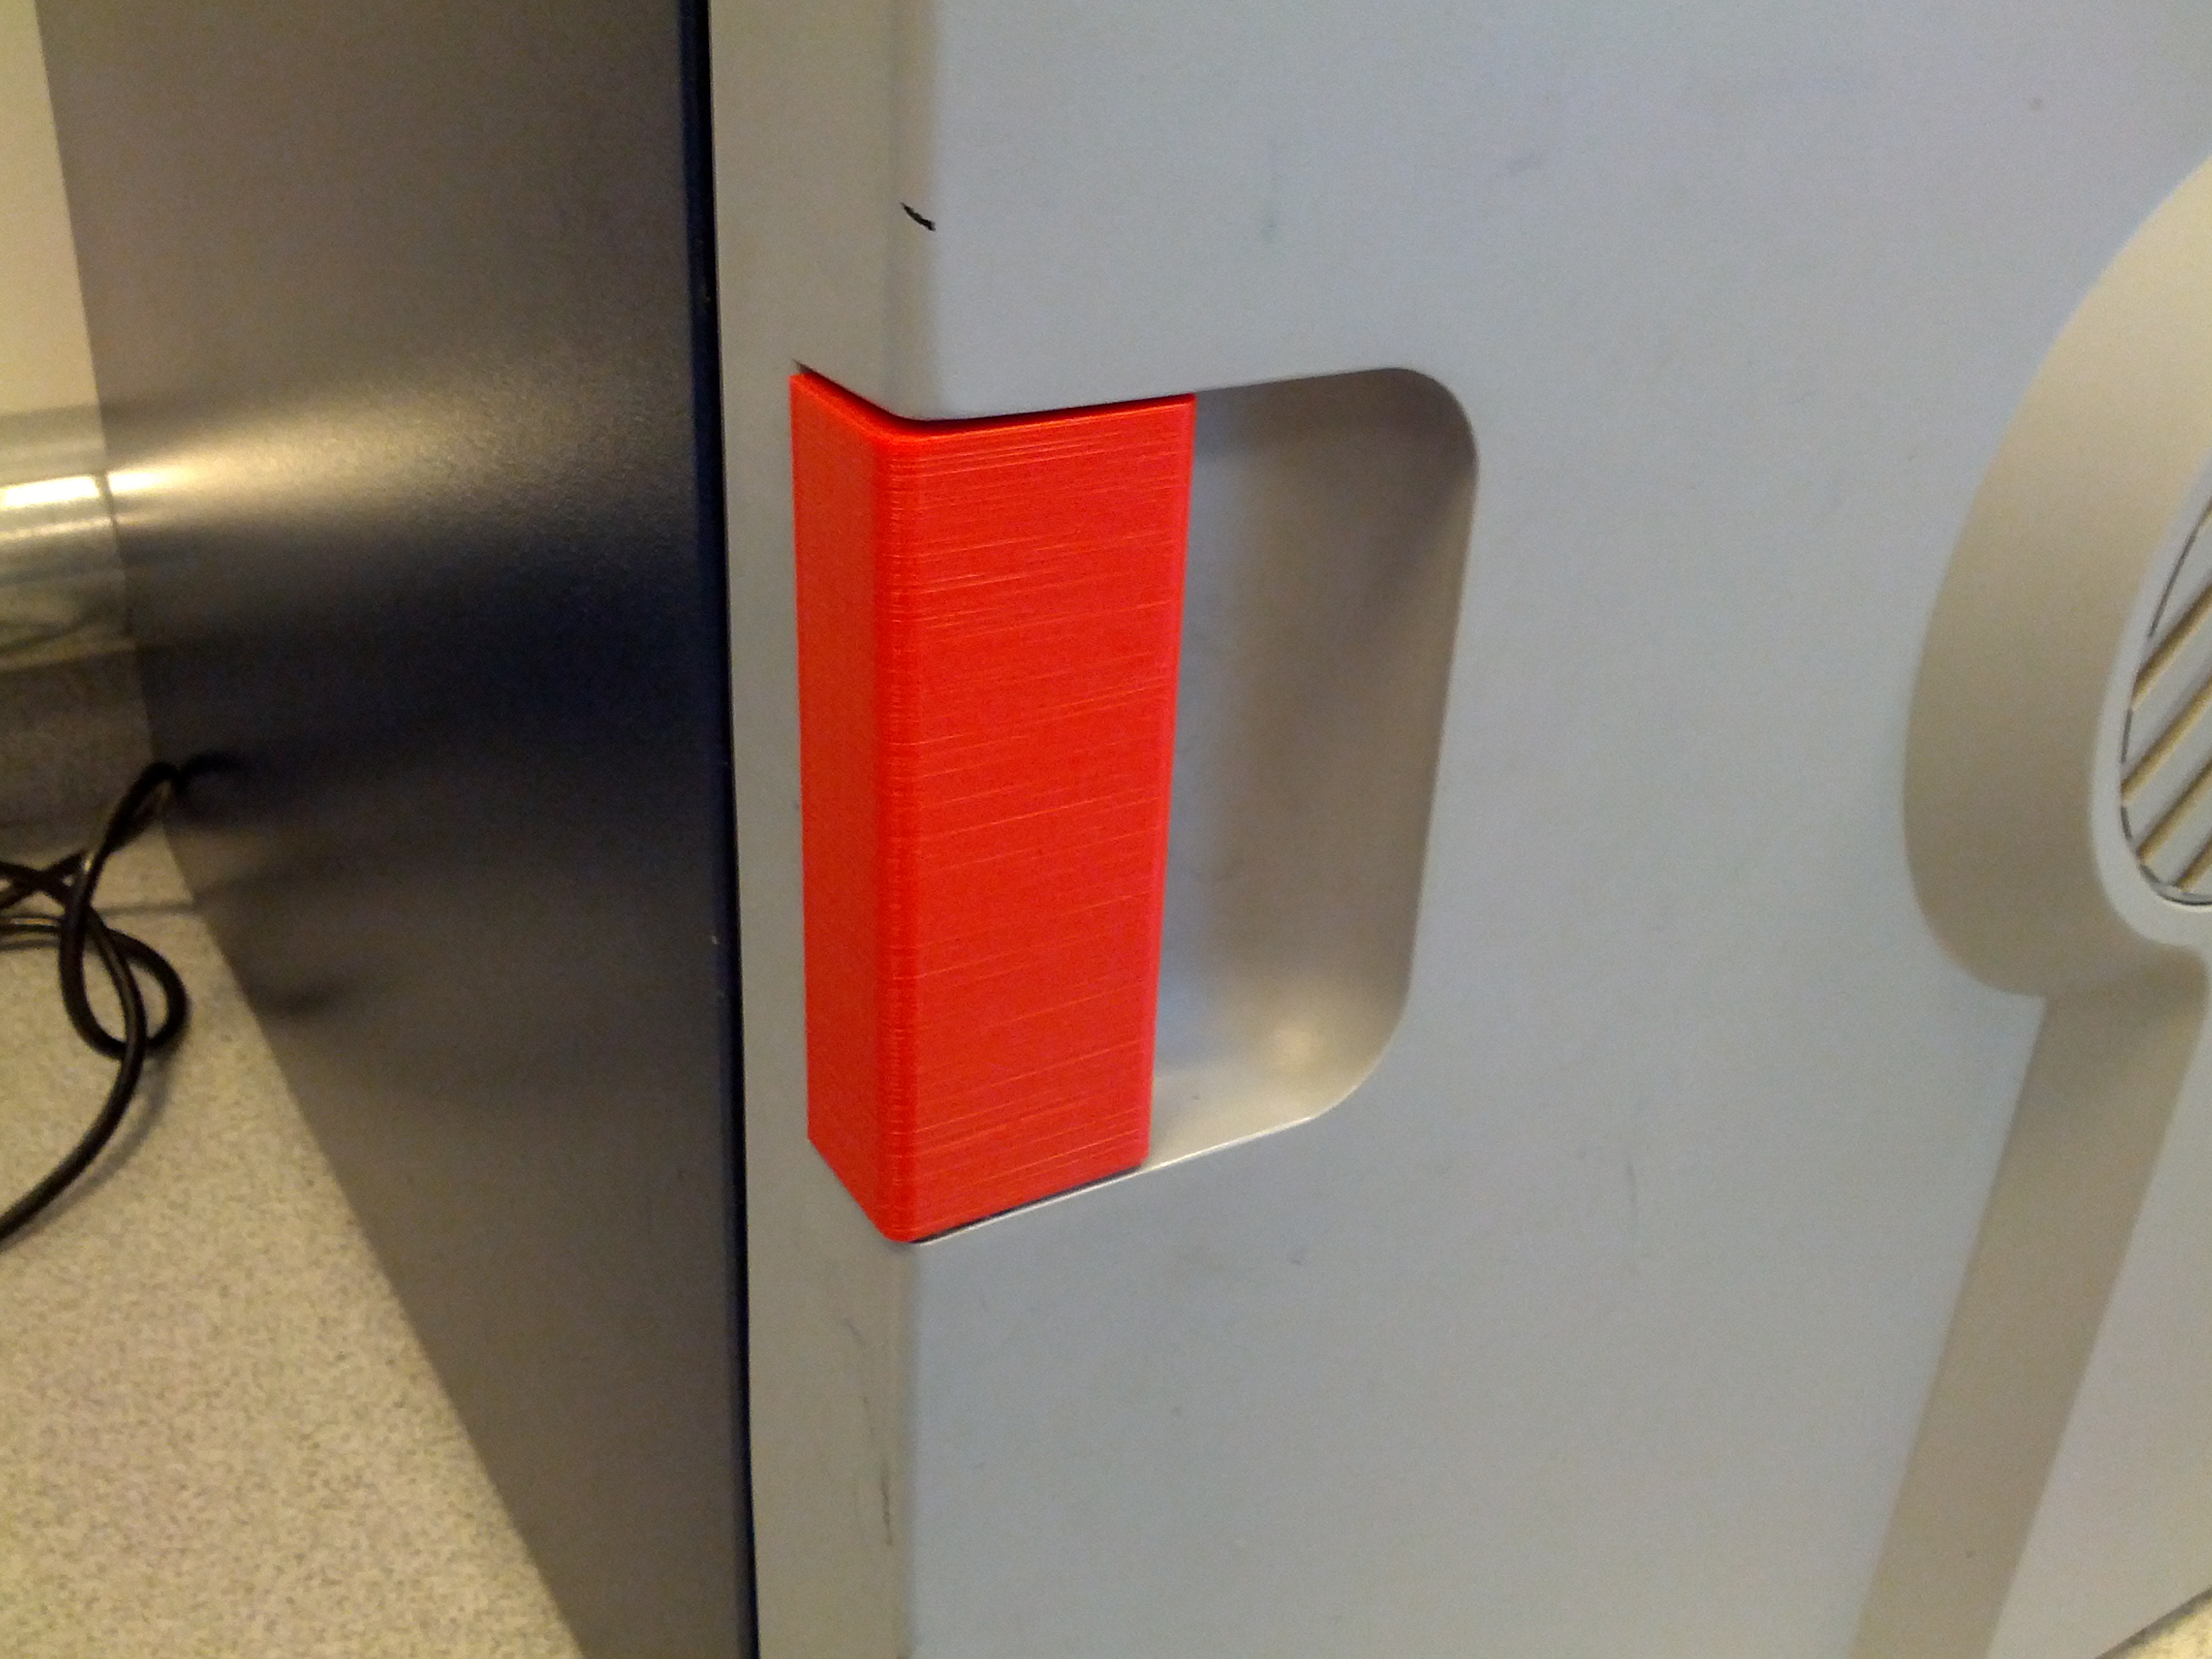
Late in the day on a Monday, we broke the handle off of a convection drying unit (kind of like a medium sized, low-temperature convection oven). The handle was plastic and had a couple of threaded brass pieces in it that two steel posts threaded into to hold it onto the door in conjunction with some springs built into the door. When you pull on the handle, the springs allow the posts to shift out of some locking channels in the side of the dryer’s exterior box and the door opens.
Well anyway, it broke and it we didn’t have a replacement part on hand. Rather than ordering one and waiting six to eight weeks for it to arrive, I decided this was a perfect opportunity to demonstrate the value of 3d printed replacement parts. I took the broken part home, sketched it up in OpenSCAD and printed out a draft and took it in the next day to test fit it. I was 100% confident that I wouldn’t get a perfect fit on the first try with my uncalibrated bot and the first draft warped pretty badly along one axis when I printed it laying down on it’s largest side (so that I could print it without support).
That evening I tweaked the design a little bit and printed it out vertically (with support) so that I could avoid the warping problem and also so that I could align the printed layers for maximum strength along the plane where it was most needed. Since you’re only pulling on the handle in one direction, it made sense to align the layers so that you’re not pulling against the adhesion of the layers themselves, generally the weakest part of a FFF 3d printed part.
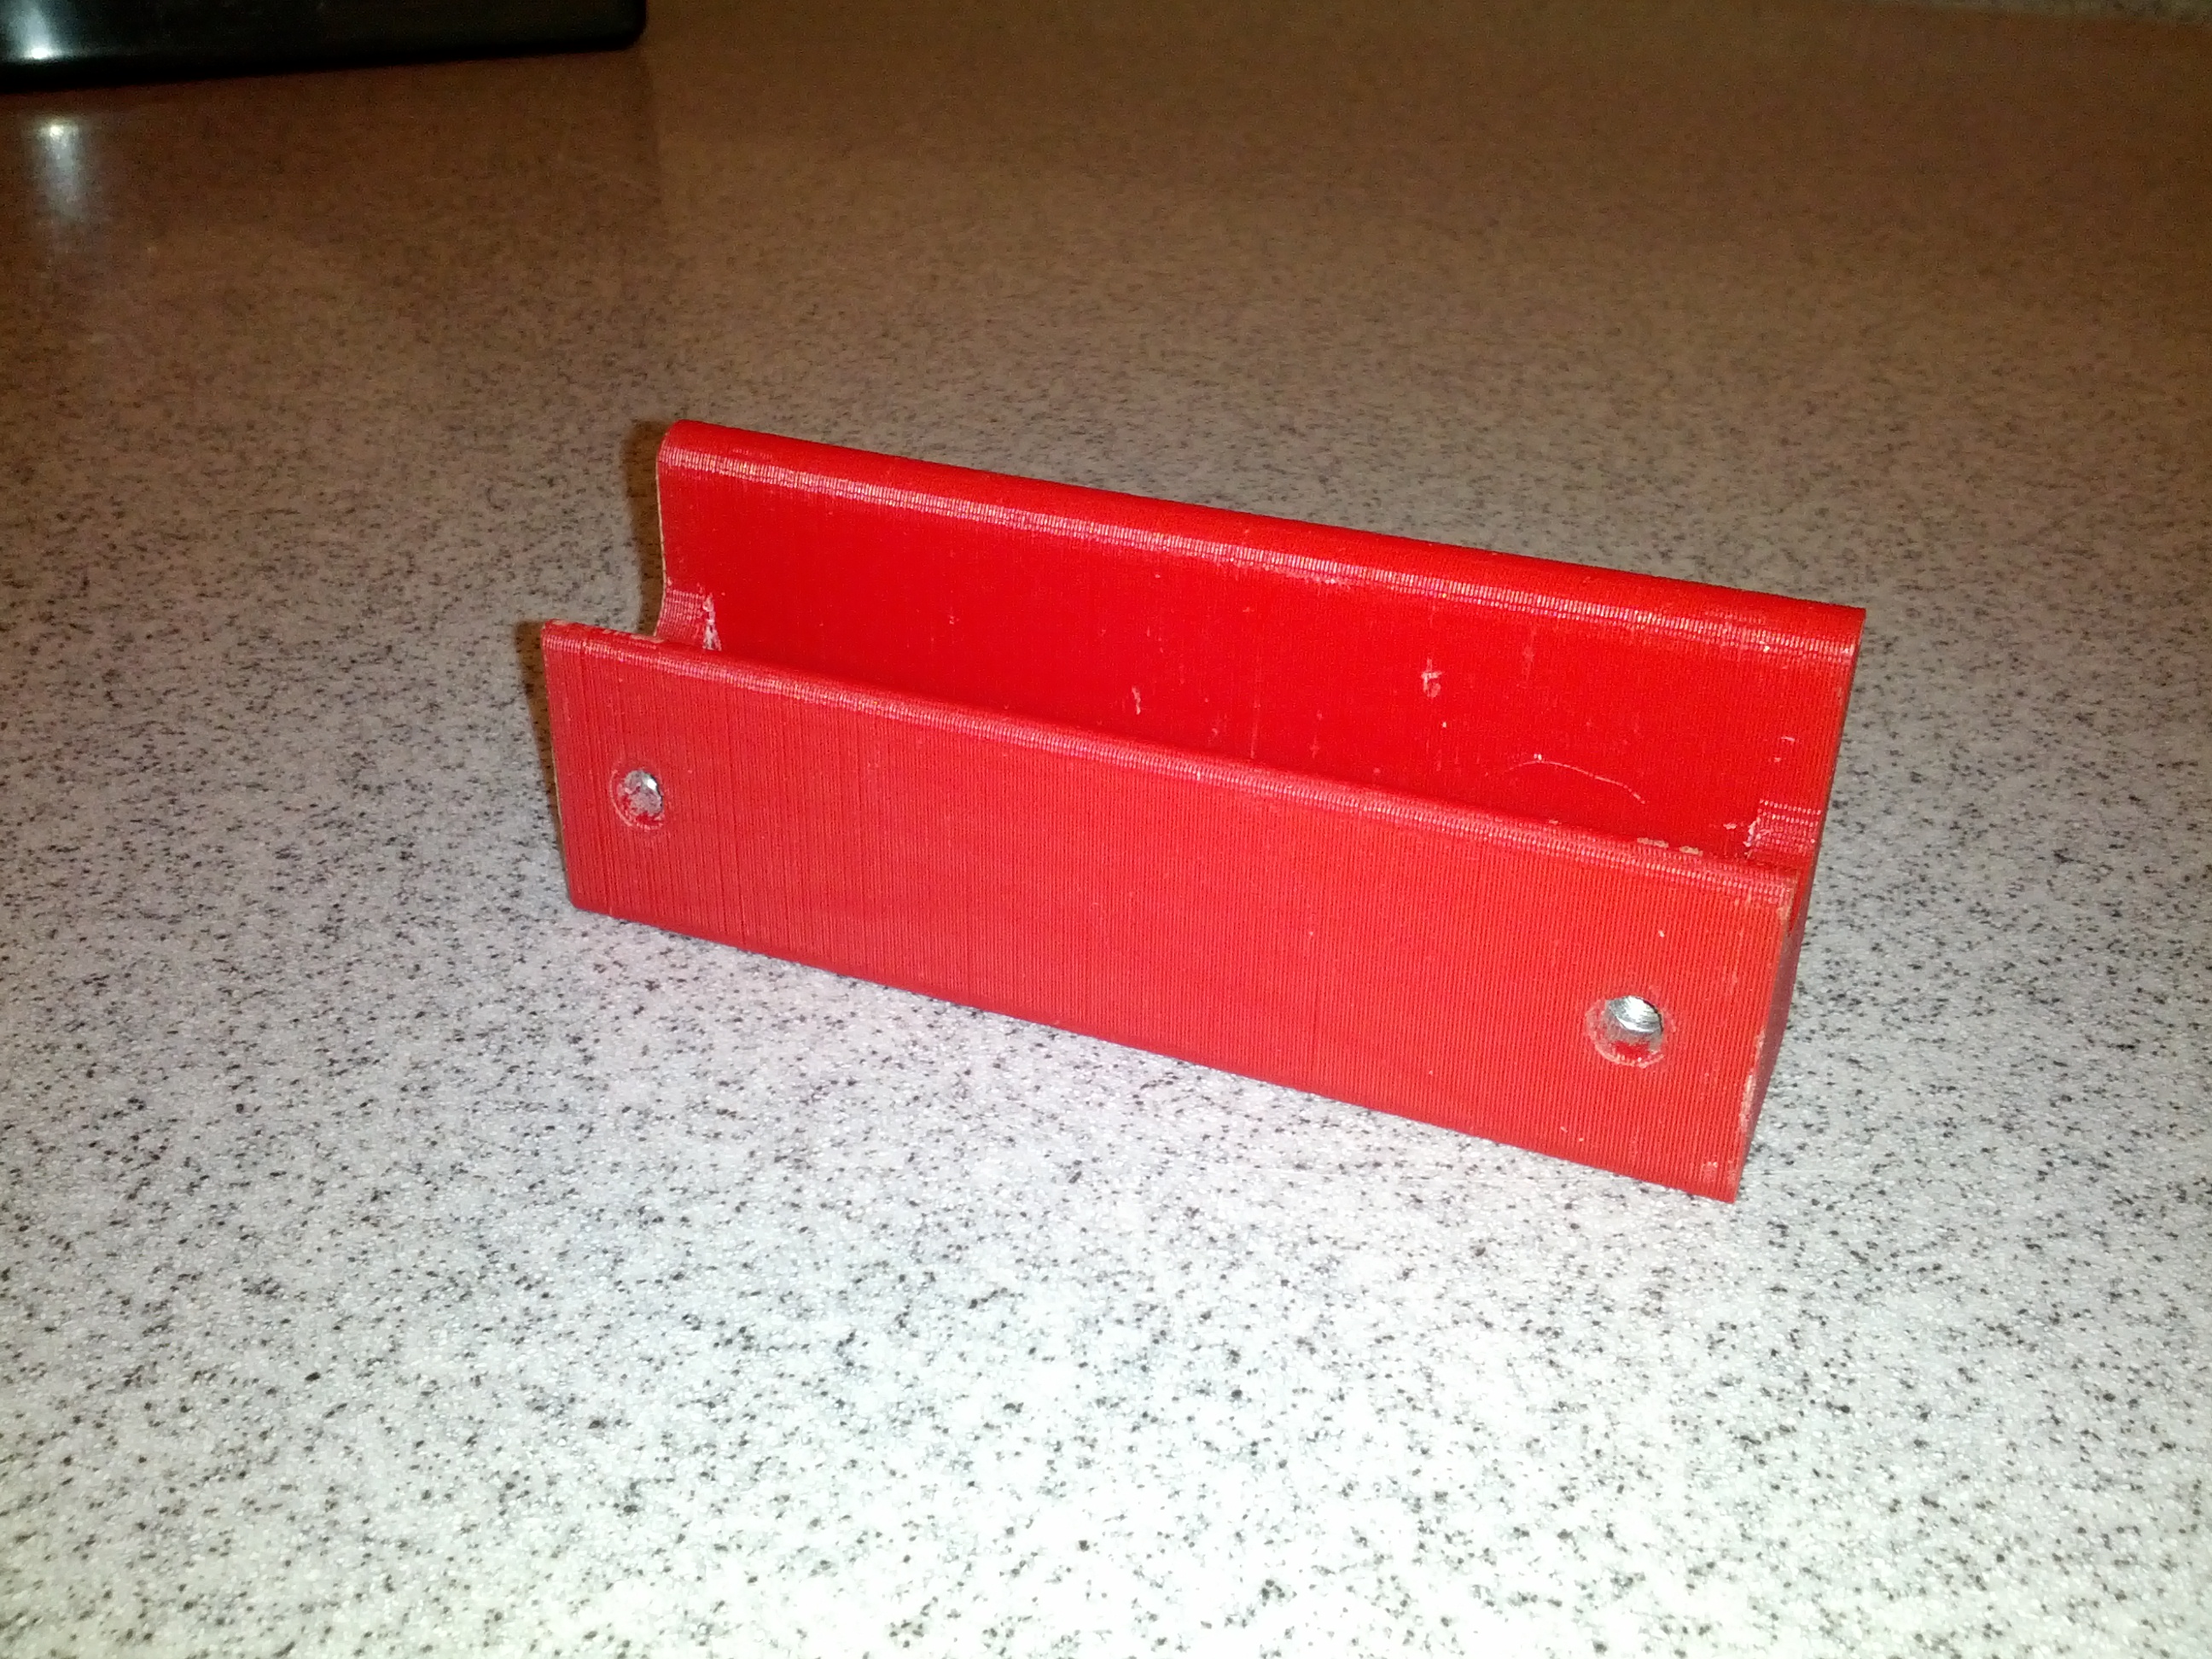
The 2nd draft turned out great and, after some extensive support cleanup and popping in the trapped nuts to mate with the steel posts (“popping in” being a euphemism for “fiddling interminably”), it installed properly and looked great. More importantly, it feels perfectly sturdy and seems like it should stand up well to daily use, so we’re just going to use it rather than ordering a replacement part. It took a few hours of work to create, but only a few dollars worth of plastic and only one business day to get it mocked up, prototyped, tweaked, fabricated and installed. Not bad.
I then set my mind to designing a replacement suitcase handle for the GO. The handle it came with was an injection molded plastic piece that was actually designed to look like a leather handle, with a faux seam and everything.
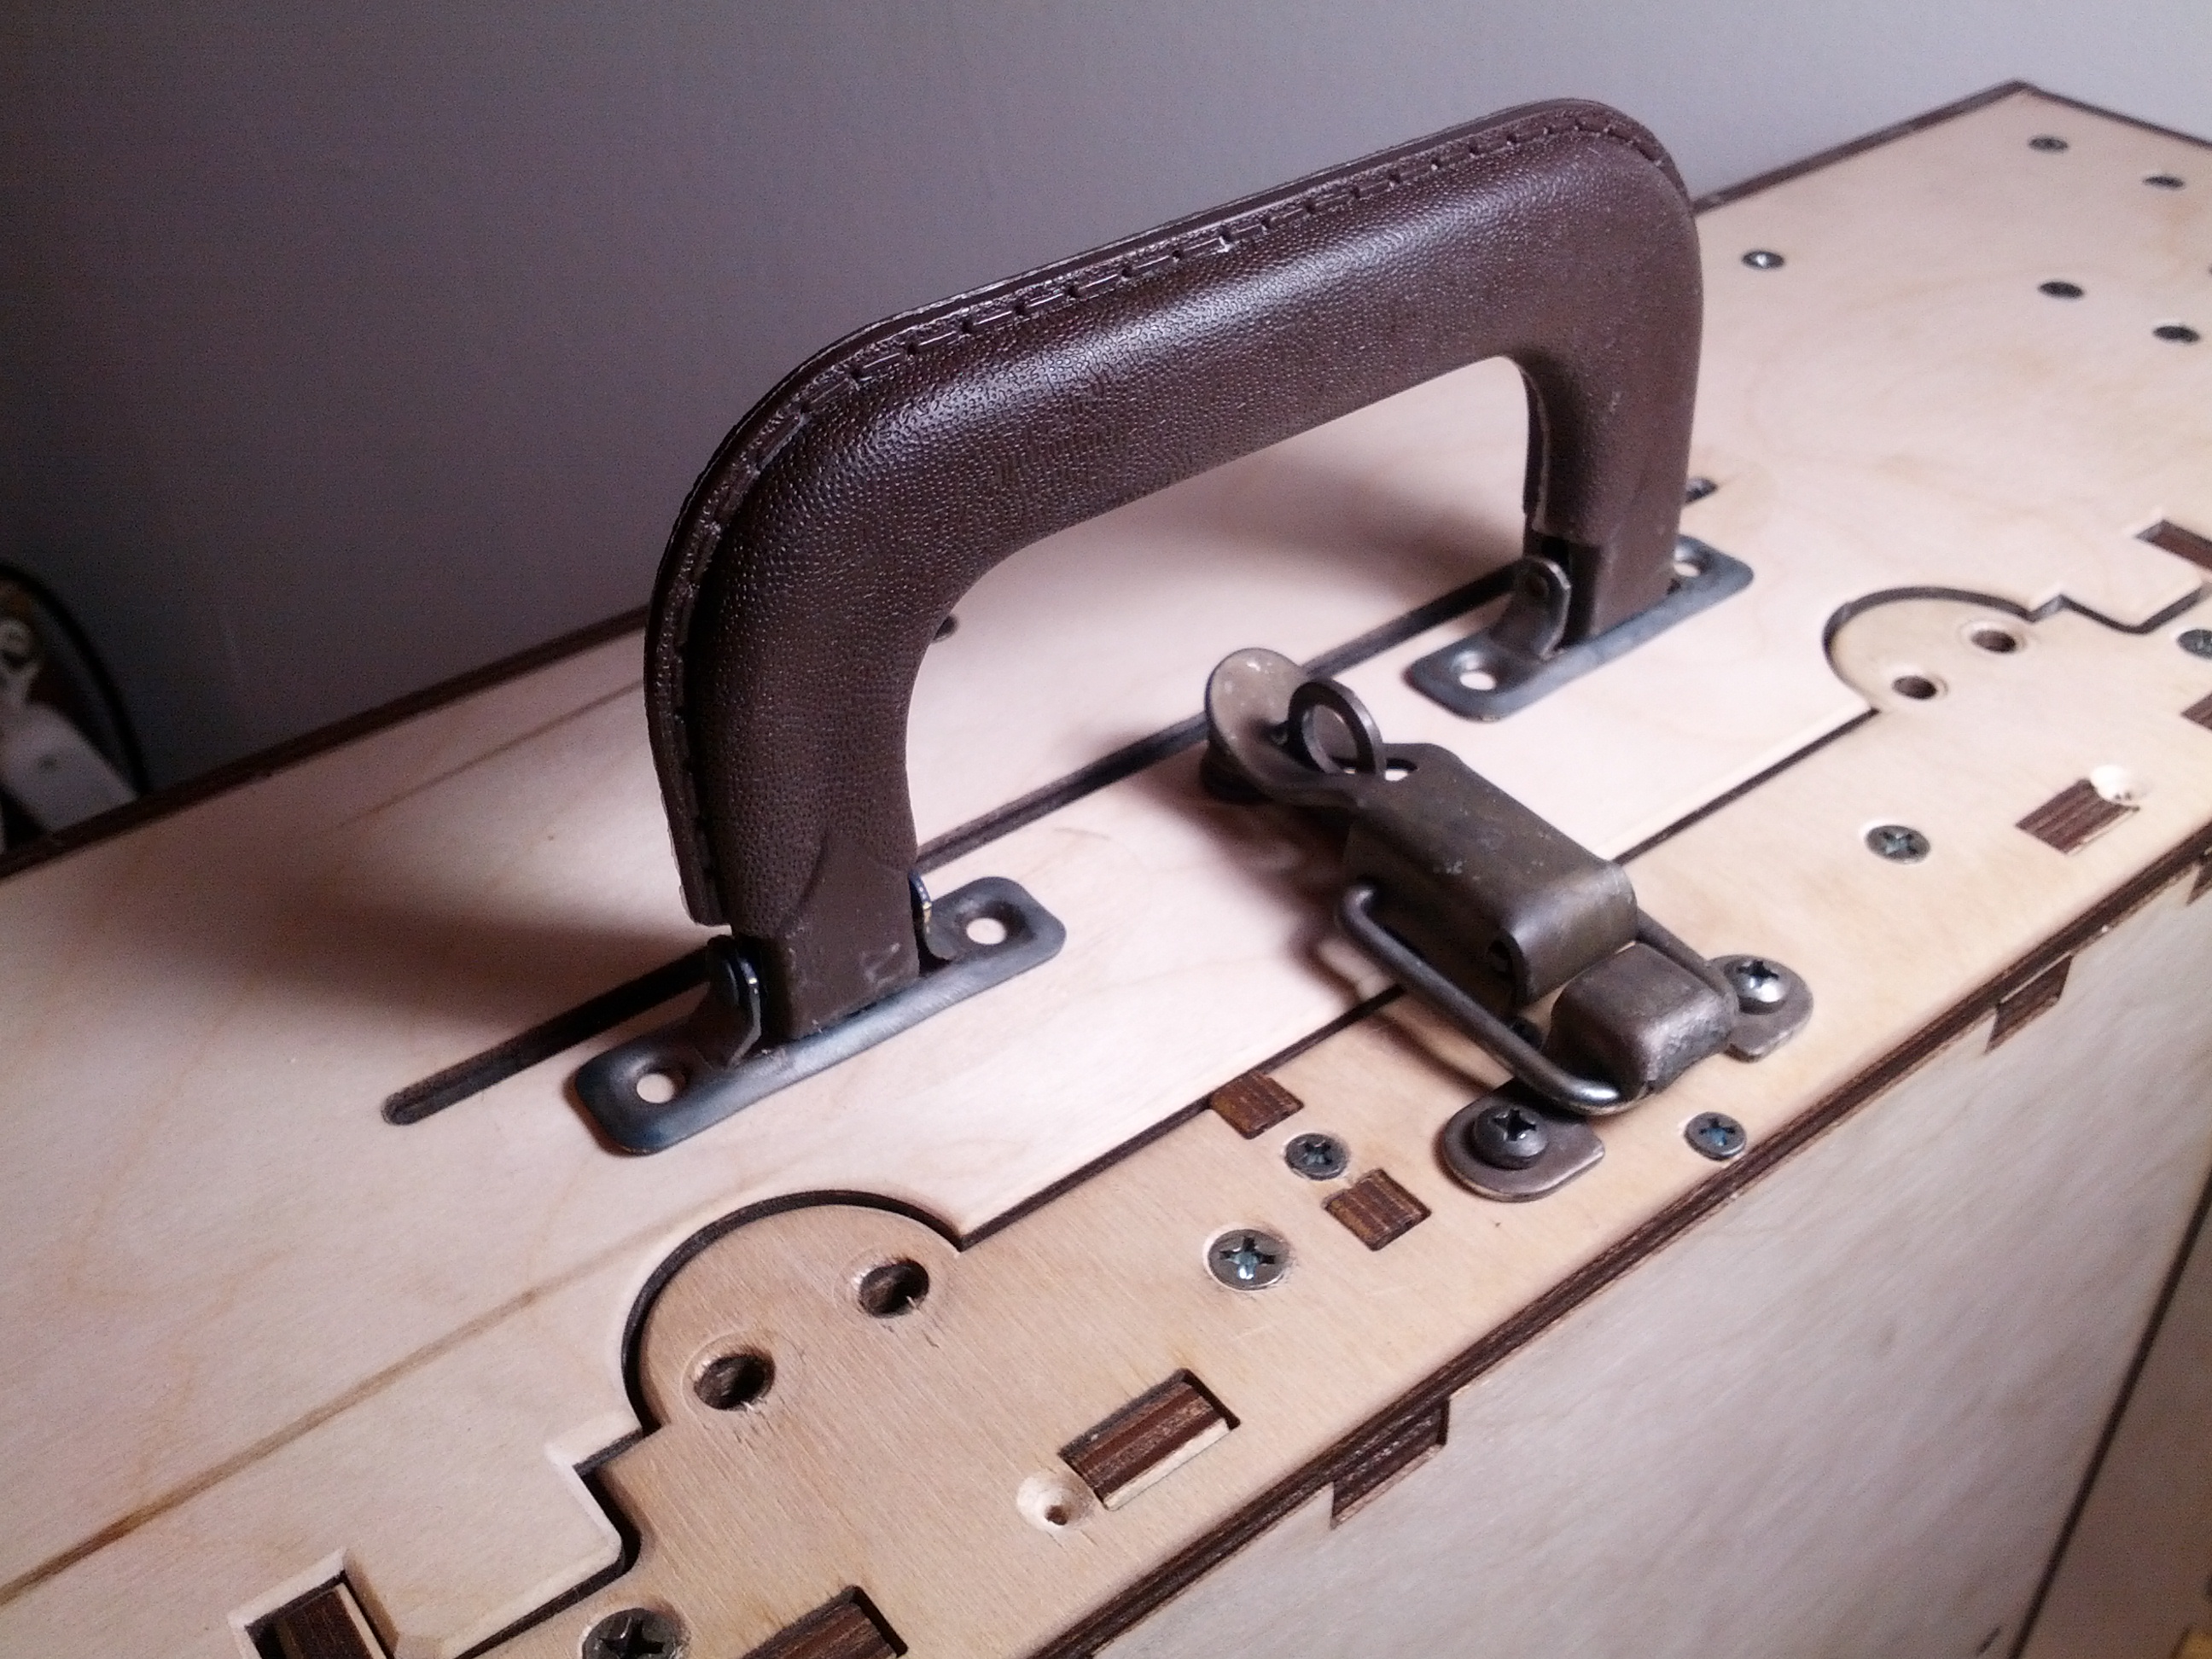
Functional, but uninspired. I felt confident that with many hours of work I could design and fabricate something almost as functional, equally as ugly but, most importantly, created be yours truly.
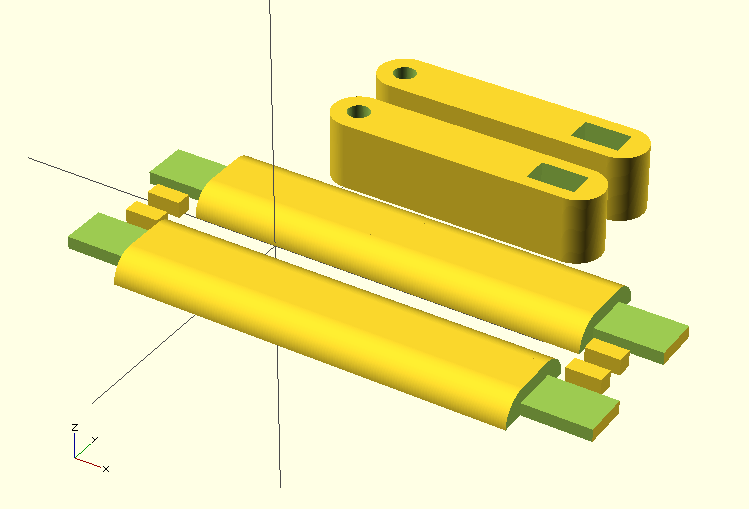
Bizarrely, I couldn’t find anything in Thingiverse even in the right ball park, so again I had to fire up OpenSCAD on a blank canvas and play around with some design ideas before settling on something that seemed like it would work. I would have loved to design something that I could print out in one go, perhaps with some nicely shaped curves and whanot, but I was concerned about the strength required to hold the weight of the bot and didn’t like the idea of any of the stress points pulling against any layer adhesion. The idea of dropping the bot while running through a terminal in JFK airport was not appealing (you’ll notice I’m still maintaining the fantasy of taking this beast on a plane, until the TSA tells me otherwise that is).

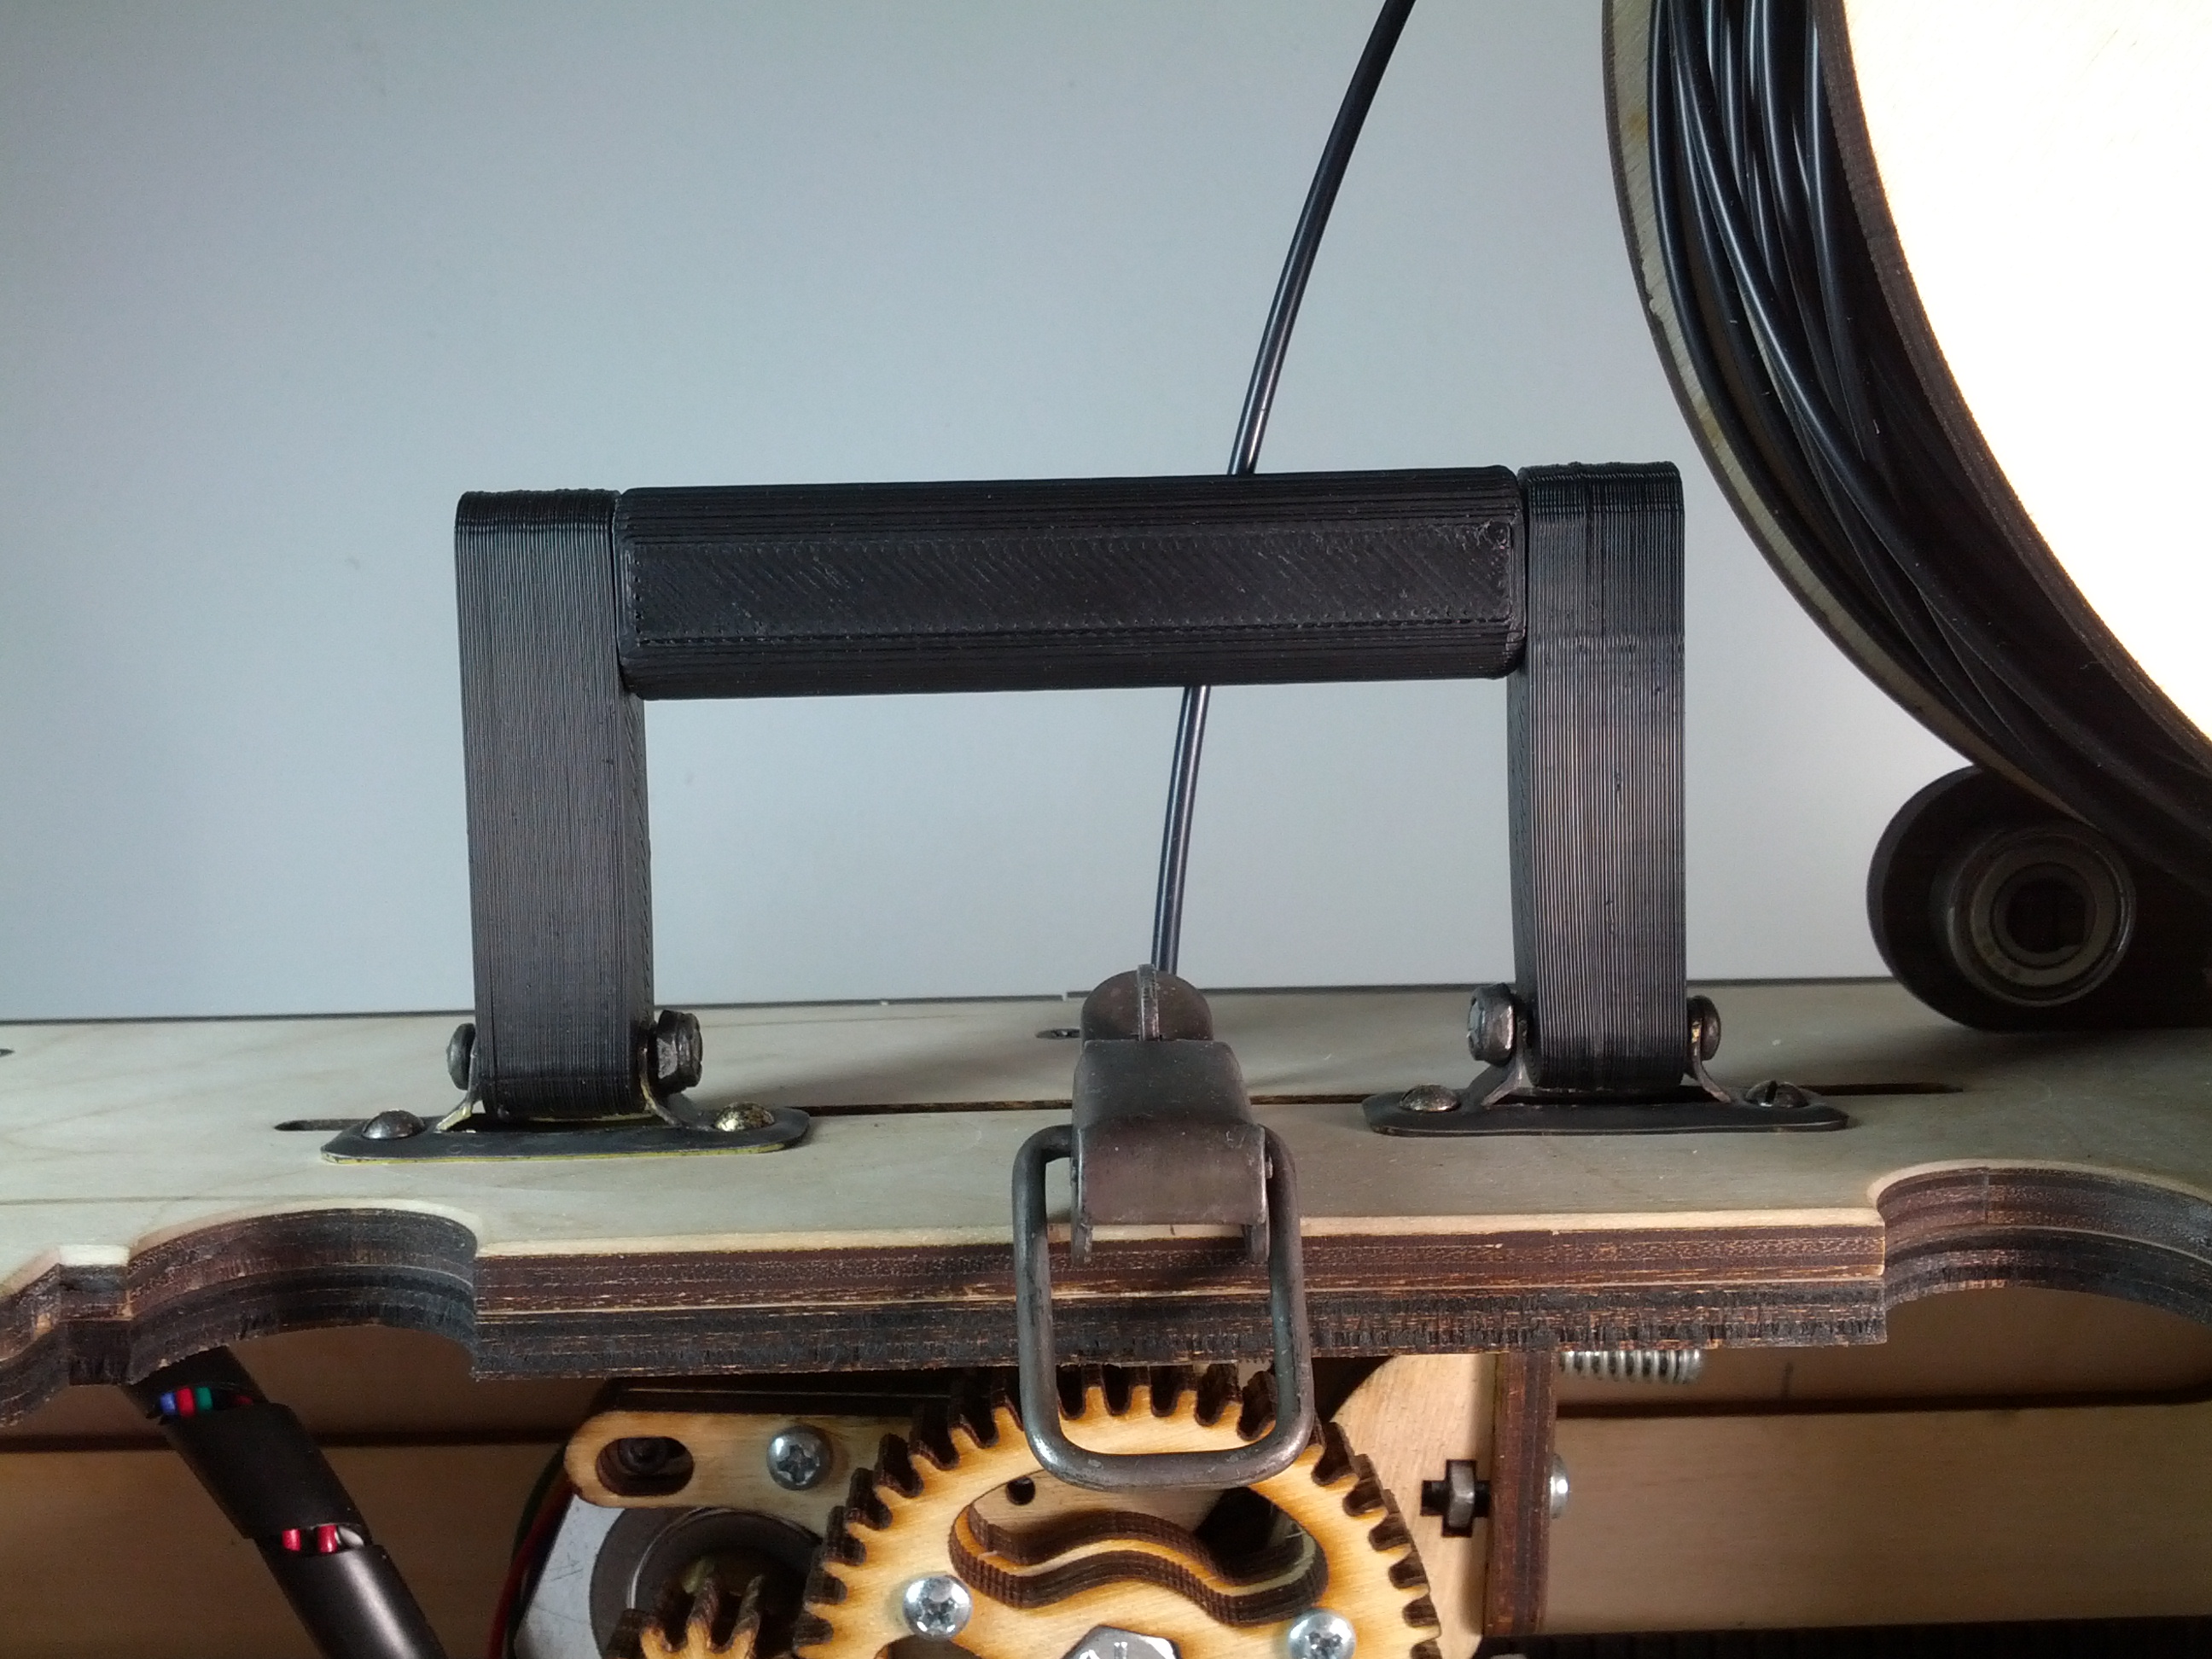
I finally settled on this uber-simple design in three pieces so that the layer perimeters of the side pieces and the grip portion all line up for maximum strength where needed. Then I decided to split the grip portion in half with some square holes and pins to help it snap together. This allowed me to print the rounded portions of the grip more easily (no overhangs) and have both sides of the grip look more or less consistent with each other (otherwise the side that was printed on the bottom would be as smooth as the glass bed while the other side would be, well, less smooth).
It took a few tries to get all of my slop factors dialed in (you’d think I would’ve just calibrated the damn bot by now, right?), but finally I ended up with something that was entirely friction fit together and that feels remarkably sturdy. We’ll see how it holds up at JFK.
One of the most challenging aspects of building the printrbot GO has definitely been wire management. Every 3d printer has some challenges in this area because you have significant bundles of wires that must be free to move around with the extruder, Z axis and print bed (if heated) in use and also more or less stay out of the way. With the GO, you have the additional problem of very limited space inside the box AND the entire drawer with the Y axis and bed has to be able to slide out and fold up into a suitcase.
I had mostly solved these issues to my satisfaction and had wrapped the various bundles with some spiral wrap but was having a hard time keeping the wires from the heated print bed under control. They were sometimes getting squeezed between the X axis carriage and its end stop (fortunately not during a print, yet) and were flirting dangerously close with the hot end at times.
As was bound to happen sooner or later, I started, killed and restarted a print in just the right sequence and the hot end (at 230° C, that’s 446° F to you and me) came around and pinned the wire bundle to the heated bed, melting right through the spiral wrap and the wire insulation and shorting out the bot. This caused me some anxiety.
After unplugging everything (nothing seemed to have power anyway, but you know, to be safe) and manually raising the X axis on the threaded rods, I examined the wires and found them to be only superficially damaged. Damaged just enough to allow exposed metal inside the positive and negative wires to both touch the brass nozzle mind you. A little electrical tape and some fresh spiral wrap and they seemed to be just fine. The board was simply not turning on however, and this made me a little nervous.
I assumed I had blown the mosfet for the heated bed again (I was hoping as much actually since I still had a couple extra mosfets for it from when I had replaced it previously – somehow that little adventure doesn’t seem to have made it into this blog, but the first time I plugged in the heated bed with some insulation that had a metallic coating on it, it shorted out the terminals and blew the mosfet), but couldn’t seem to even get the board to power up at all. After poking around with a multi-meter for a few minutes, I narrowed it down to the PSU itself. And wouldn’t you know it? After unplugging it from the wall and plugging it back in again (I had only unplugged it from the bot up to that point), it fired right up. It turns out that the best repair practice for any Microsoft product (including an X-box 360 PSU) is to turn it off and turn it back on again and see if it works. Thank you Mr. Gates and company.
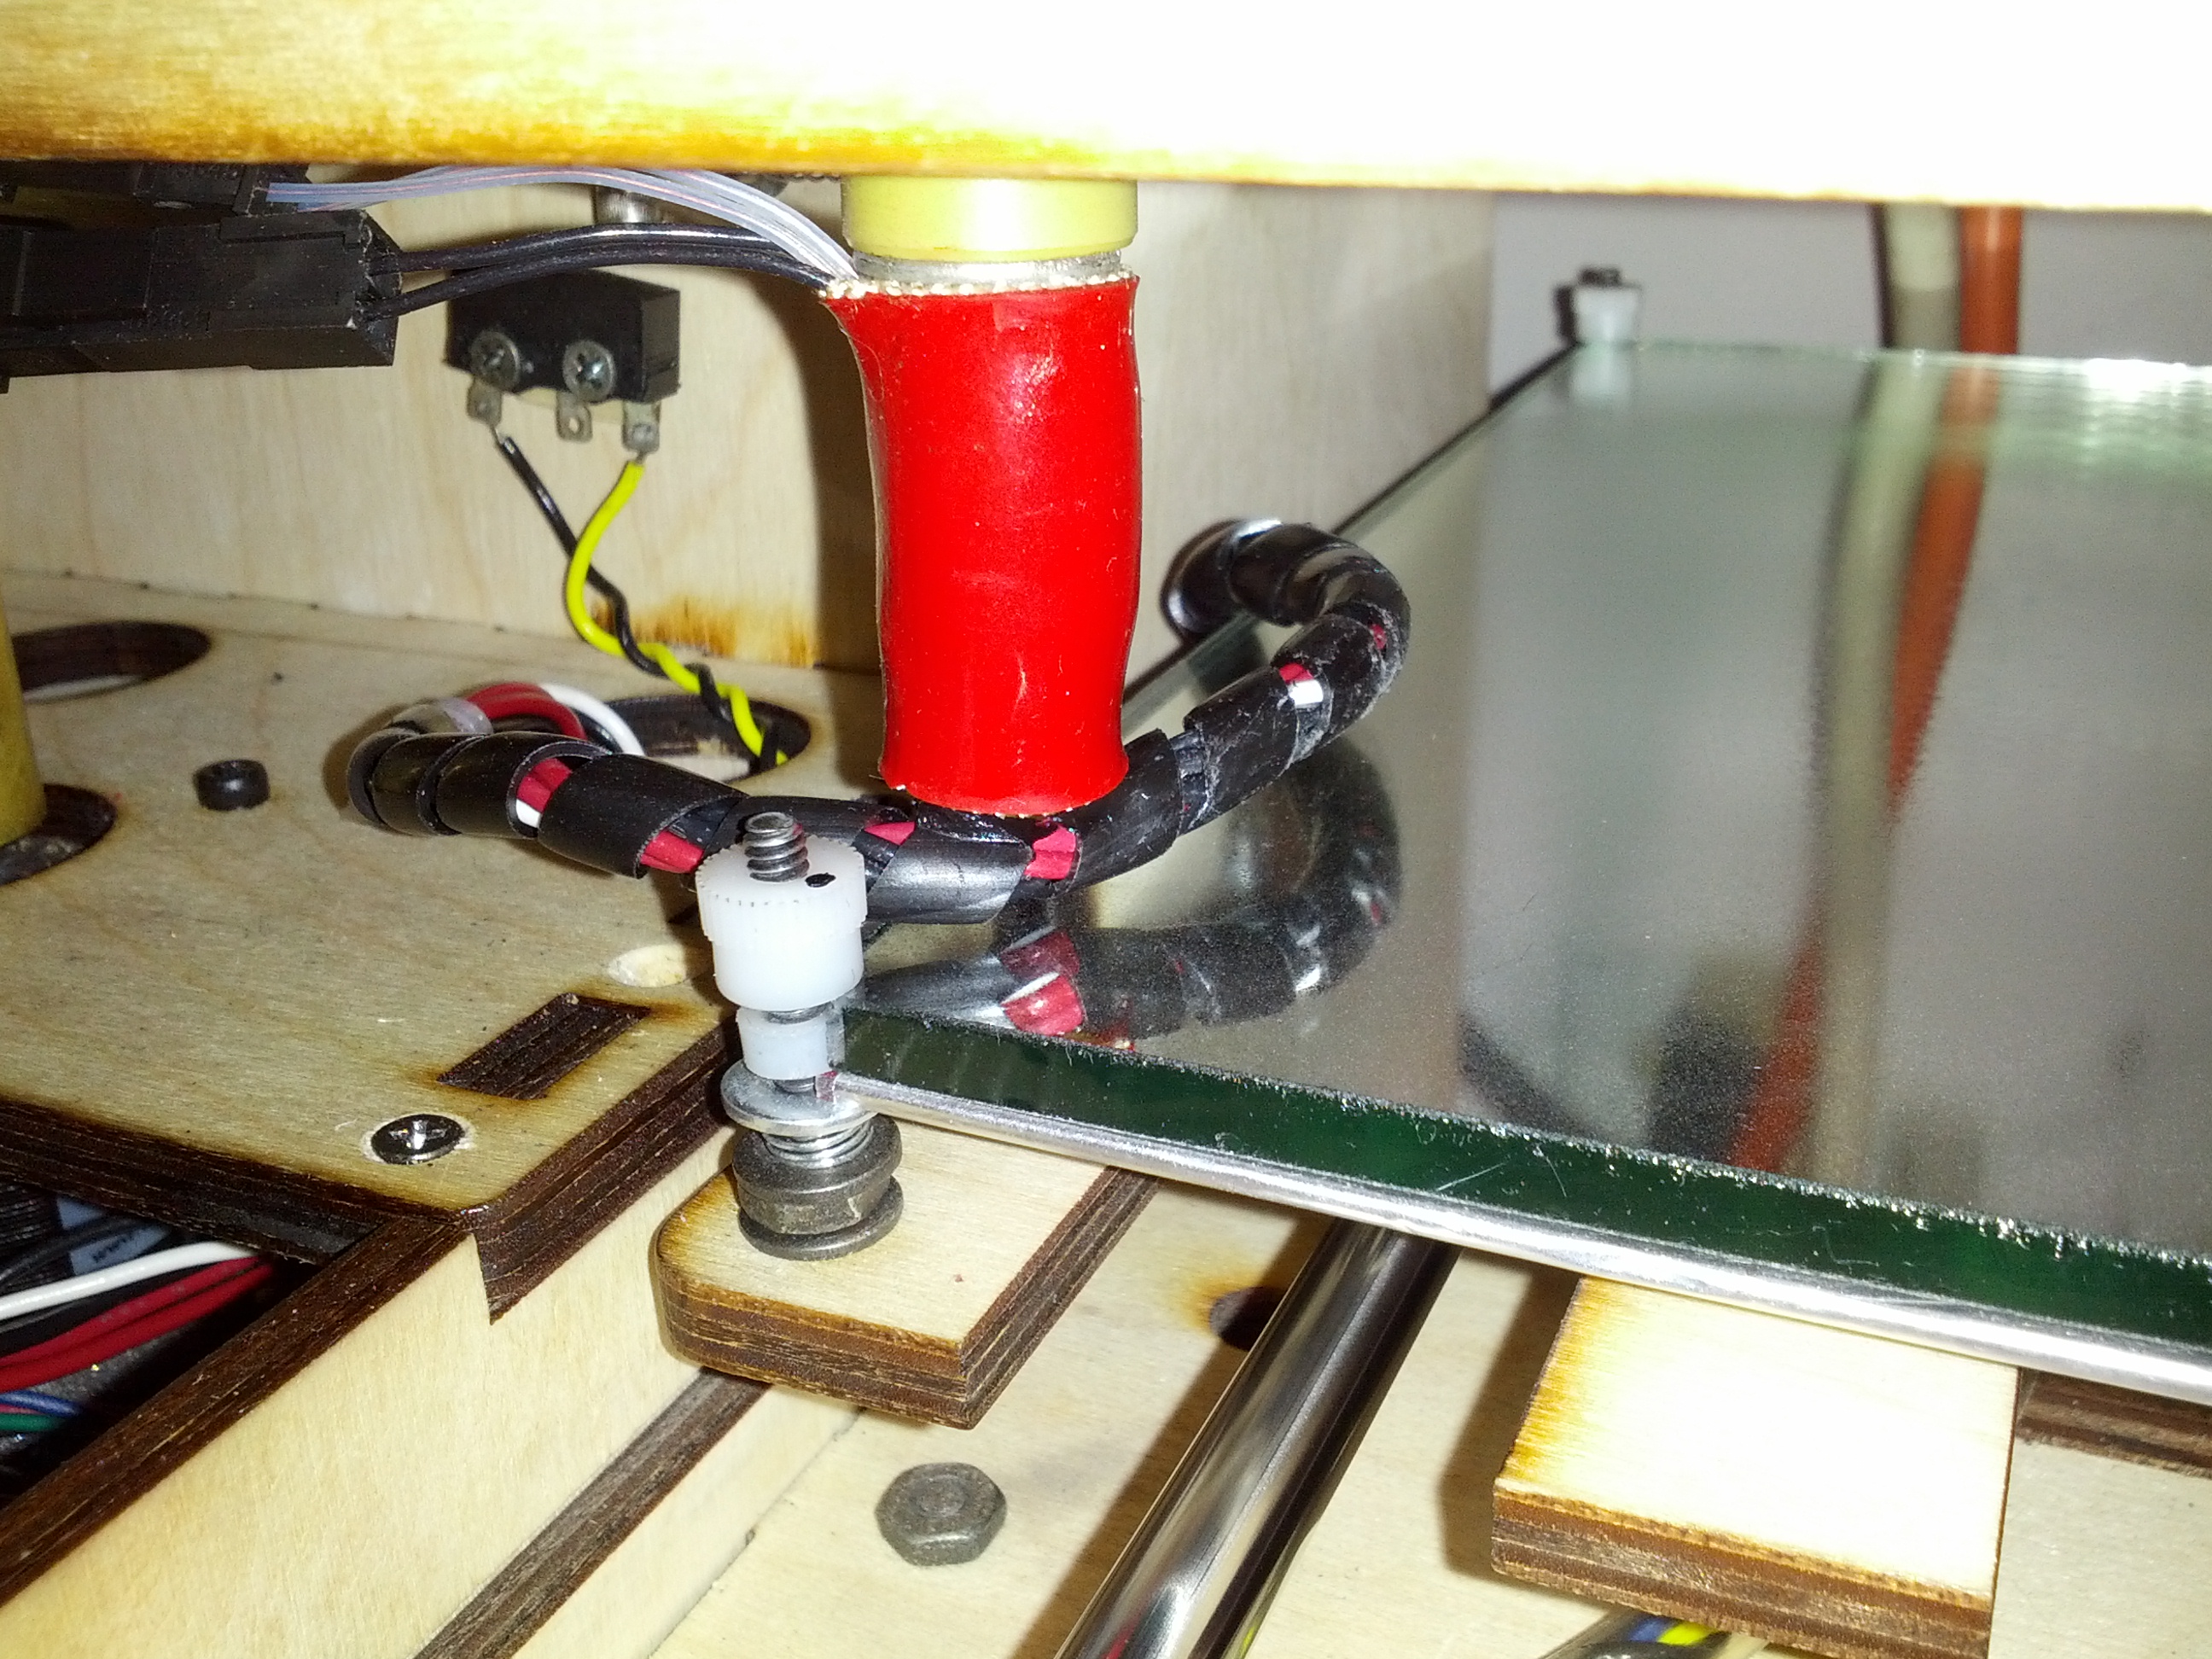
This heart pumping experience inspired me to rethink the wiring situation for the heated bed and this is what I came up with.
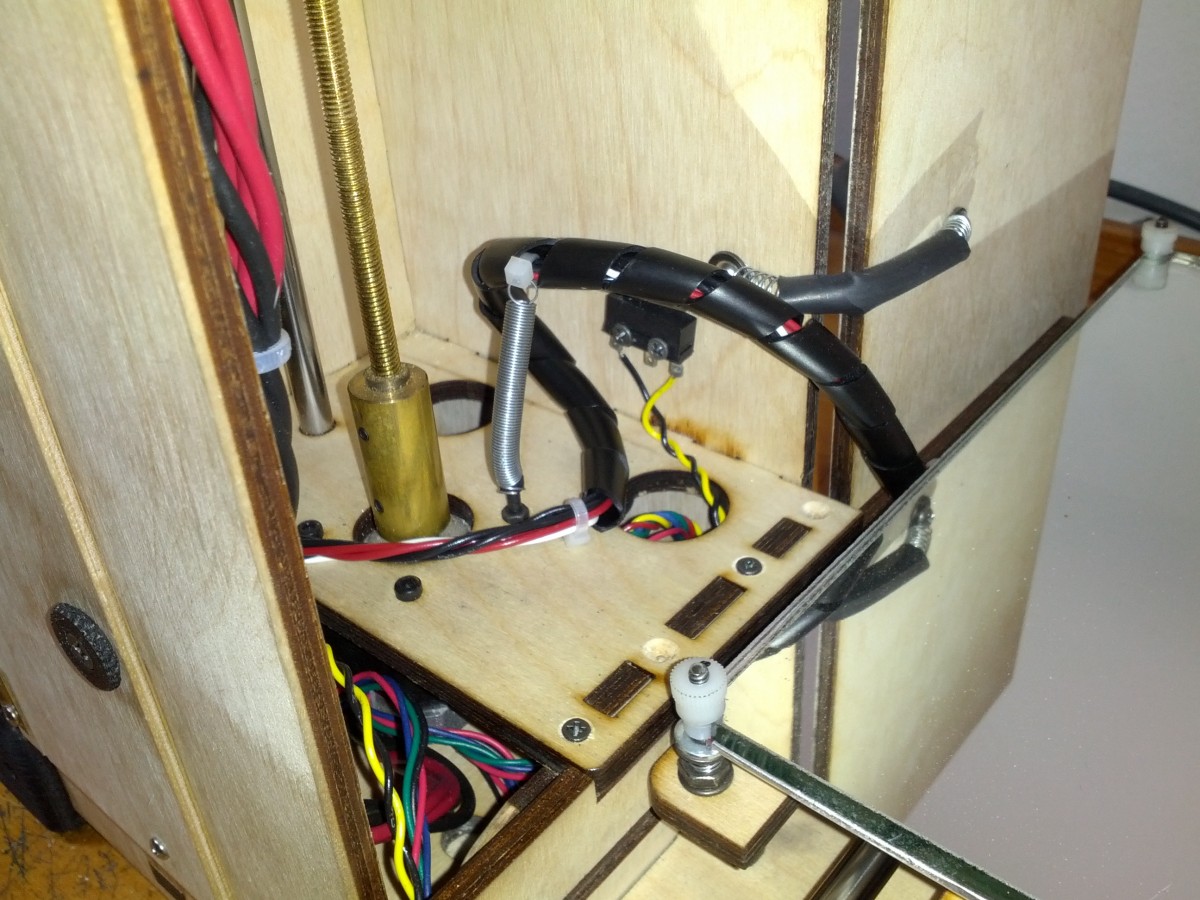
I took a leftover piece of the torsion spring that came with the bot for the back doors (they’re WAY too long as received) and attached it to an extended bolt I swapped in for one of the Z motor mounts on one side and to a cable tie about midway up the wire bundle to the heated bed on the other side. The spring doesn’t even really have to expand during the normal running of the bot, but then when you slide the drawer out to fold it up into a suitcase the spring provides the extra stretch necessary without stressing anything else too much. So far so good.
I think it’s time to calibrate finally.
Very iinteresting and well written — especially for us non-techie types! I love that you are the cutting edge of something HUGE