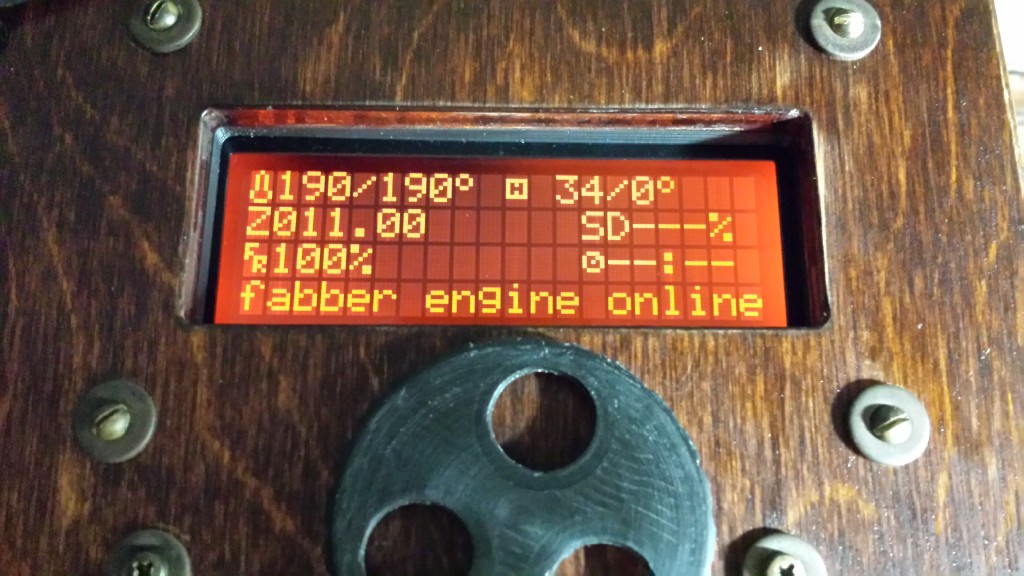
I think it was even in the comments on a blog post here that my friend Jon suggested that an amber LCD might be a nice modification to go along with the steampunk look. He linked me to one on Amazon and after agreeing with him in concept and thinking about it a little bit (but not enough, as will be made clear), I ordered the panel.
I did go so far as to confirm that it was a 20 characters x 4 lines panel, but didn’t pay the first bit of attention to any of the other specs. When it arrived, it didn’t take long to notice that it only had ten holes in the pcb to connect it and the white-on-blue LCD screen that came with the original printrbot LCD had 16. At this point it seemed like a good idea to slow down a little bit and try to confirm that I was ordering the correct replacement for the next one.
It turns out there was some controversy surrounding (at least) one of the batches of LCDs printrbot had supplied, with the wrong voltage causing a variety of problems for the unfortunate owners. Eventually the community was able to ascertain that the correct LCD panels should have 5V screens but some of them came with 3.3V screens and required the replacement of one of the resistors on the pcb to function properly. So anyway, I found and ordered an amber on black LCD that matched as many specs as I could bring myself to verify (comprehend is another matter) and then went about the laborious business of attempting to detach the original LCD screen and pcb from the pcb containing the encoder, ribbon connectors and other bits.
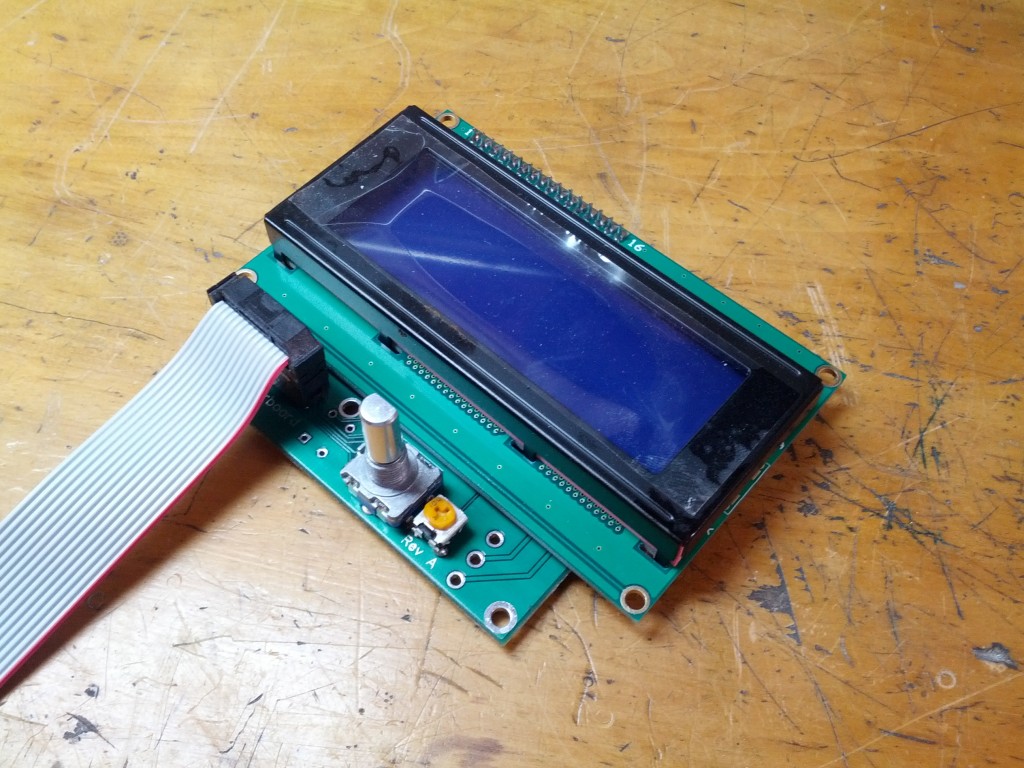
Unsoldering is MUCH more difficult than soldering as far as I can tell and I had to do some serious Dremel-milling around the pins to finally get the damn screen separated from the underlying pcb, but I was not to be deterred.
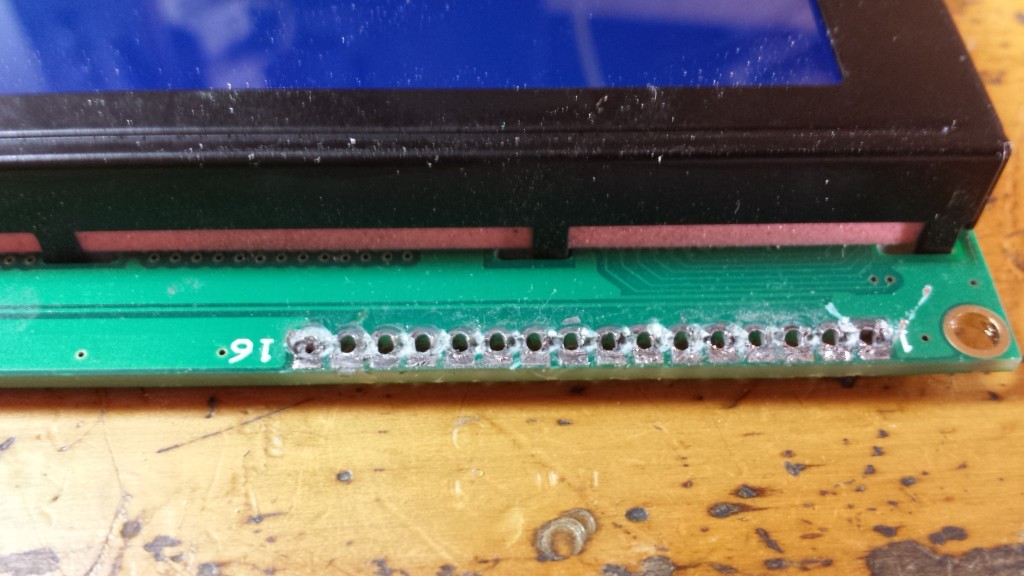
Installing the amber on black LCD was a piece of cake after this extended surgery session and, all glory be to Jah, it worked. And yes, I modded Marlin to give you me a cutesy machine name and ready message.
The next aesthetic (and arguably functional) mod I took on was replacing the extruder gear with a bronze (looking) spur gear from Shapeways. Drawcut drafted some spur gears for the printrbot extruder and posted them to Thingiverse some time back and I had heard good things from those that were using them. Gear design is of course something of perennial interest to me as a watchmaker and I understood this tooth profile to be optimized for smooth, consistent transmission of power.
What was really important though was that I thought if I had it printed for me by Shapeways in their “Antique Bronze Matte” material that is would add considerably to the steampunk look. I decided to take Drawcut’s design and skeletonize the teeth and add three spokes in the wavy-S shape of a watchmaker’s topping tool and labored over this design for many hours in OpenSCAD to get it right.

I struggled with whether or not this was a good idea on a couple levels. For one, I had proceeded up to this point with the approach that everything inside the bot stays “new” looking (for the most part) and everything outside looks aged (kind of like it had traveled through time or something) and this extruder gear would violate this design rule. However, the extruder gear is such a visual focal point that I thought it would add a lot of interest to have a steampunk element here. From a functional standpoint, adding a heavy extruder gear is not a great idea on a mobile X-axis gantry as far as printing speed is concerned AND printrbot has recently changed to an even lighter direct drive 1.75 mm filament extruder, so I wasn’t sure how much sense it would make to take a step backwards (as far as weight is concerned) on what is already a last generation design. Obviously I only humored these misgivings for a little minute.
Then I got a little sticker-shock when I uploaded the design to Shapeways and found out it would be over $100 to print in Antique Bronze Matte but, as I keep telling myself, what price beauty?
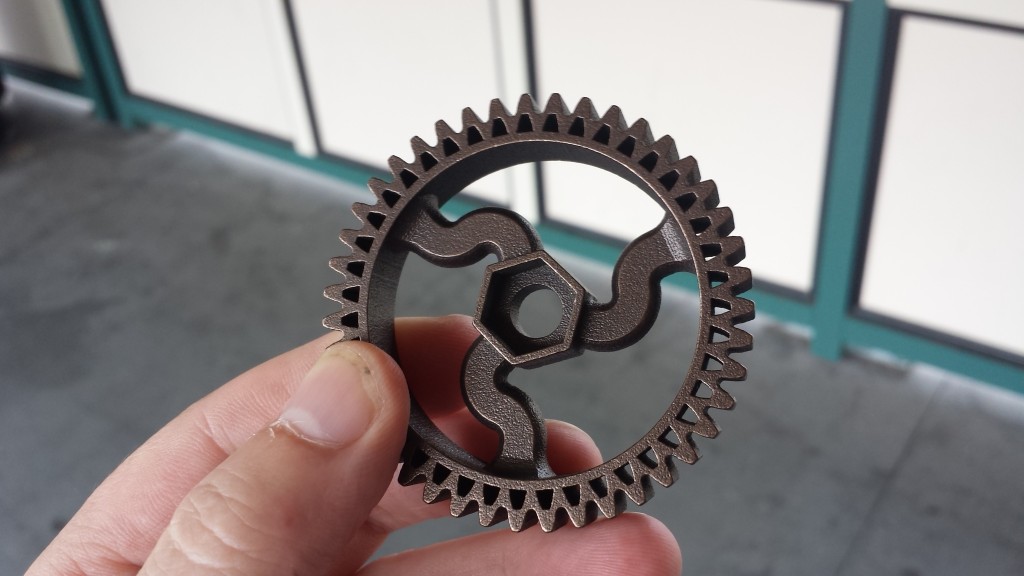
I placed an order simultaneously for Drawcut’s small extruder gear in black nylon and they both arrived much more quickly than promised. I loved it when I received it, but when I installed it, I realized that the color was a little too consistent.
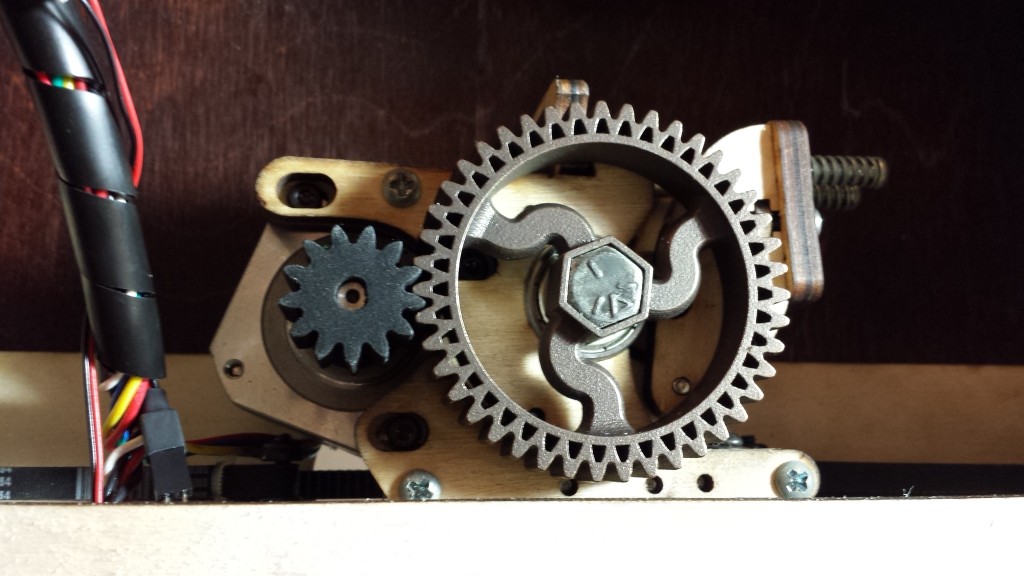
So then I went about distressing it a little by shining up the high spots with a Dremel fitted with a steel wire brush. Unfortunately the oxidizing agent I’ve been using to “age” other metal components didn’t have any affect on the curious metal (plating or substrate), so I wasn’t able to darken up the recesses, but I’m pretty happy with the results anyway.
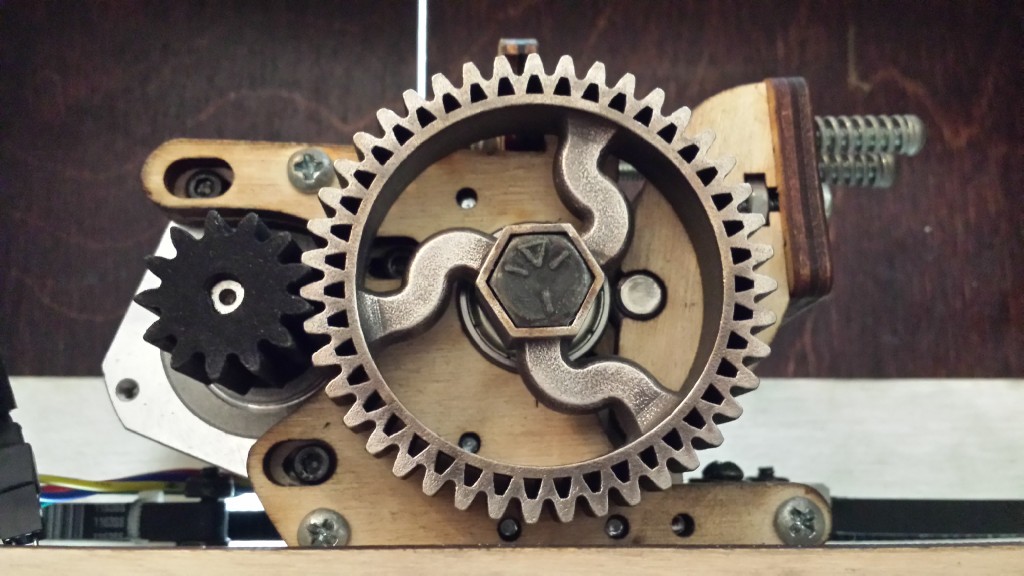
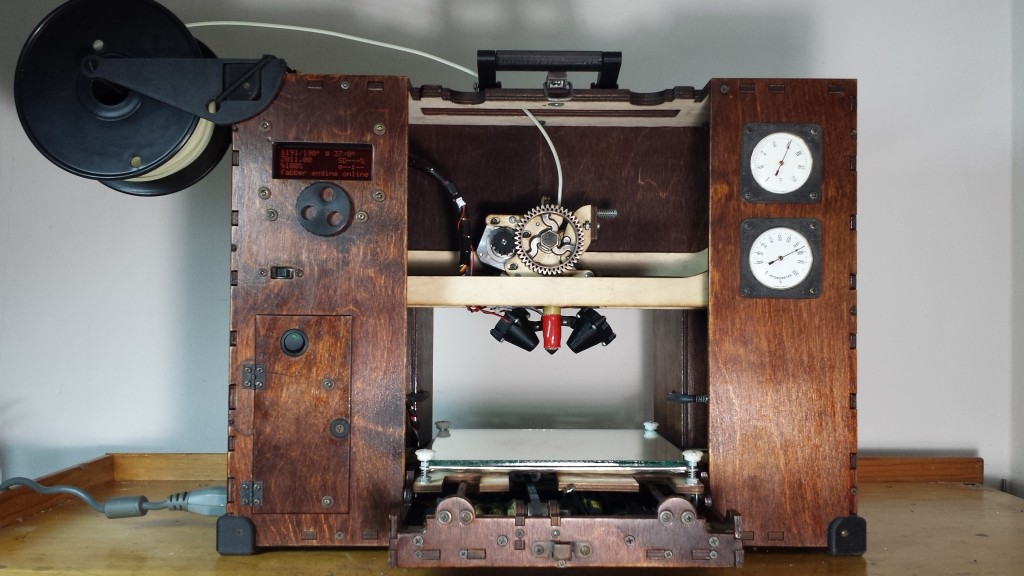
And the completed look with the amber LCD and the new extruder gear is quite pleasing I think. And yes, you can download the design from Thingiverse also. It prints OK in PLA or ABS, but I think it’s clear that it was made for bronze. Oh yeah, and it works great.
Hello!
Please tell me where you bought this 20×4 Display in that Color!
I would need one!
Greets Hans
I don’t remember specifically, but when I googled “Amber and black LCD” just now I saw a variety that looked similar.
Good luck!
_john