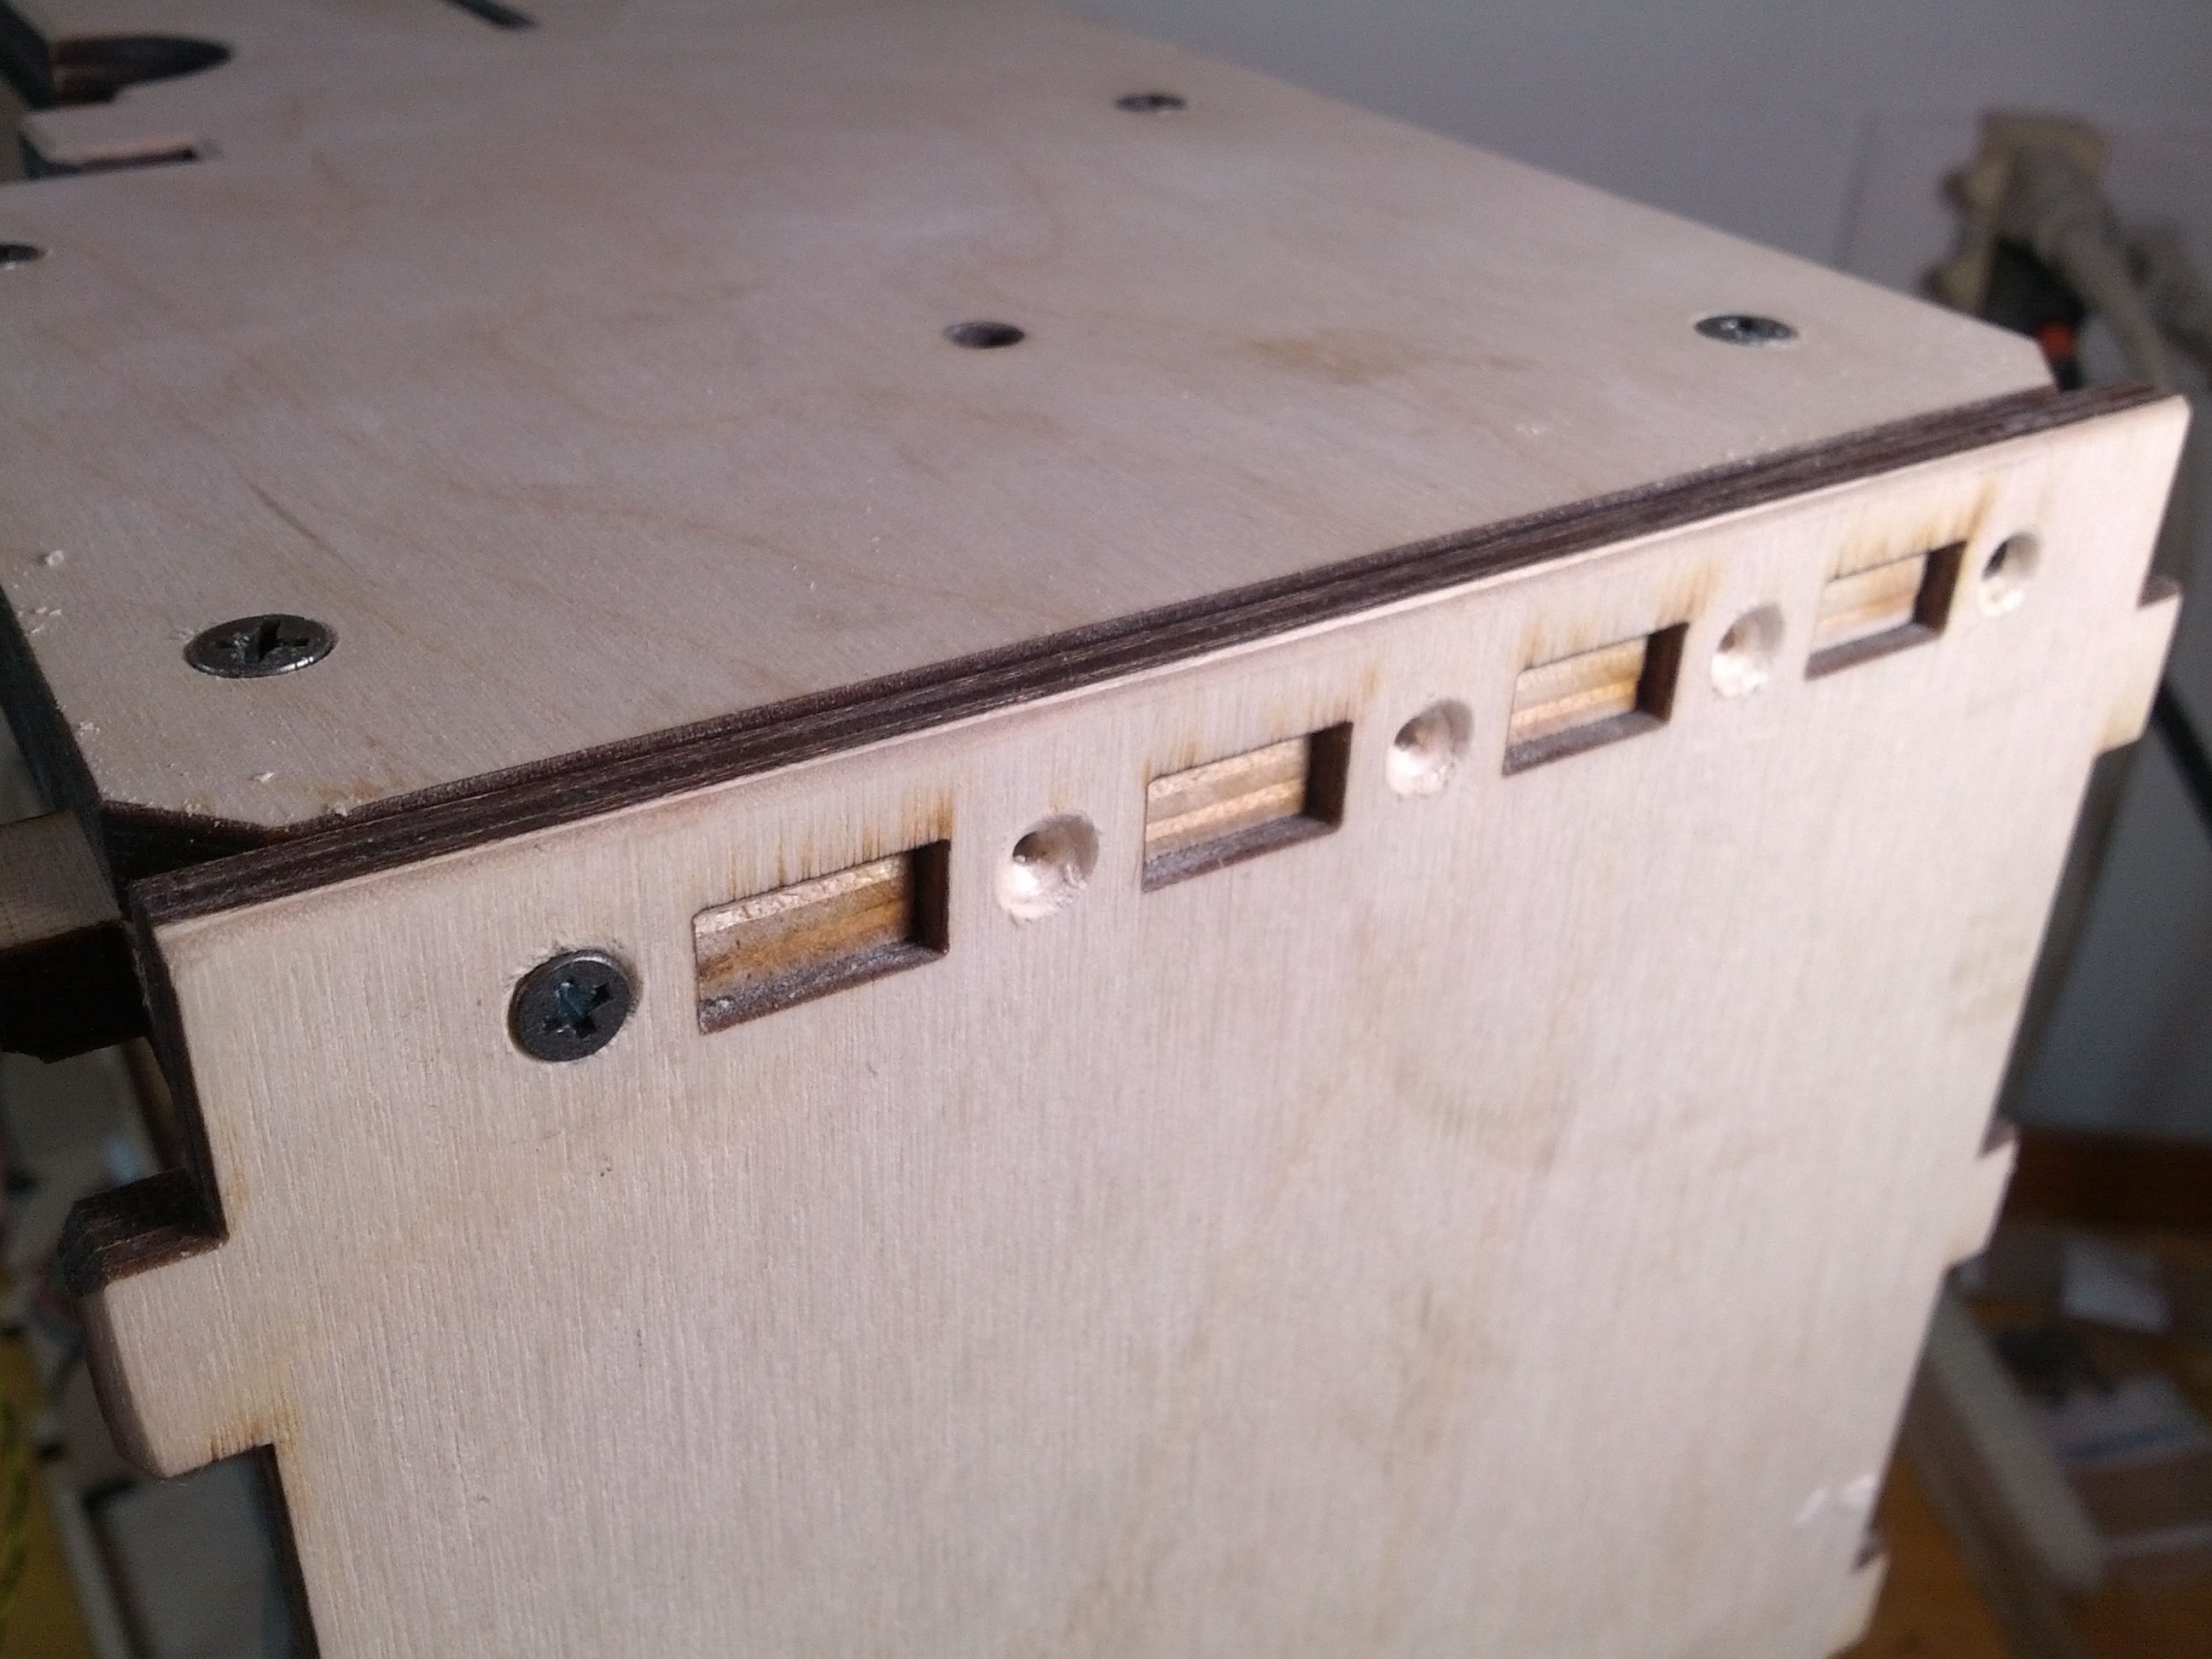
So with the X axis assembly, um, assembled… it’s time to start putting the box together. For the top and the bottom, it seems that Brook recommends wood glue. I can’t say for sure I won’t do that later, but for now I’ve decided instead to beef up the attachments using countersunk screws and nuts instead.
You see, there are a few places where you absolutely need countersunk screws and don’t have them. The panel in the bottom of the drawer that will expose the Y axis belt securing bits and the six or seven screws that secure the lower panel of the bottom drawer to the top really have to be countersunk and flush with the bottom or else the drawer won’t slide in the frame.
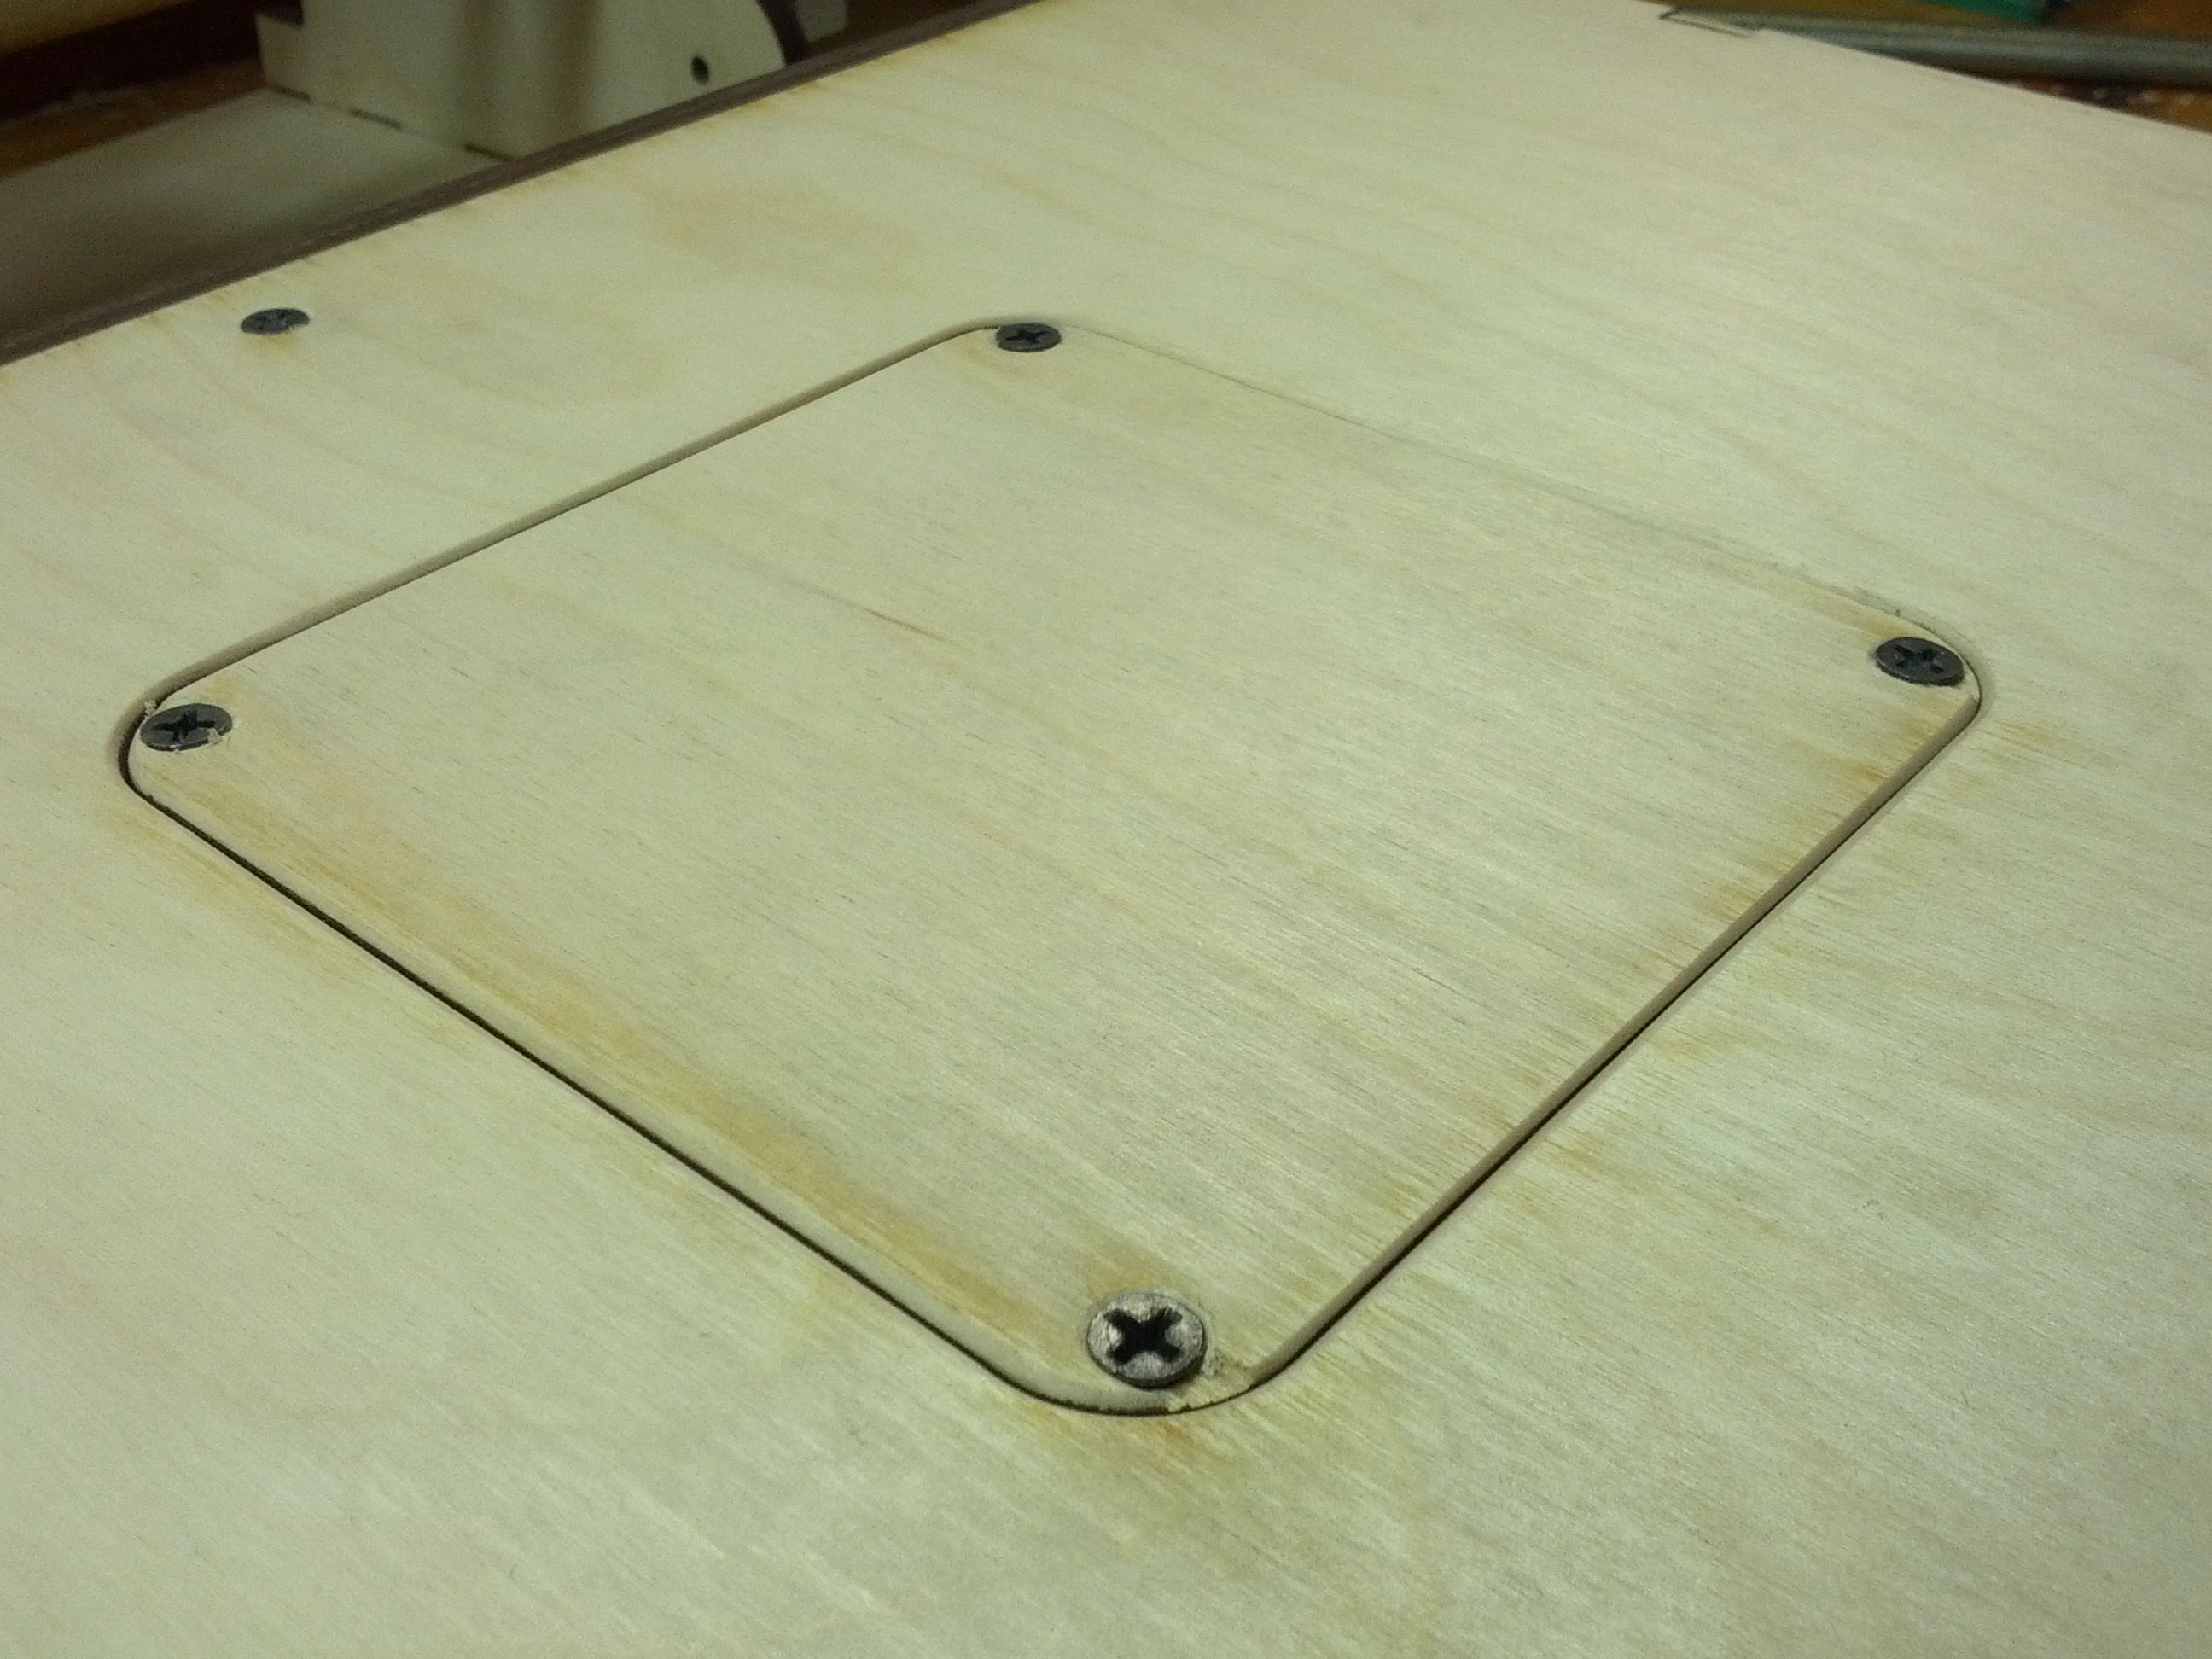
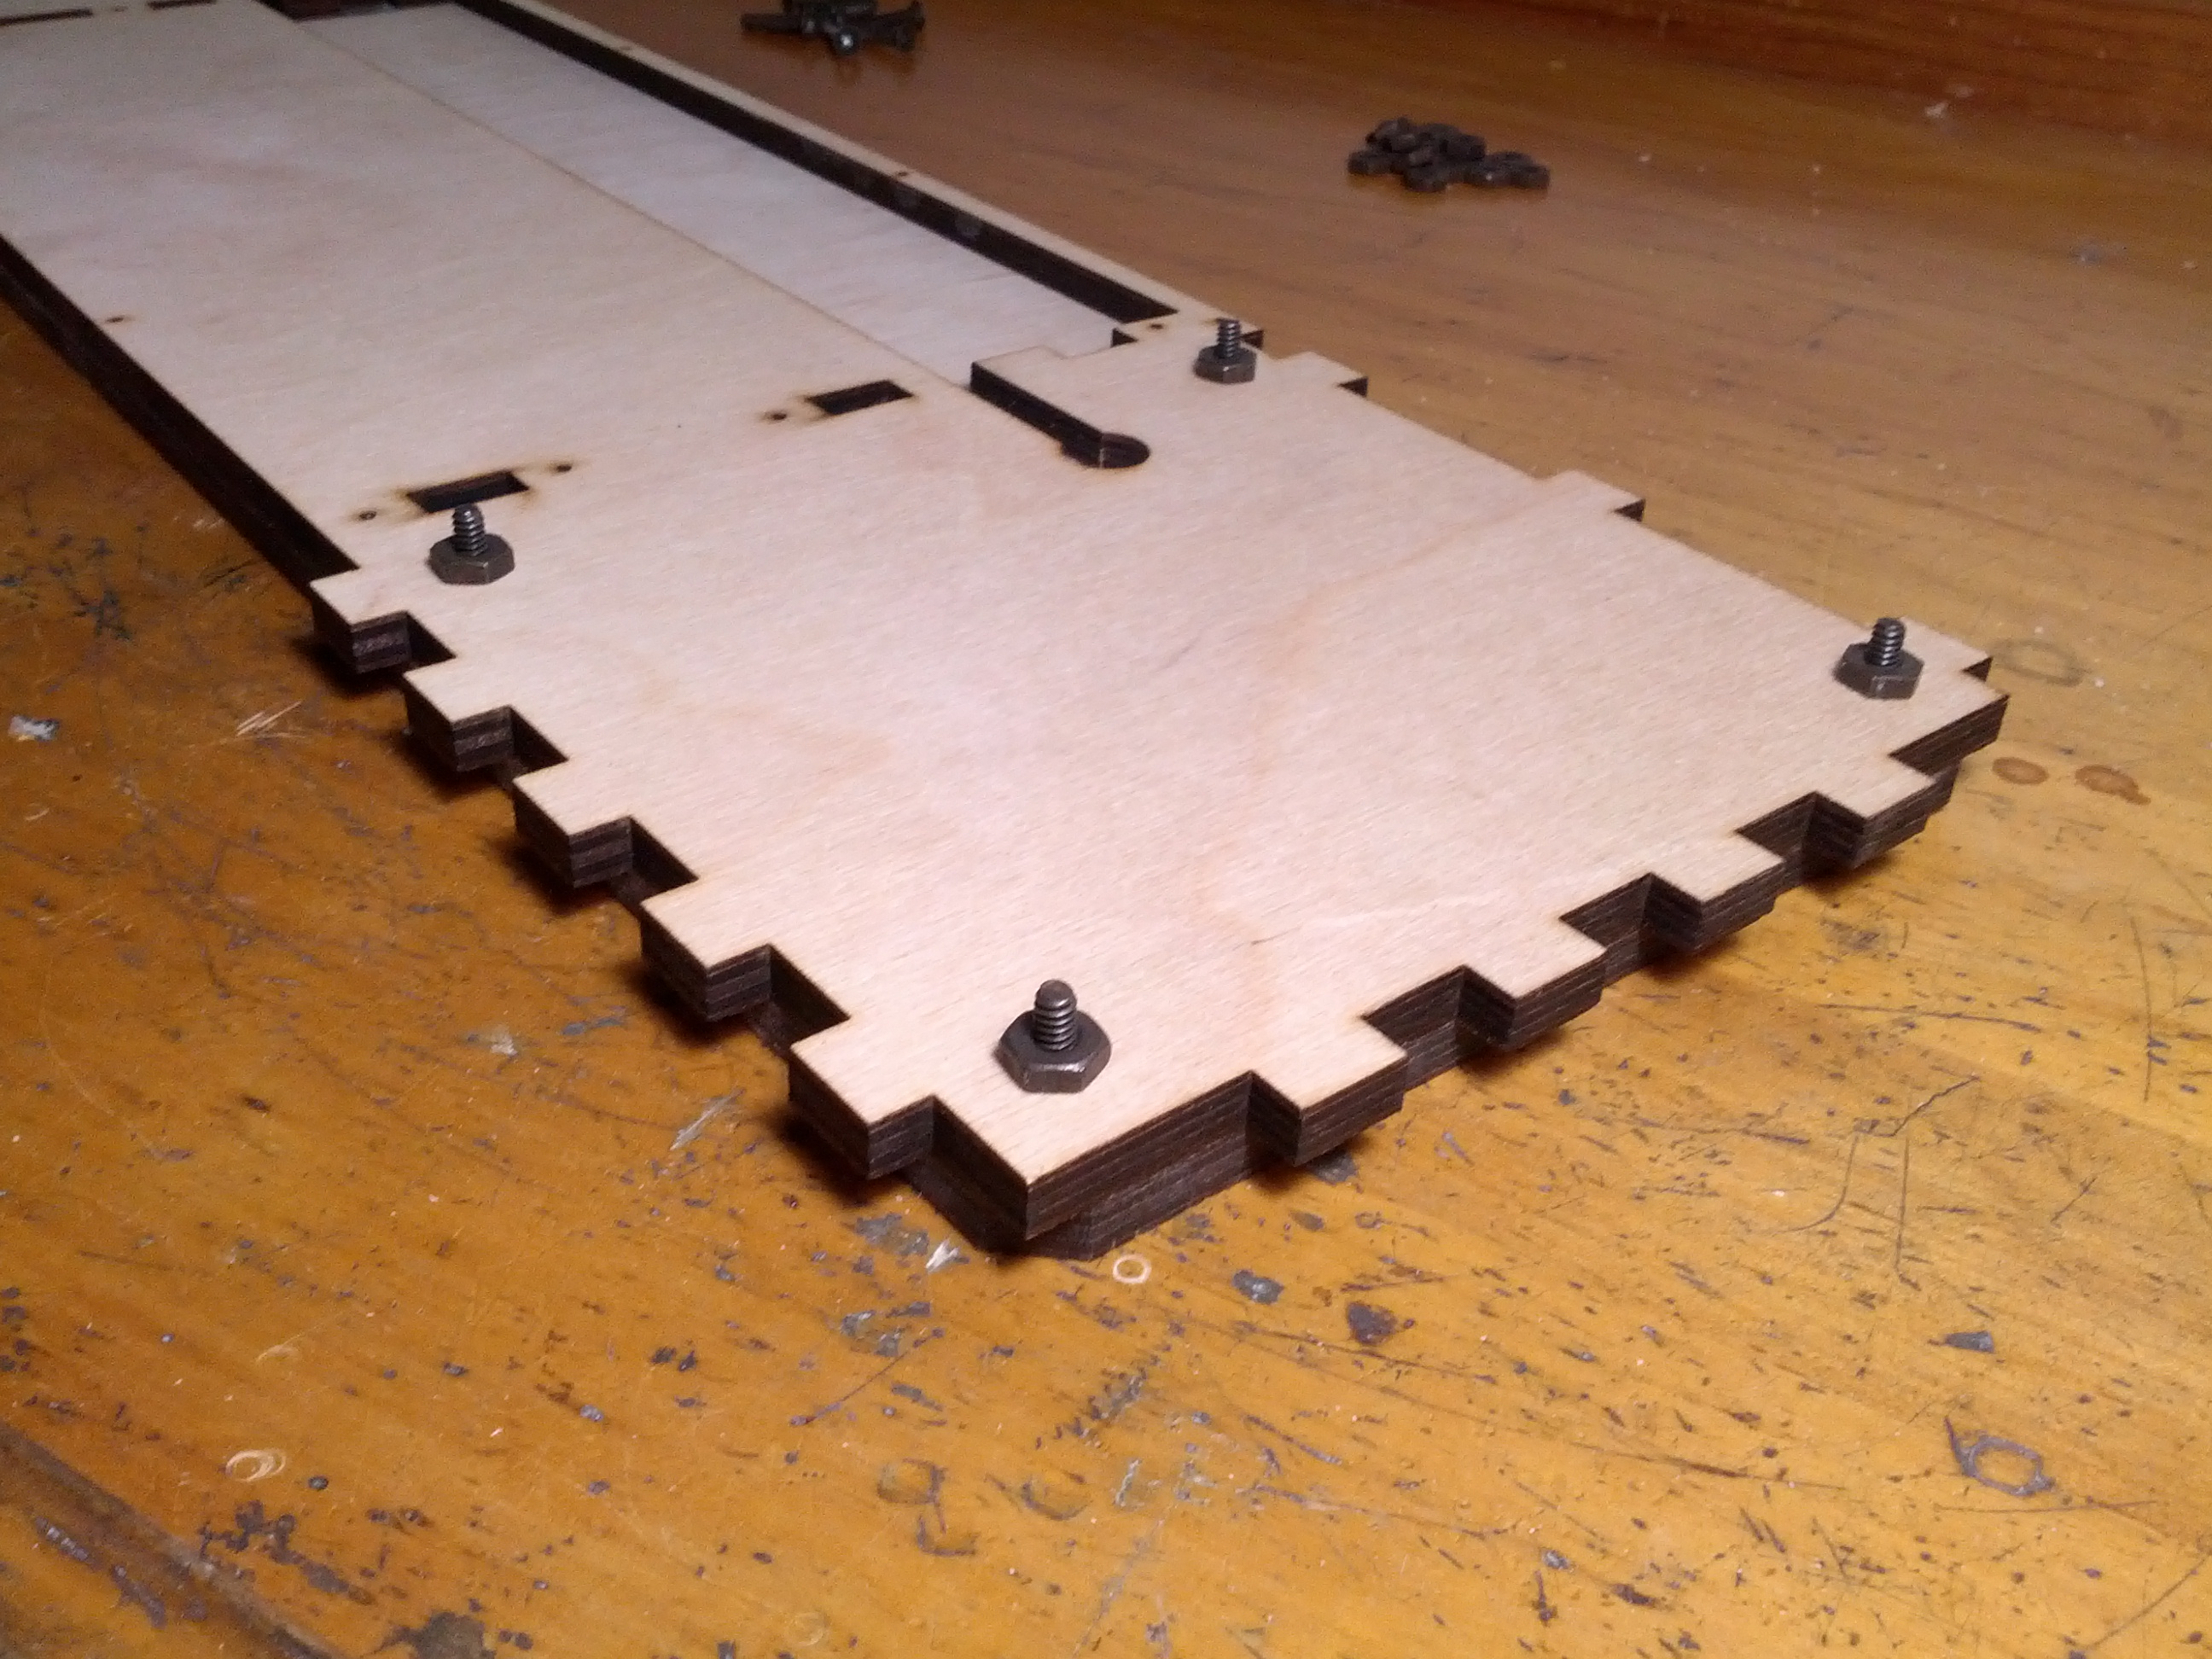
In the instructions, Brook mentions this explicitly about the panel, but the large holes in the lower panel seem to be asking for large screws also even though there are no matching holes in the upper of the two bottom panels in the drawer. It’s not clear what is going here really, but it essentially leaves you with the option to use wood screws OR larger screws, and since I had ordered larger screws with flush (countersunk) heads anyway, I just decided to use these large screws with countersinks from the bottom and nuts inside the drawers for extra security.
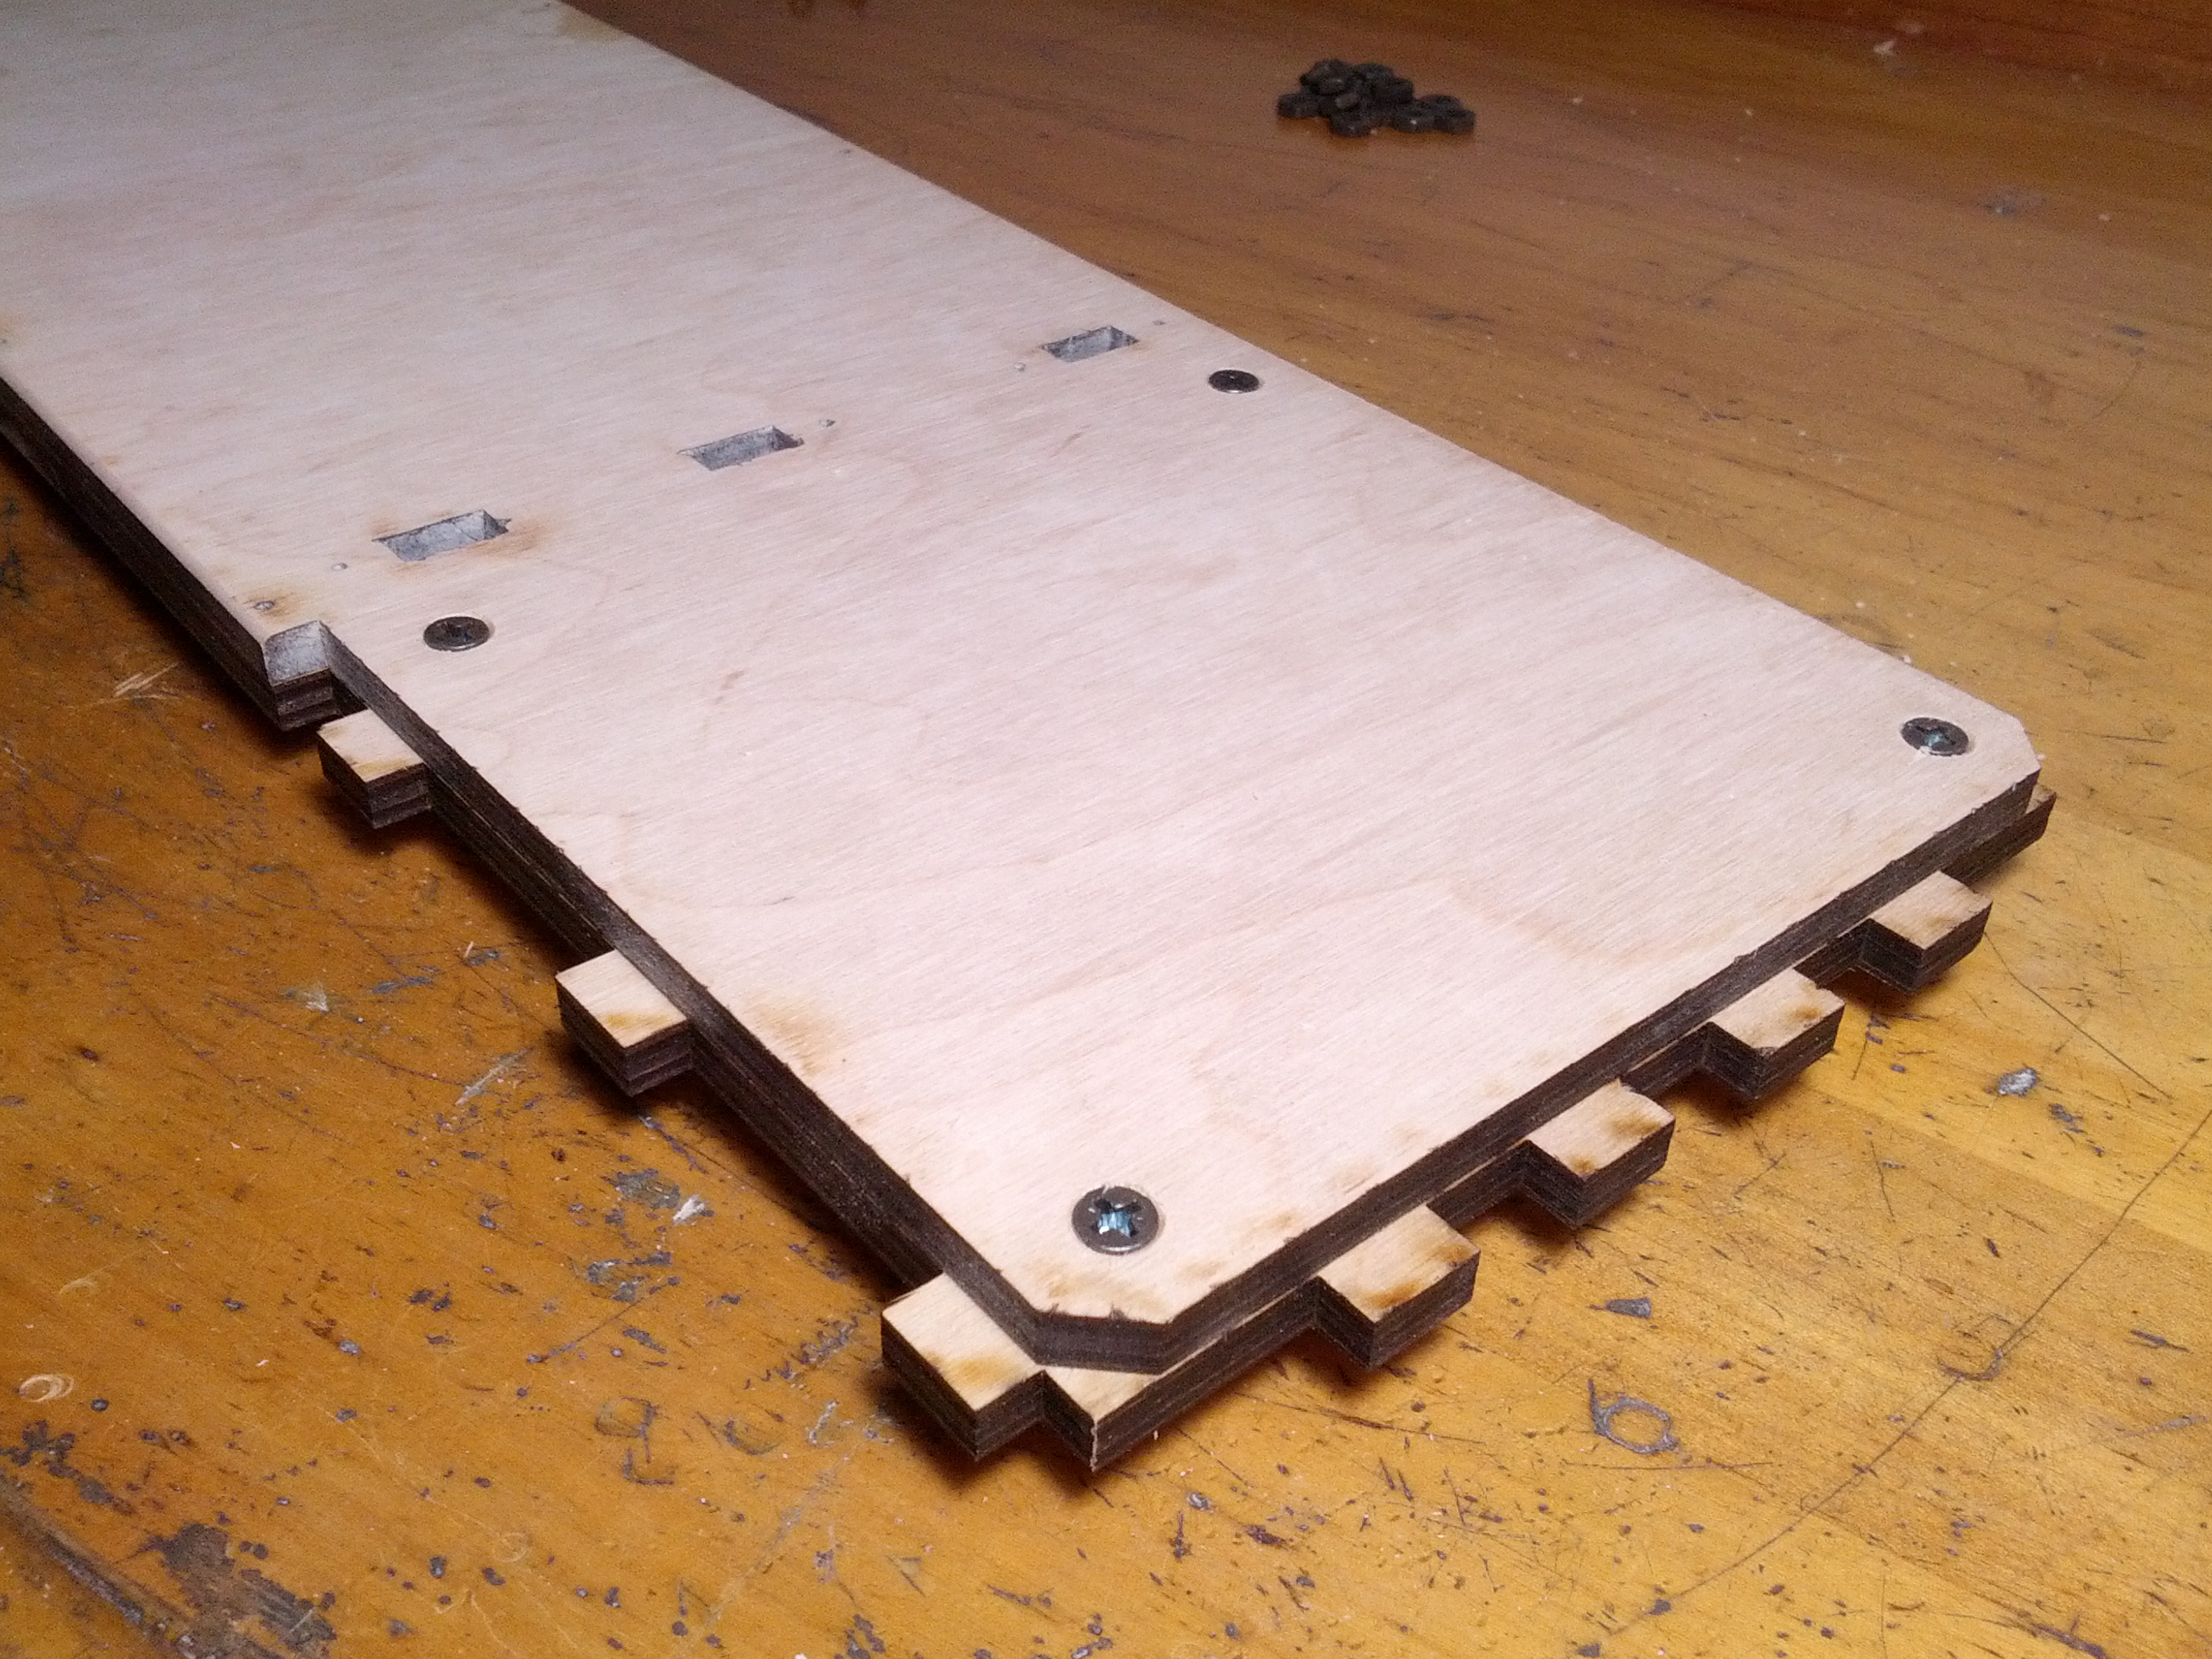
So anyway, having these extra screws around (wanting them in a hurry, getting 100 of each size was the only option; at only a few dollars per 100, I can’t complain I guess), I decided this was the way to go for the bottom of the box as well.
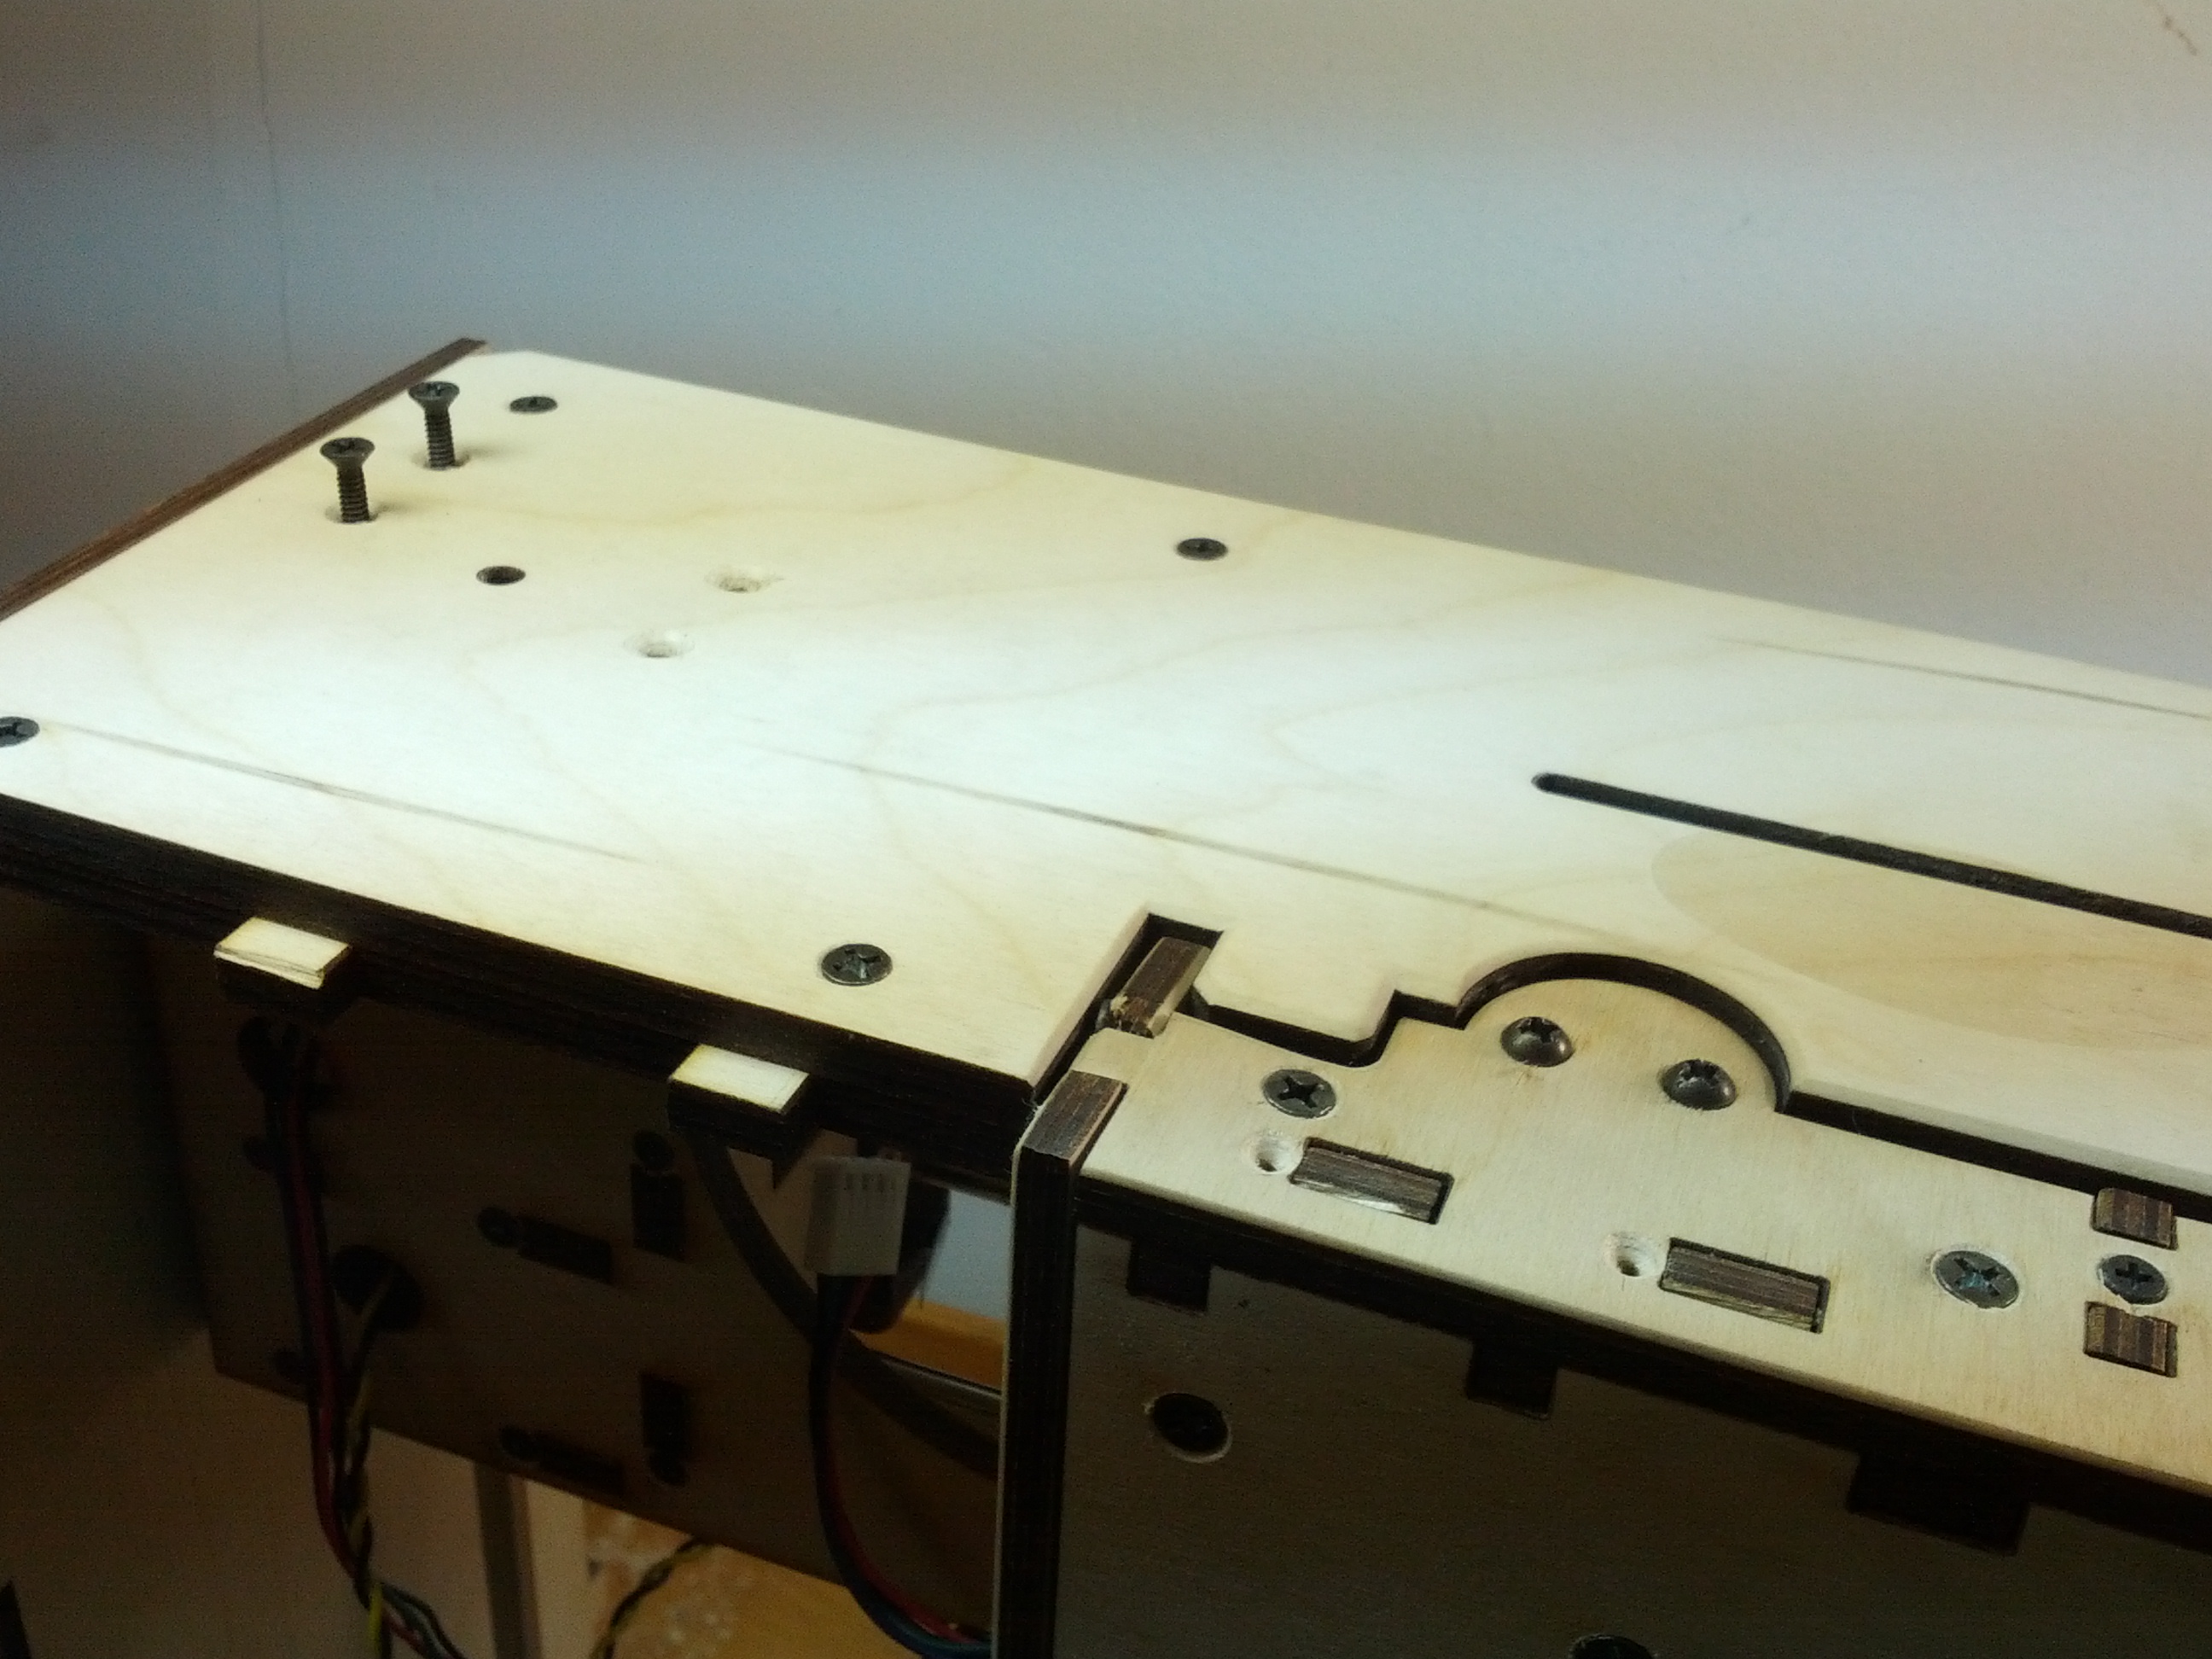
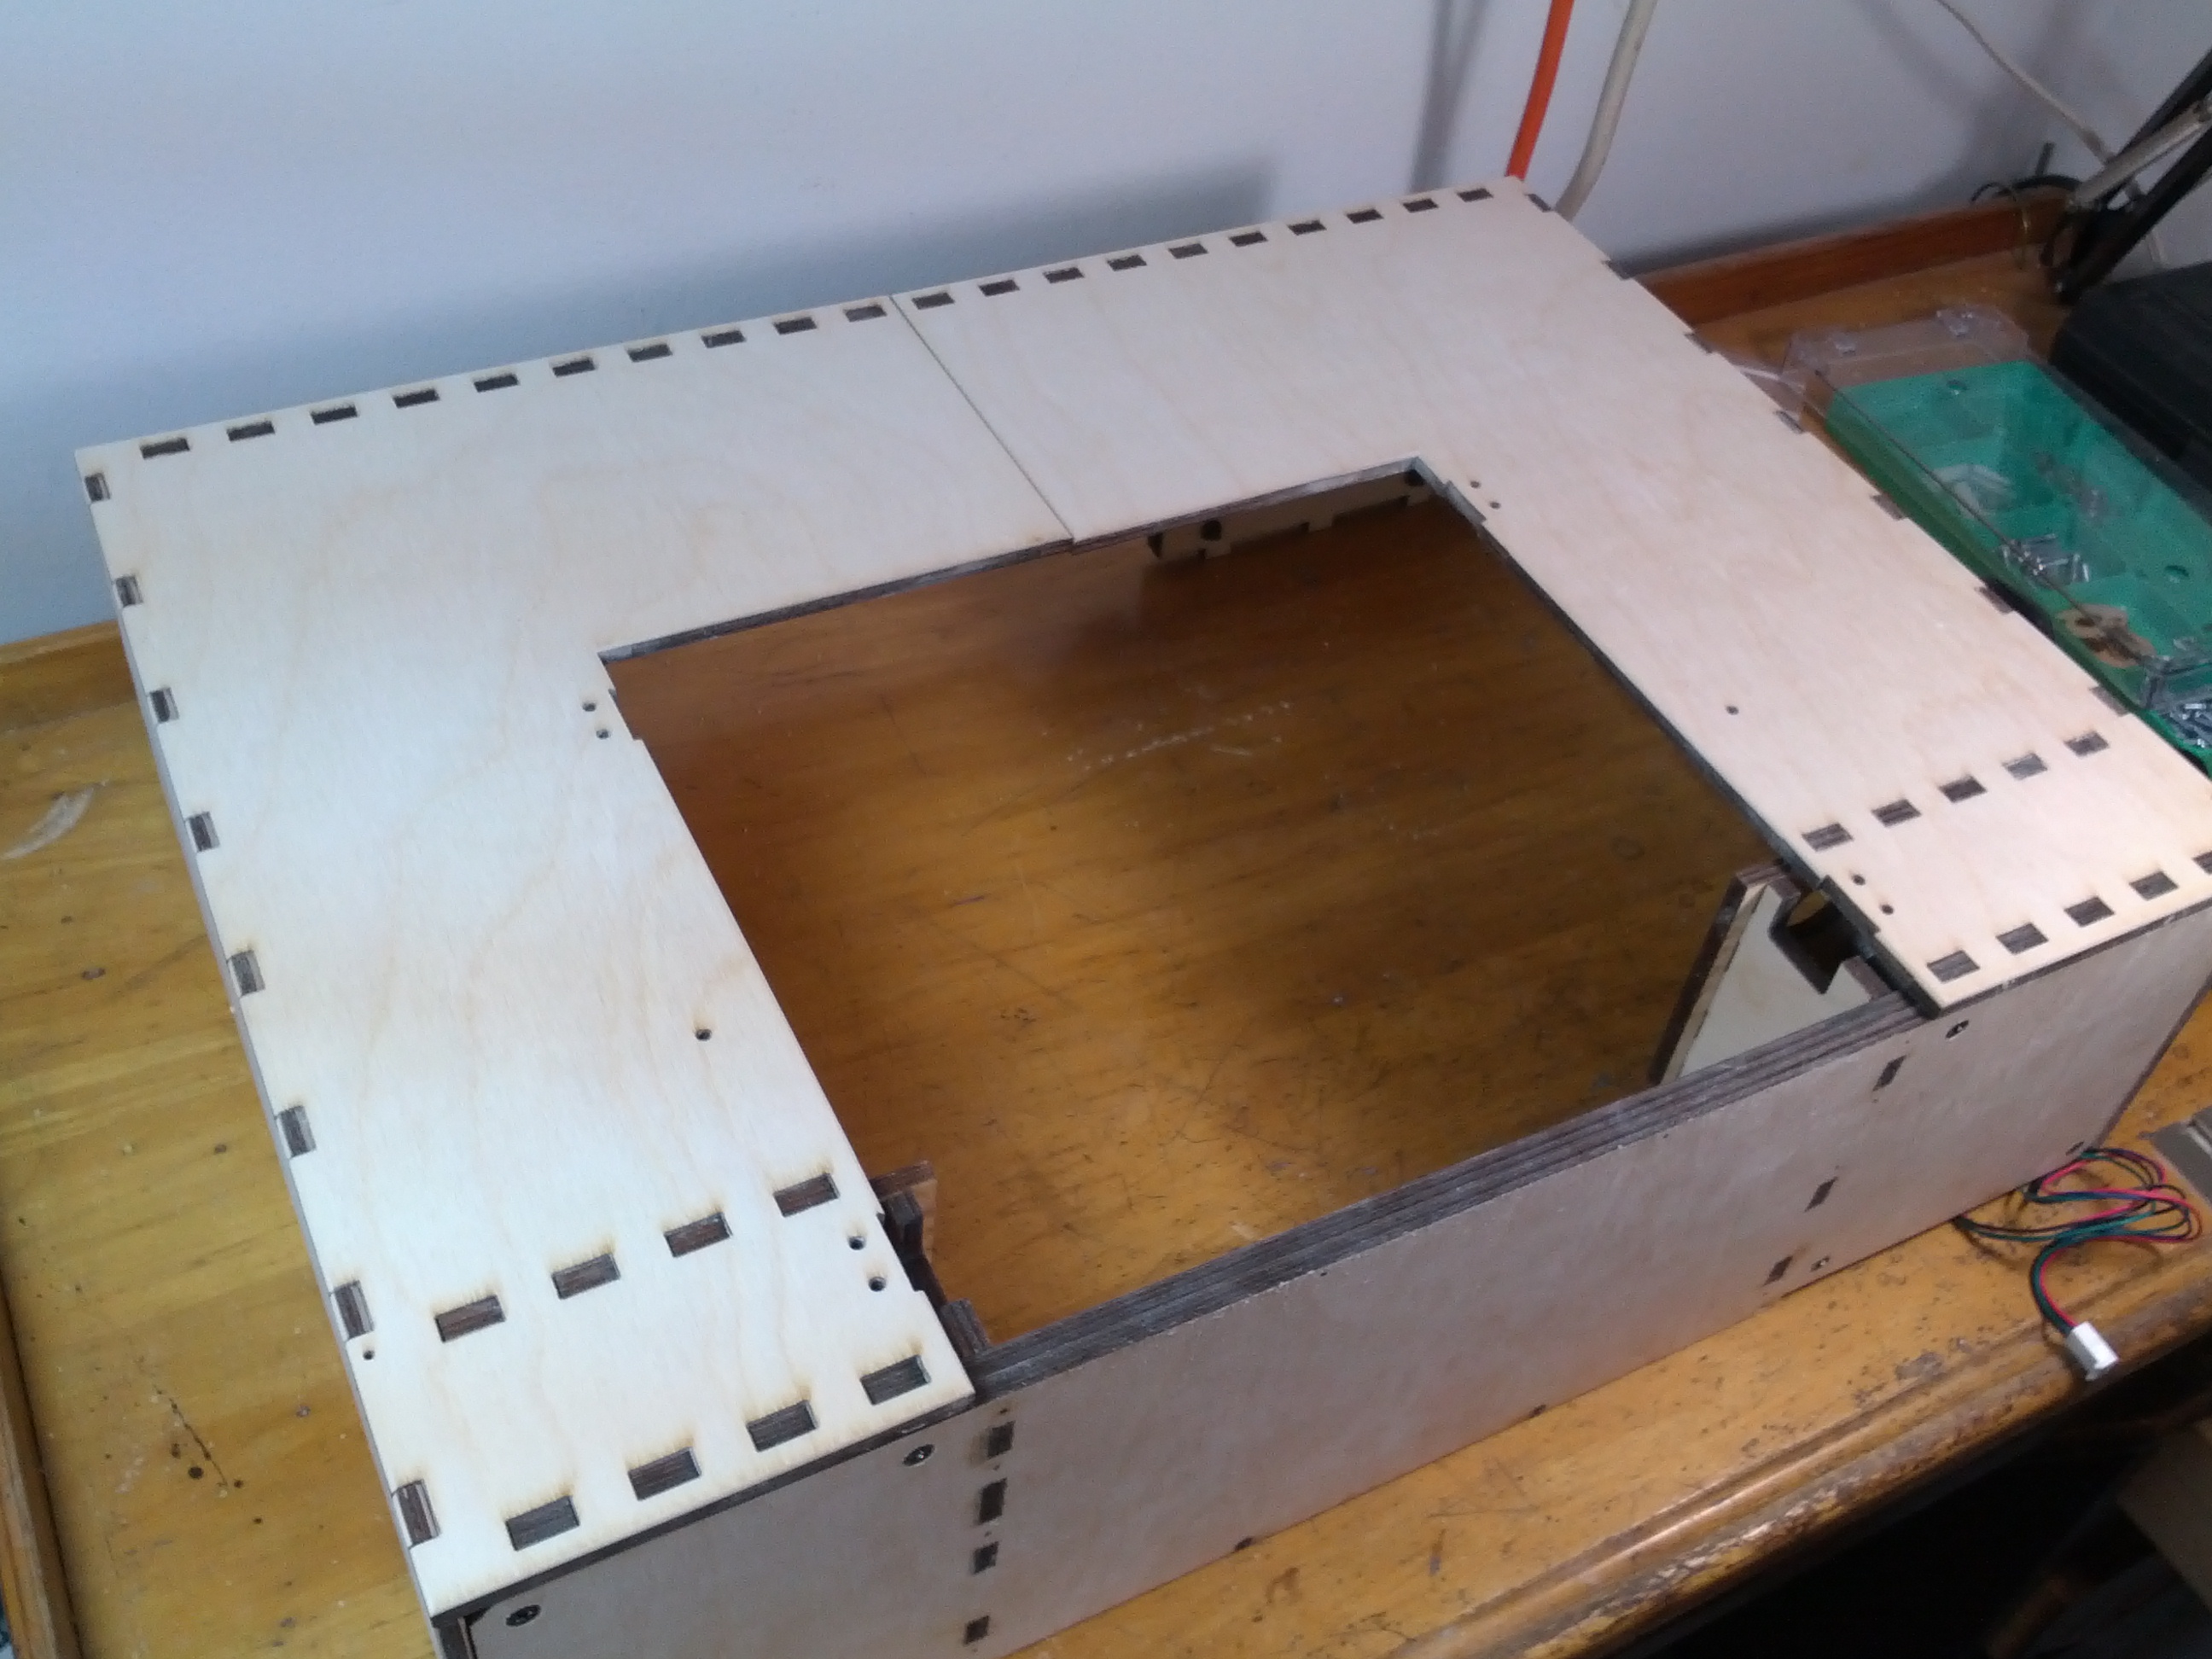
I had a little countersinking freak-out on the upper panel of the top of the box as well before I realized I might’ve liked button head screws on top. You kind of have to use button head screws to secure the donuts for the Y axis guide rod brackets (they’re in slots to allow a little adjustment, so you can’t really countersink those too easily), and since those screw heads are on top when the bot is closed, it might’ve looked nice to have some other button head screws on top also. Oh well.
So when trying to work out the sliding action of the drawer (with the Y axis assembly), I decided to go ahead and secure the thin little strip of wood at the front edge of the inside of the box and realized that the standard wood screws might actually be a little long. Nothing a bit of filing can’t fix though.

But we’re faced also with the problem of trying to use the same screws to secure the small upright panels that serve as the sides of the channel for the drawer and the supports for the Z axis motor mounts. I mentioned already that we have hardware stores, right? Slightly longer screws were in order for this application.
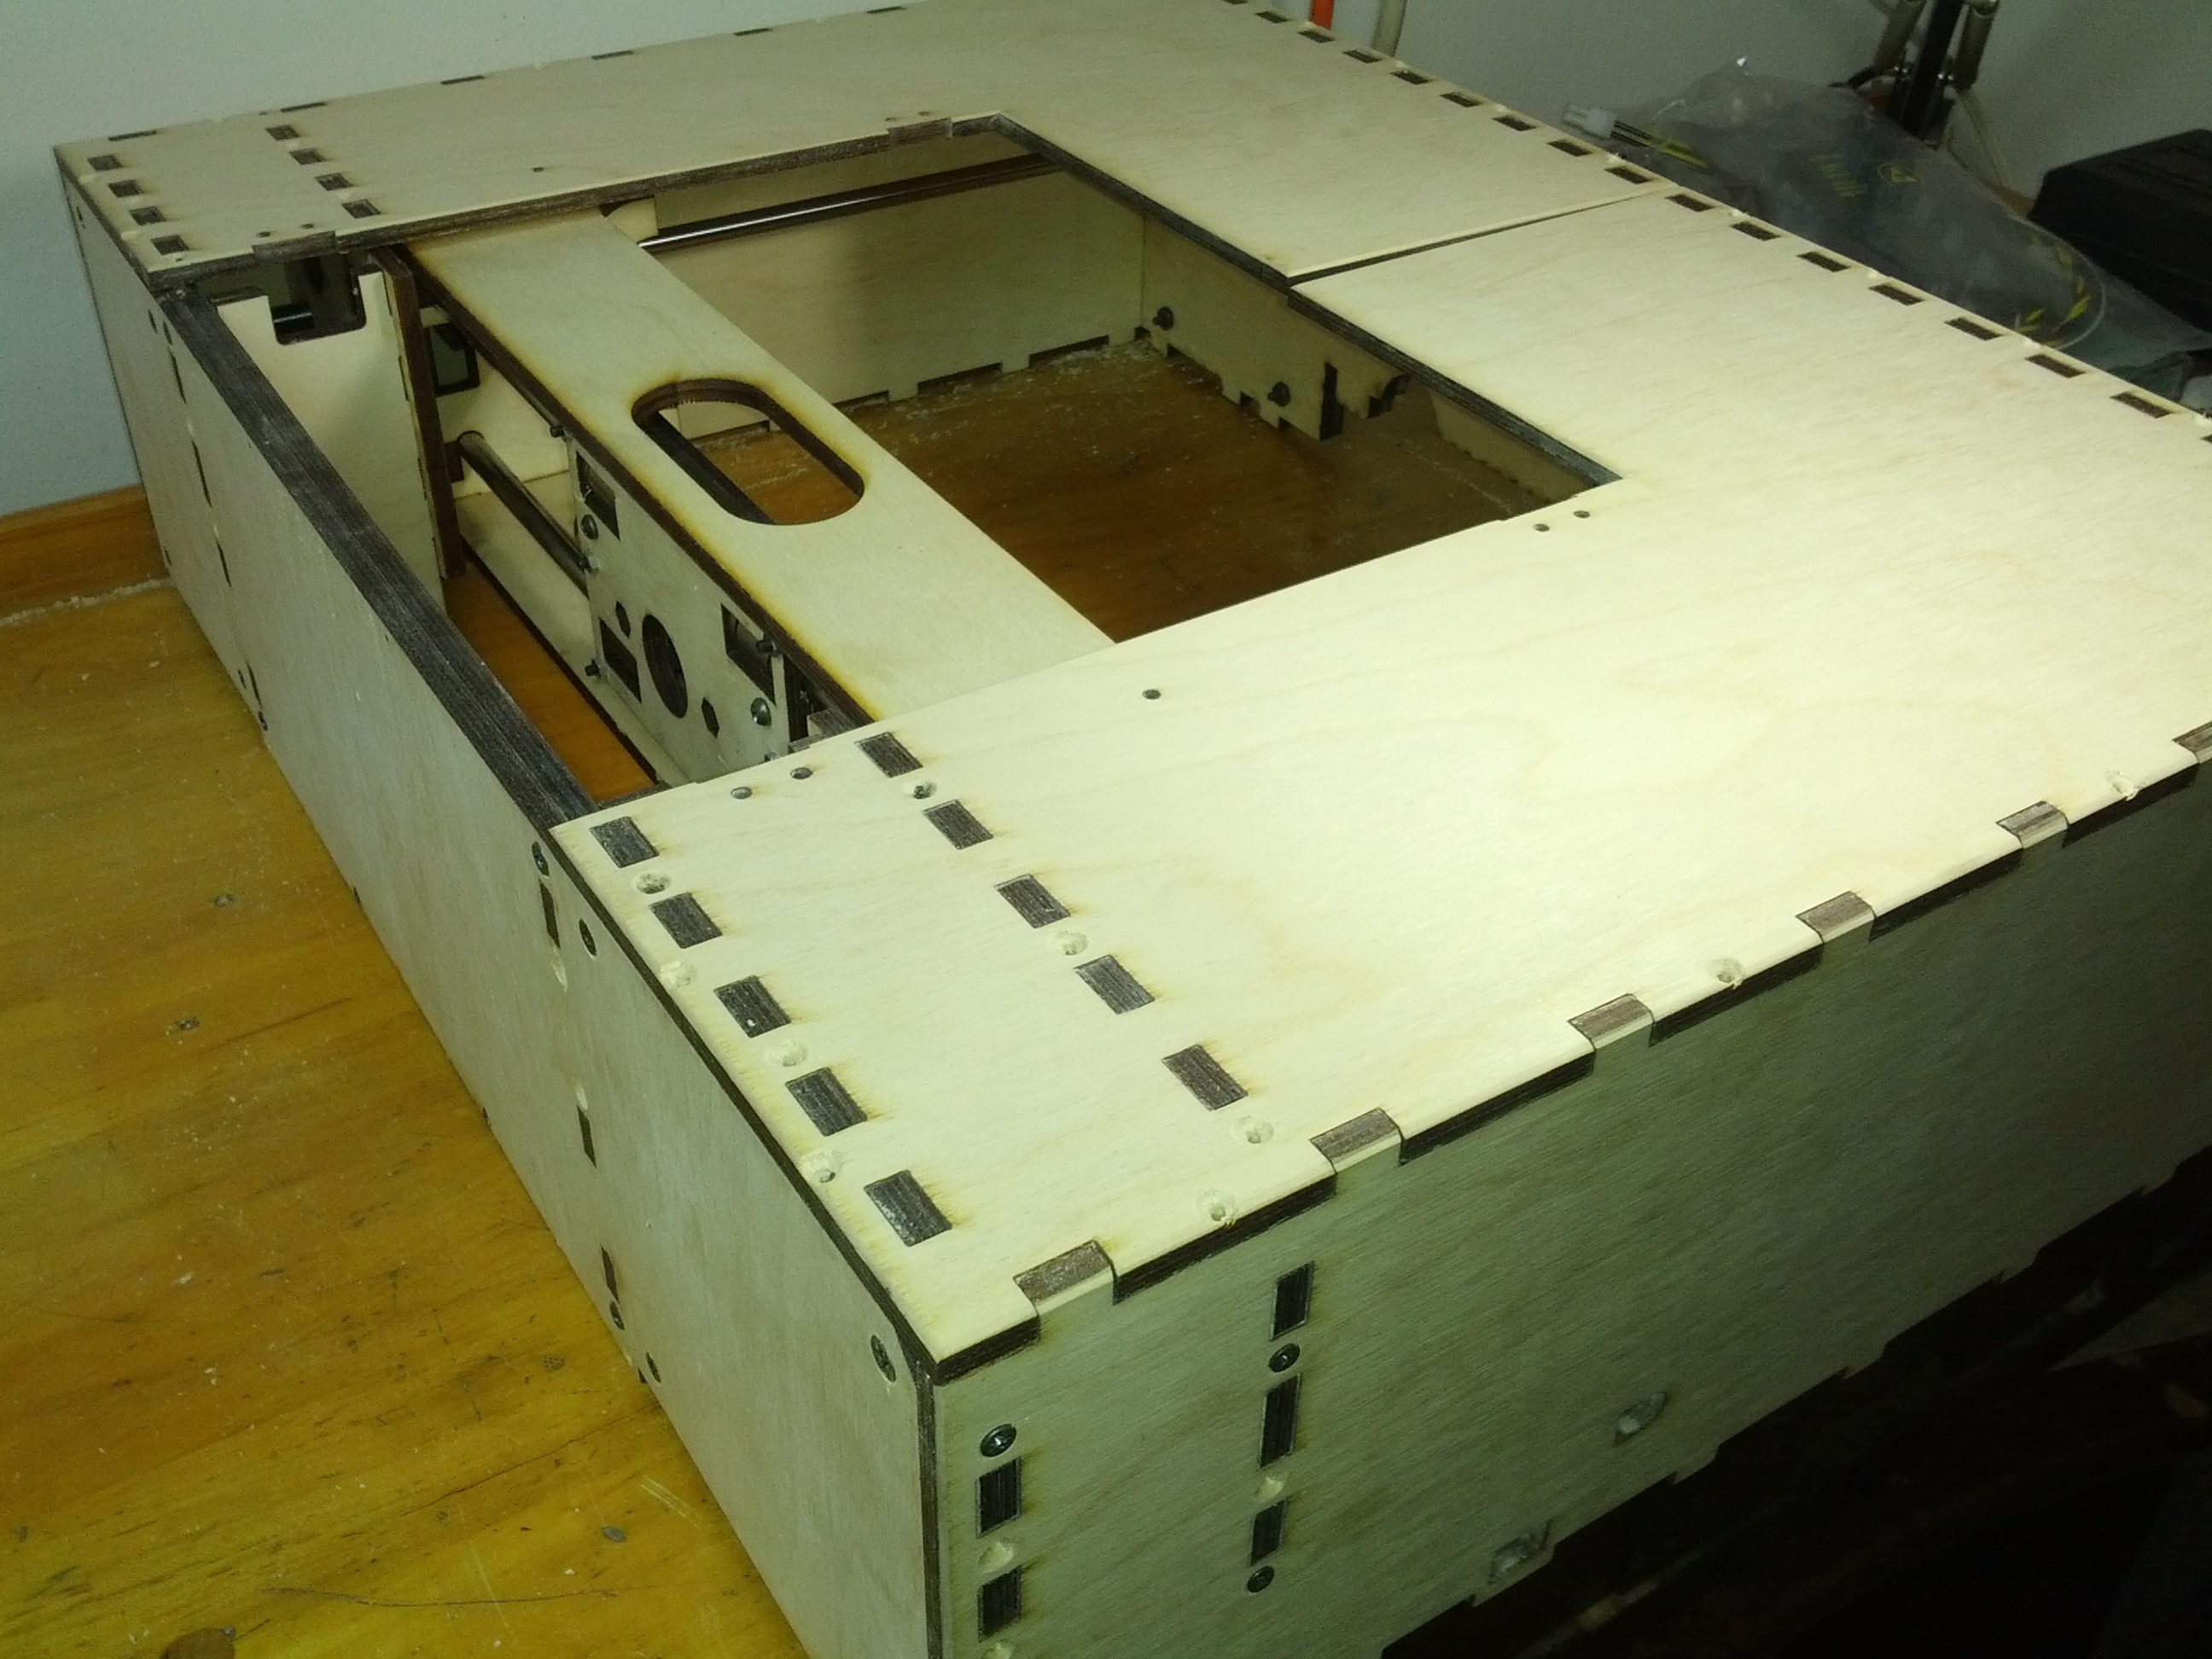
The lower of the panels for the top had a minor shortcoming as well, in that the tabs on the right side weren’t fully formed. It looks rather like the birch ply panel it was cut out of wasn’t quite properly aligned with the limits of the laser cutter and the little tabs that should stick through the side panel aren’t quite flush AND don’t have the laser cut look of the rest of it. I put that on my short list of pieces that would need to be replaced (in addition to the warped print bed) and installed it to complete the rest of the build in the mean time.
Then we come around the back of the bot and there are a surprising lack of holes for wood screws here (you can see exactly one to attach the panels to the sides, top and/or bottom; the ones that are there are for the hinges and springs). Brook (and Ben?) must’ve gotten tired of all the drilling and countersinking even in the design stage. The one screw hole that is present to attach the back to the side in not in a very good location even (too close to a gap). Never fear, I drilled and countersunk enough screw holes in the back to hold things in place and make the back look like it was a decent match for the front.
Along with the large flat head screws, I also received some small screws and nuts I’d ordered for the end stops. The instructions call for cable ties to hold the end stops in place (well, Y and X anyway, not sure about Z yet). I’m sure this is a fine solution, and perhaps the small bit of movement the cable ties provide is even helpful in some way that I won’t understand until I start printing, but to me, this just seems like an imprecise attachment solution.
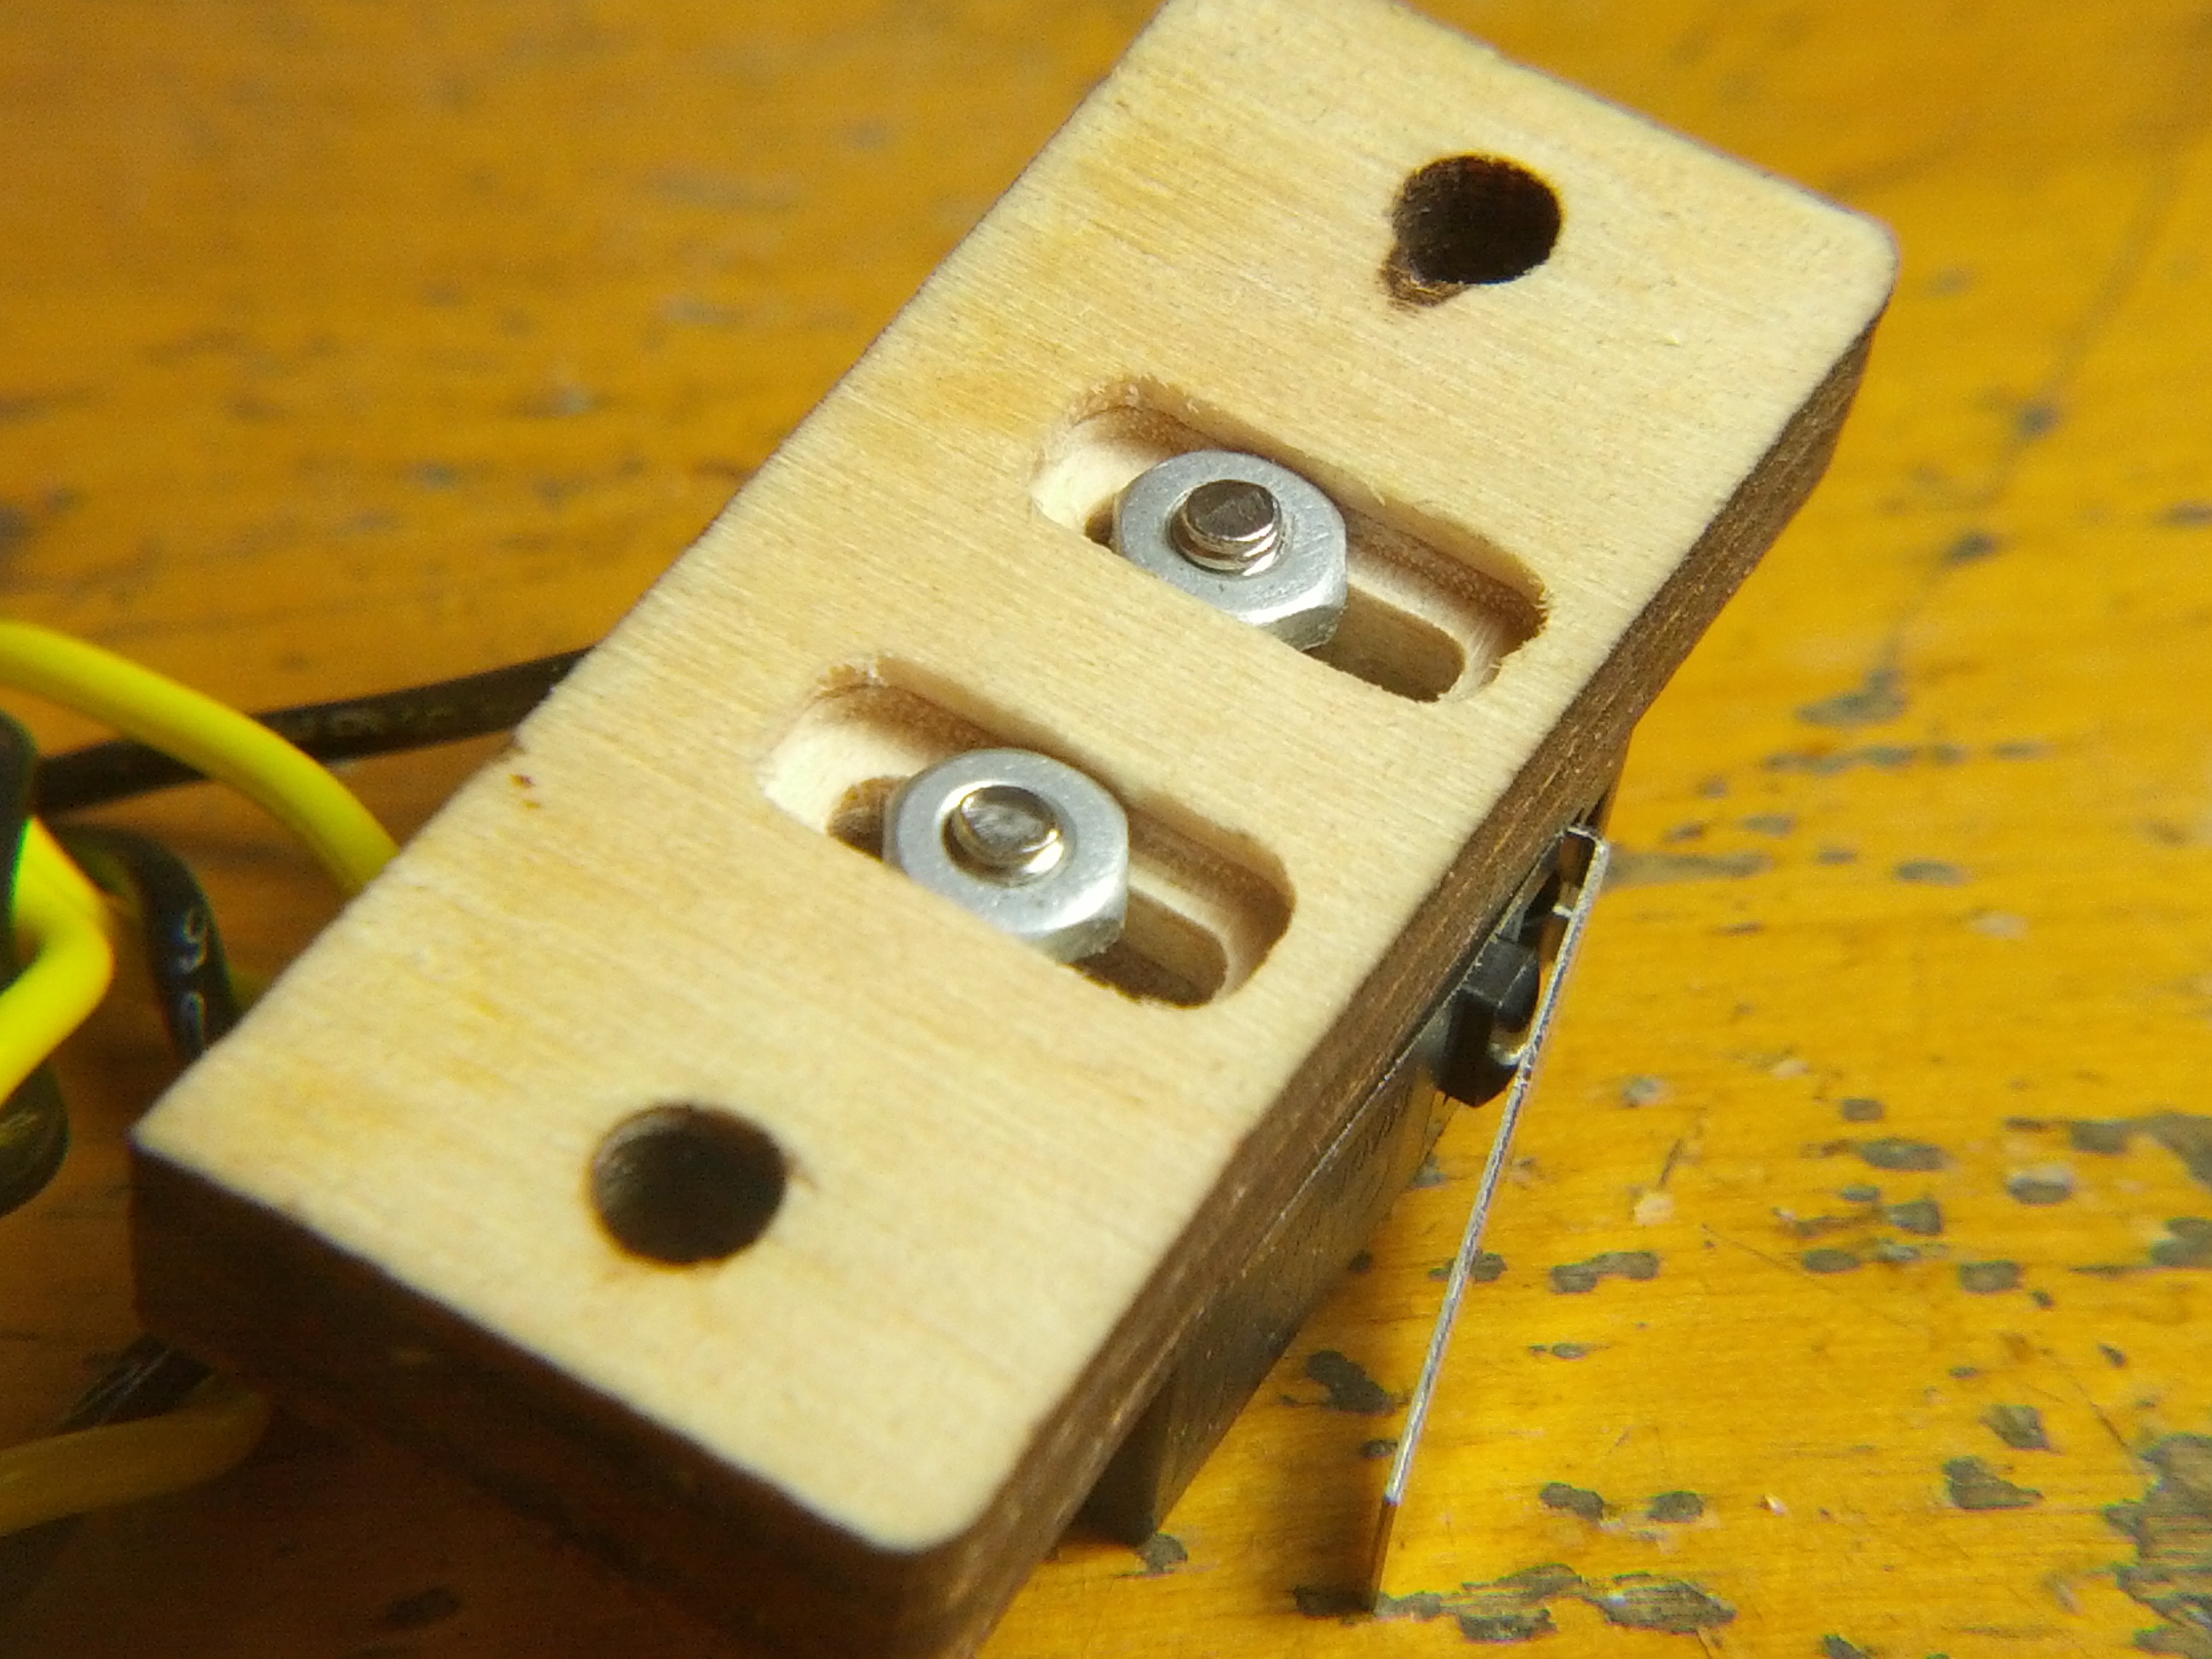
I decided instead to use some screws and nuts and, while I was at it, to mill the slots for the screws and nuts to give them some travel for the Y axis end stop. I ended up milling about six millimeters worth of travel in, but after attaching it (and I had to reduce the lower support just to clear the guide rod, something I believe might’ve been necessary even if I had gone the cable tie route) I found that only about the first two millimeters or so would be useful. I used screws and nuts for the X axis end stop as well, but without the fancy adjustable slots. Even if the adjustability is completely superfluous, I feel better about the rigidity of the screw/nut arrangement.
I’m feeling a little self-conscious about how much time I’m spending on minor problems I encounter. I don’t mean to make it sound like the build is a huge problem, it’s not. It’s just that I feel the most useful thing I can do for future owners is document the hurdles so that they can perhaps gain something from my experiences (if Brook and the team get something out of it, that’s cool too). If it means more happy GO owners out there, then my mission will have been accomplished.
The small problems ARE a huge problem. I had a really hard time assembling my PB+ because the documentations were unfinished/not good enough. I know it’s not IKEA, but assembling a printrbot can be a horrifying experience.
It definitely has not been as smooth and easy as some might expect, but having never done this kind of thing before (built a complicated machine from a kit) I can’t say how the supplied parts and instructions compare to other stuff out there. I absolutely feel that improvements can be made and I would certainly caution others about the challenges, but at this juncture at least, I would recommend it as long as one enters into it with their eyes wide open. I say at this juncture because I’m not even printing anything yet. 🙂