It’s not clear at what point I decided that my Printrbot GO should look like a steam punk suitcase (I think I have to blame Plexus in part at least), but the goal of staining and otherwise finishing the birch plywood panels definitely adds a layer of complexity, not the least because I don’t know the first thing about treating wood.
I reached out to my dad and an old friend who works with wood for a living and also read up as much as I could stand to on various woodworking forums for advice on staining birch. My dad gave me some very simple advice: Min-Wax in an appropriate color/shade followed by a poly sealer. My friend said try a dye instead of a stain and every other woodworking Joe on the forums had different advice from one to three steps of various treatments, dyes, stains, sealers, etc. It was clear I’d need to experiment.
The first thing I tried was Trans Tint dyes. I bought a small bottle of the Dark Walnut and mixed it with water in a 1:32 ratio. Not sure why I didn’t test it on scrap first, but instead gave all of the components for the spool carrier a sanding and brushed them with the Trans Tint water solution without breaking them out.
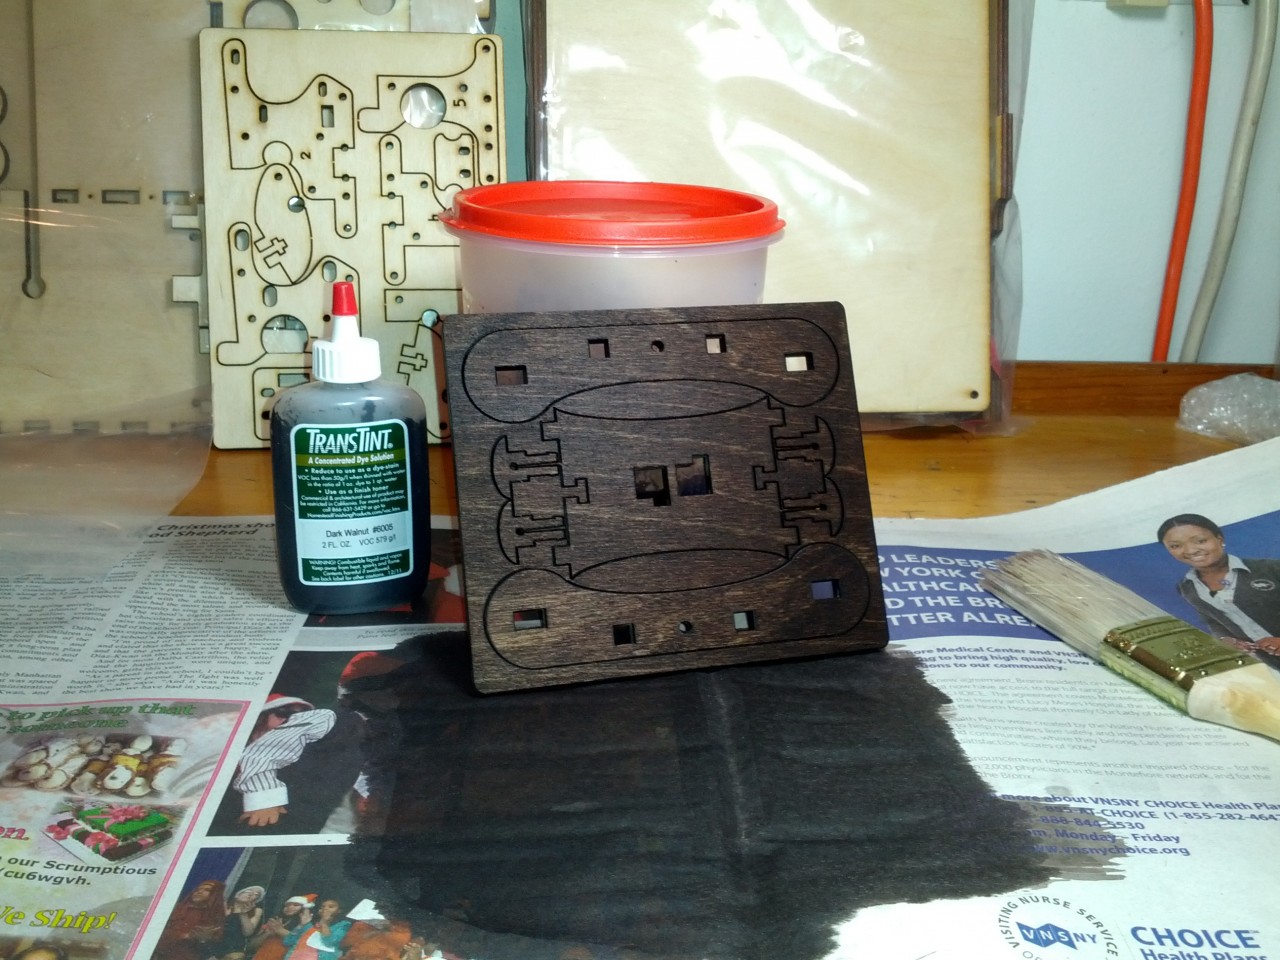
Next I tried diluting the dye in alcohol and tackled the spool itself.

I couldn’t really see much difference between applying with alcohol vs. with water, but the alcohol did dry much faster, so it had that going for it. I wasn’t thrilled with the color though. I wanted something with a lot more red in it and also realized that a lighter color would show off the contrasting laser cut edges better (even a light sanding removed the laser cutting “scorch” marks unfortunately).
I still wasn’t sure if I was going to want/need any kind of sealer, but a helpful Printrbot Talk forum member suggested that the dye would continue to come off over time if I didn’t seal it and he was absolutely right. This was especially critical on the spool itself, because when I coiled some filament onto it some of the dye came off on the filament itself. That was obviously going to be a problem, so I bought some spray polyurethane sealer to try on the spool. It was stinky as heck in my tiny workshop, but after a couple of coats with some light sanding in between it seemed pretty well sealed. The looks were not significantly improved however.
I broke up the scrap from the extruder components into four test pieces so I could do some further experimentation (ugly accessories is one thing, but I didn’t want any of the GO panels treated badly). I tried some reddish brown Trans Tint in alcohol and liked the color a lot better, but decided to give some Min-Wax a try also. I picked up a small can of the Red Mahogany “Wood Finish” and also a small can of their Polycrylic protective finish. I brushed the Wood Finish on a test piece, let it sit for about 3 minutes or so (the instructions said 5 to 15, but I was impatient) and then wiped it off with a paper towel.
Next I started adding some some of the Trans Tint reddish brown to the Min-Wax to see if I could get a little more red in it. This may or may not be a bad idea (I only used about a 1/2 tsp in total) because the Trans Tint folks mention it working in alcohol, water, shellac, water-base finishes, solvent lacquers, and catalyzed varnish or lacquers but don’t say anything about oil based stains. I then tried brushing the Polycrylic on one of the earlier Trans Tint Reddish Brown test pieces with crummy results.
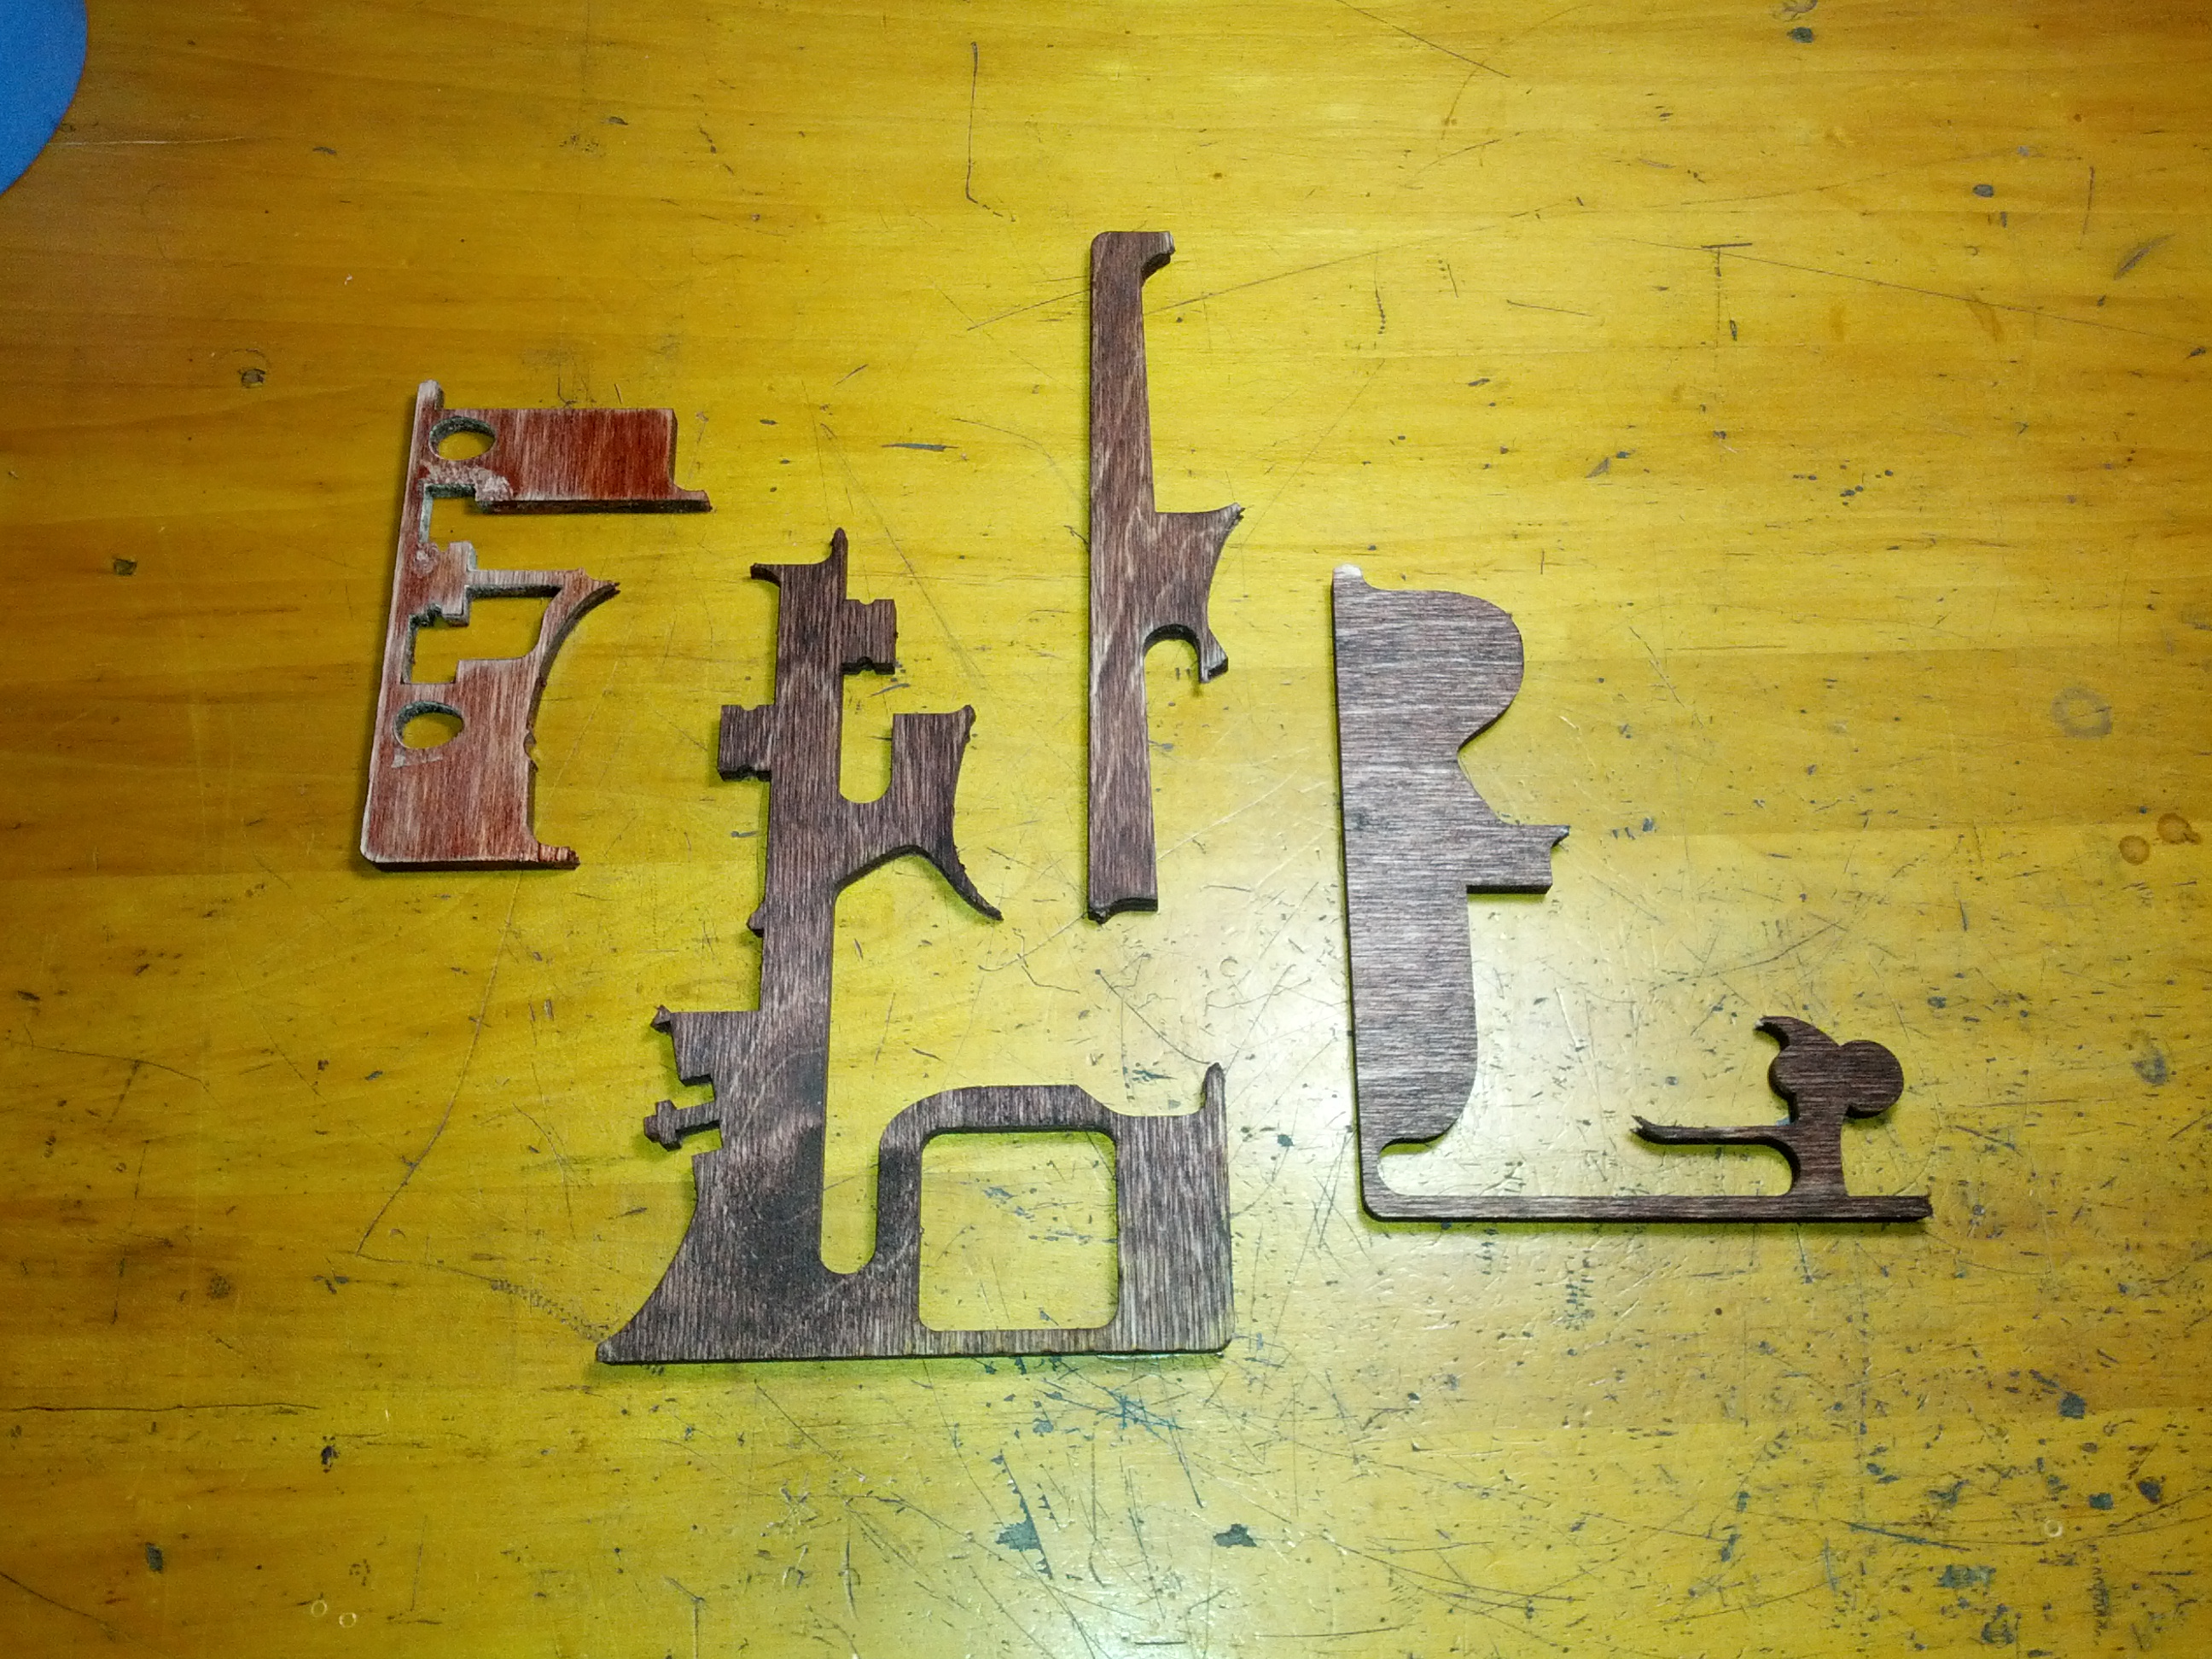
I didn’t photograph them until after lightly sanding the two in the middle (again) to see how the surface would hold up without a sealer (not too great it turns out). The one of the left is the Trans Tint with the awful Polycrylic coat. I’m guessing if you could spray that stuff on it would be fine, but painting it on was abysmal, with lots of goo in the cut outs, drips, etc. I didn’t capture the color all that well in the picture, but I think you can see how the stain brings up the grain more at least.
The end of this bit of experimentation was to decide that dear old dad was right: Min-Wax plus a poly sealer (from a spray can I think) is the way to go.
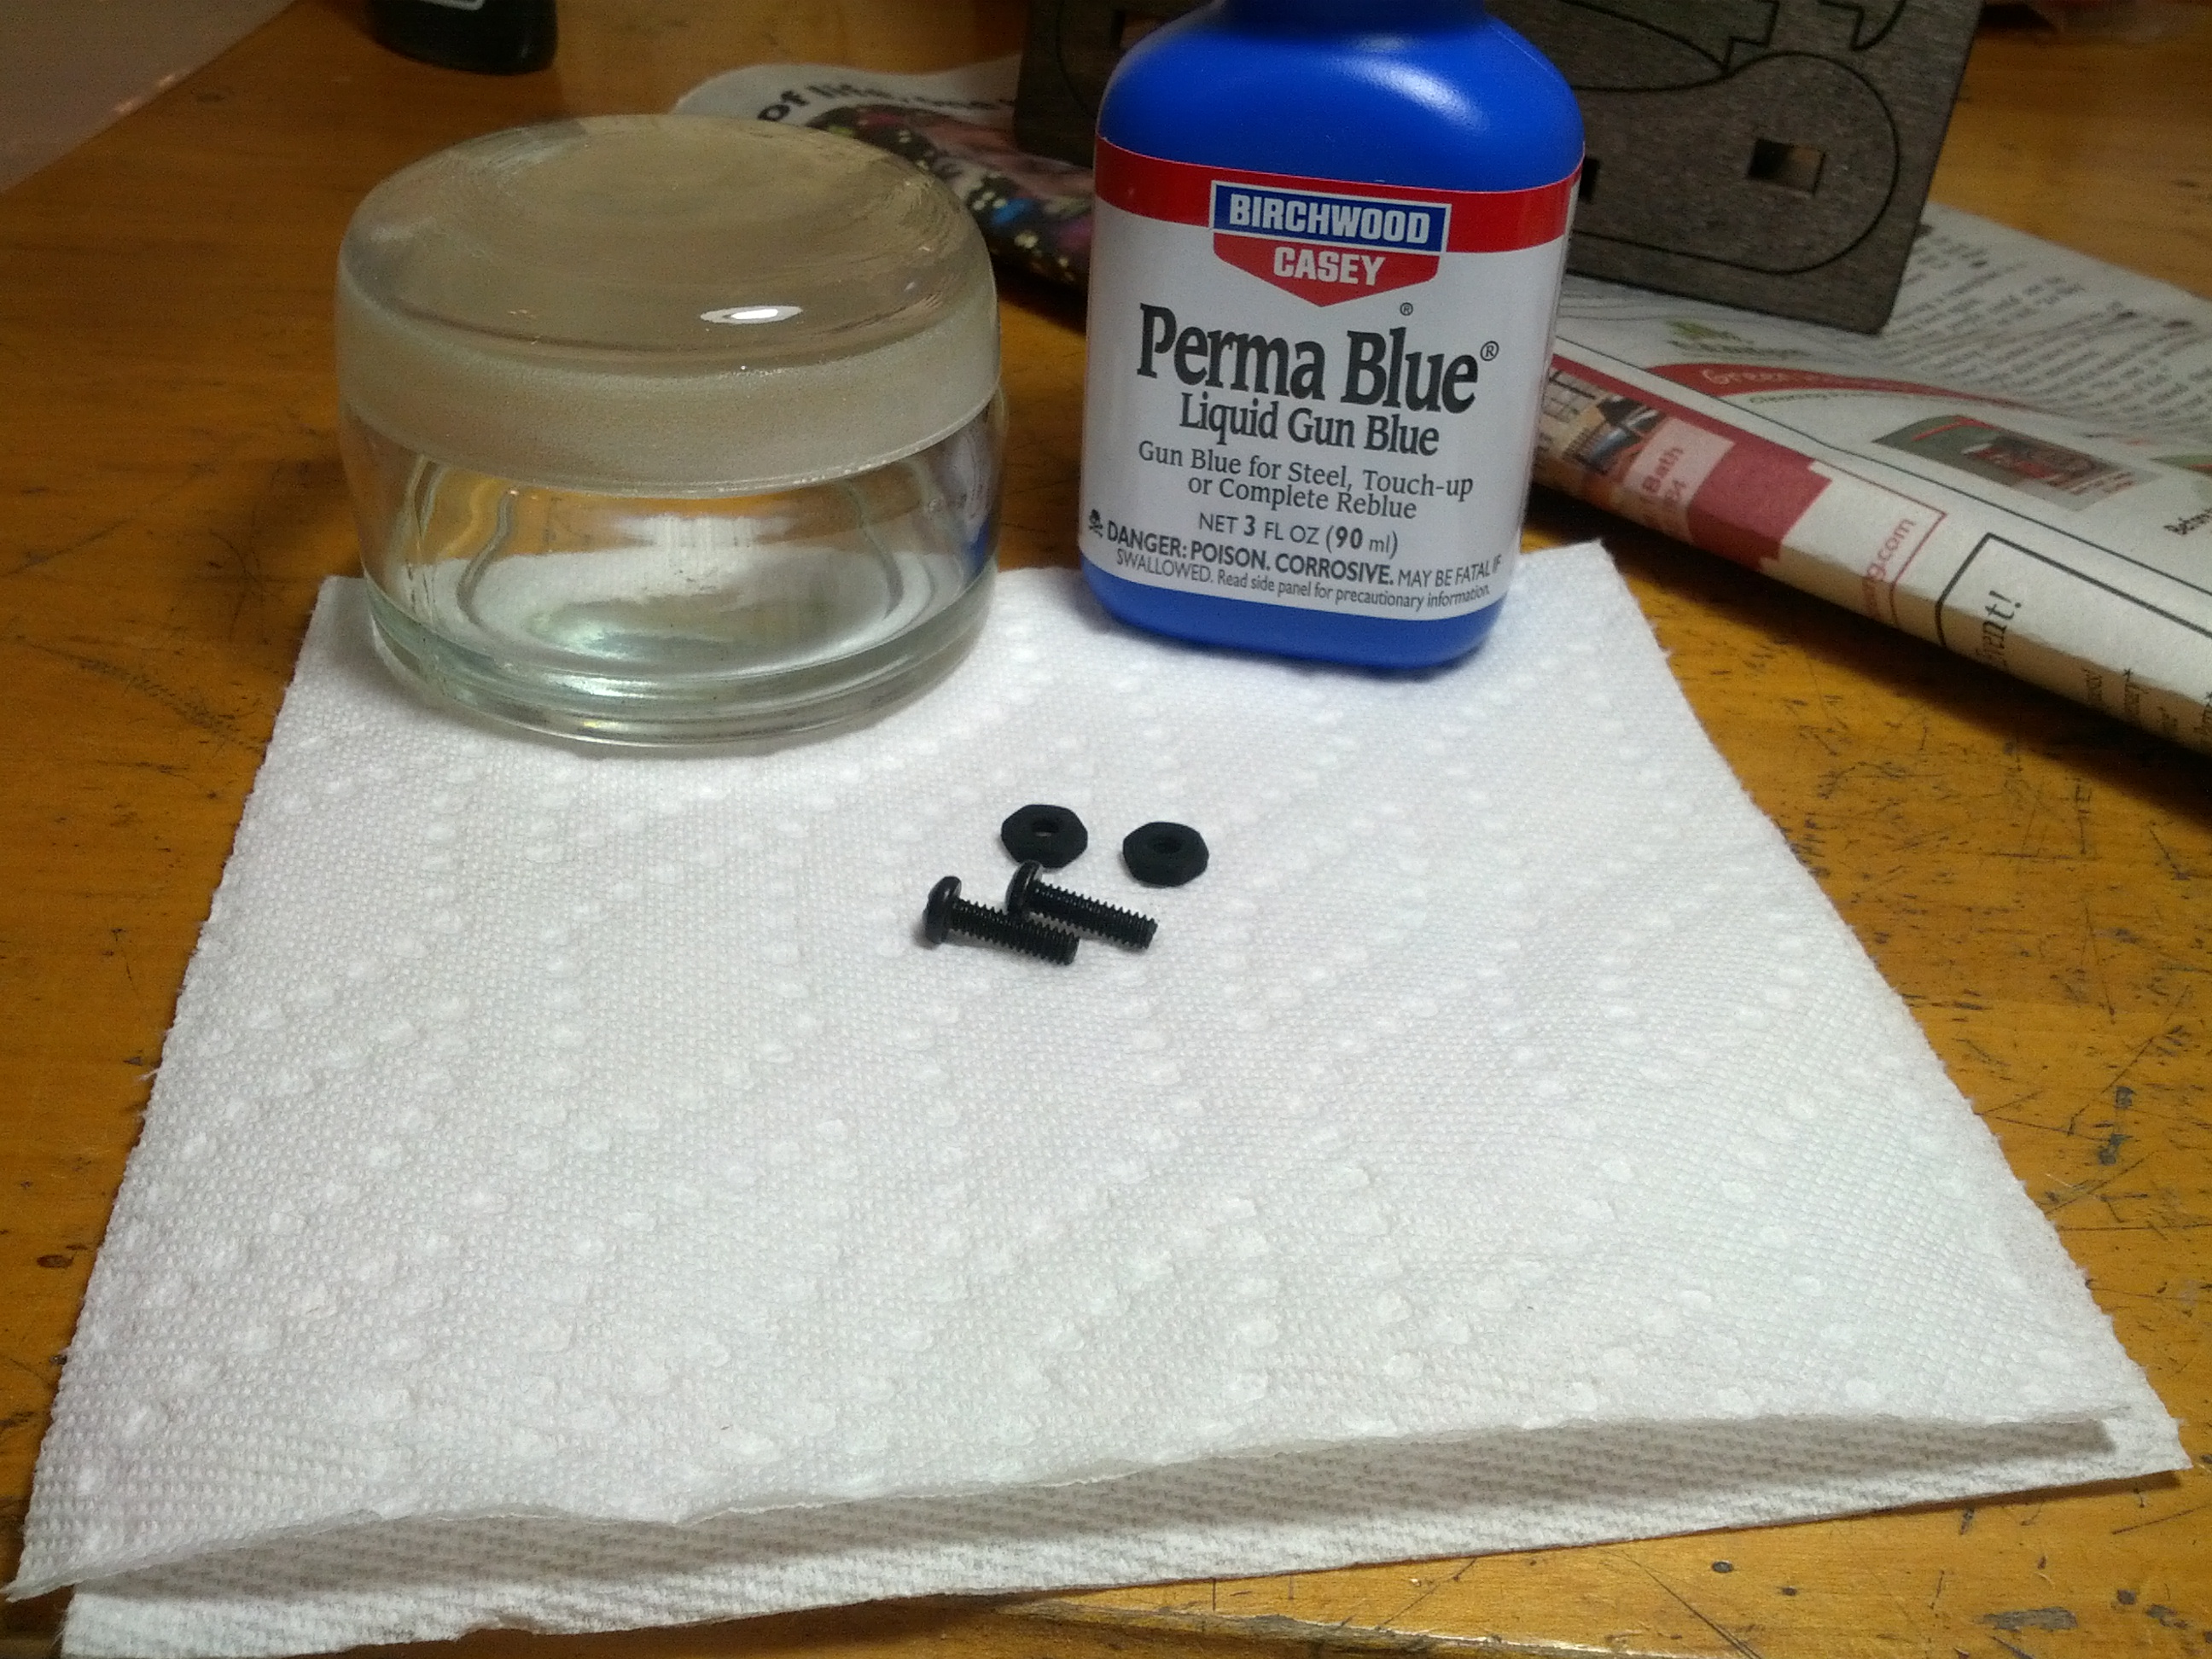
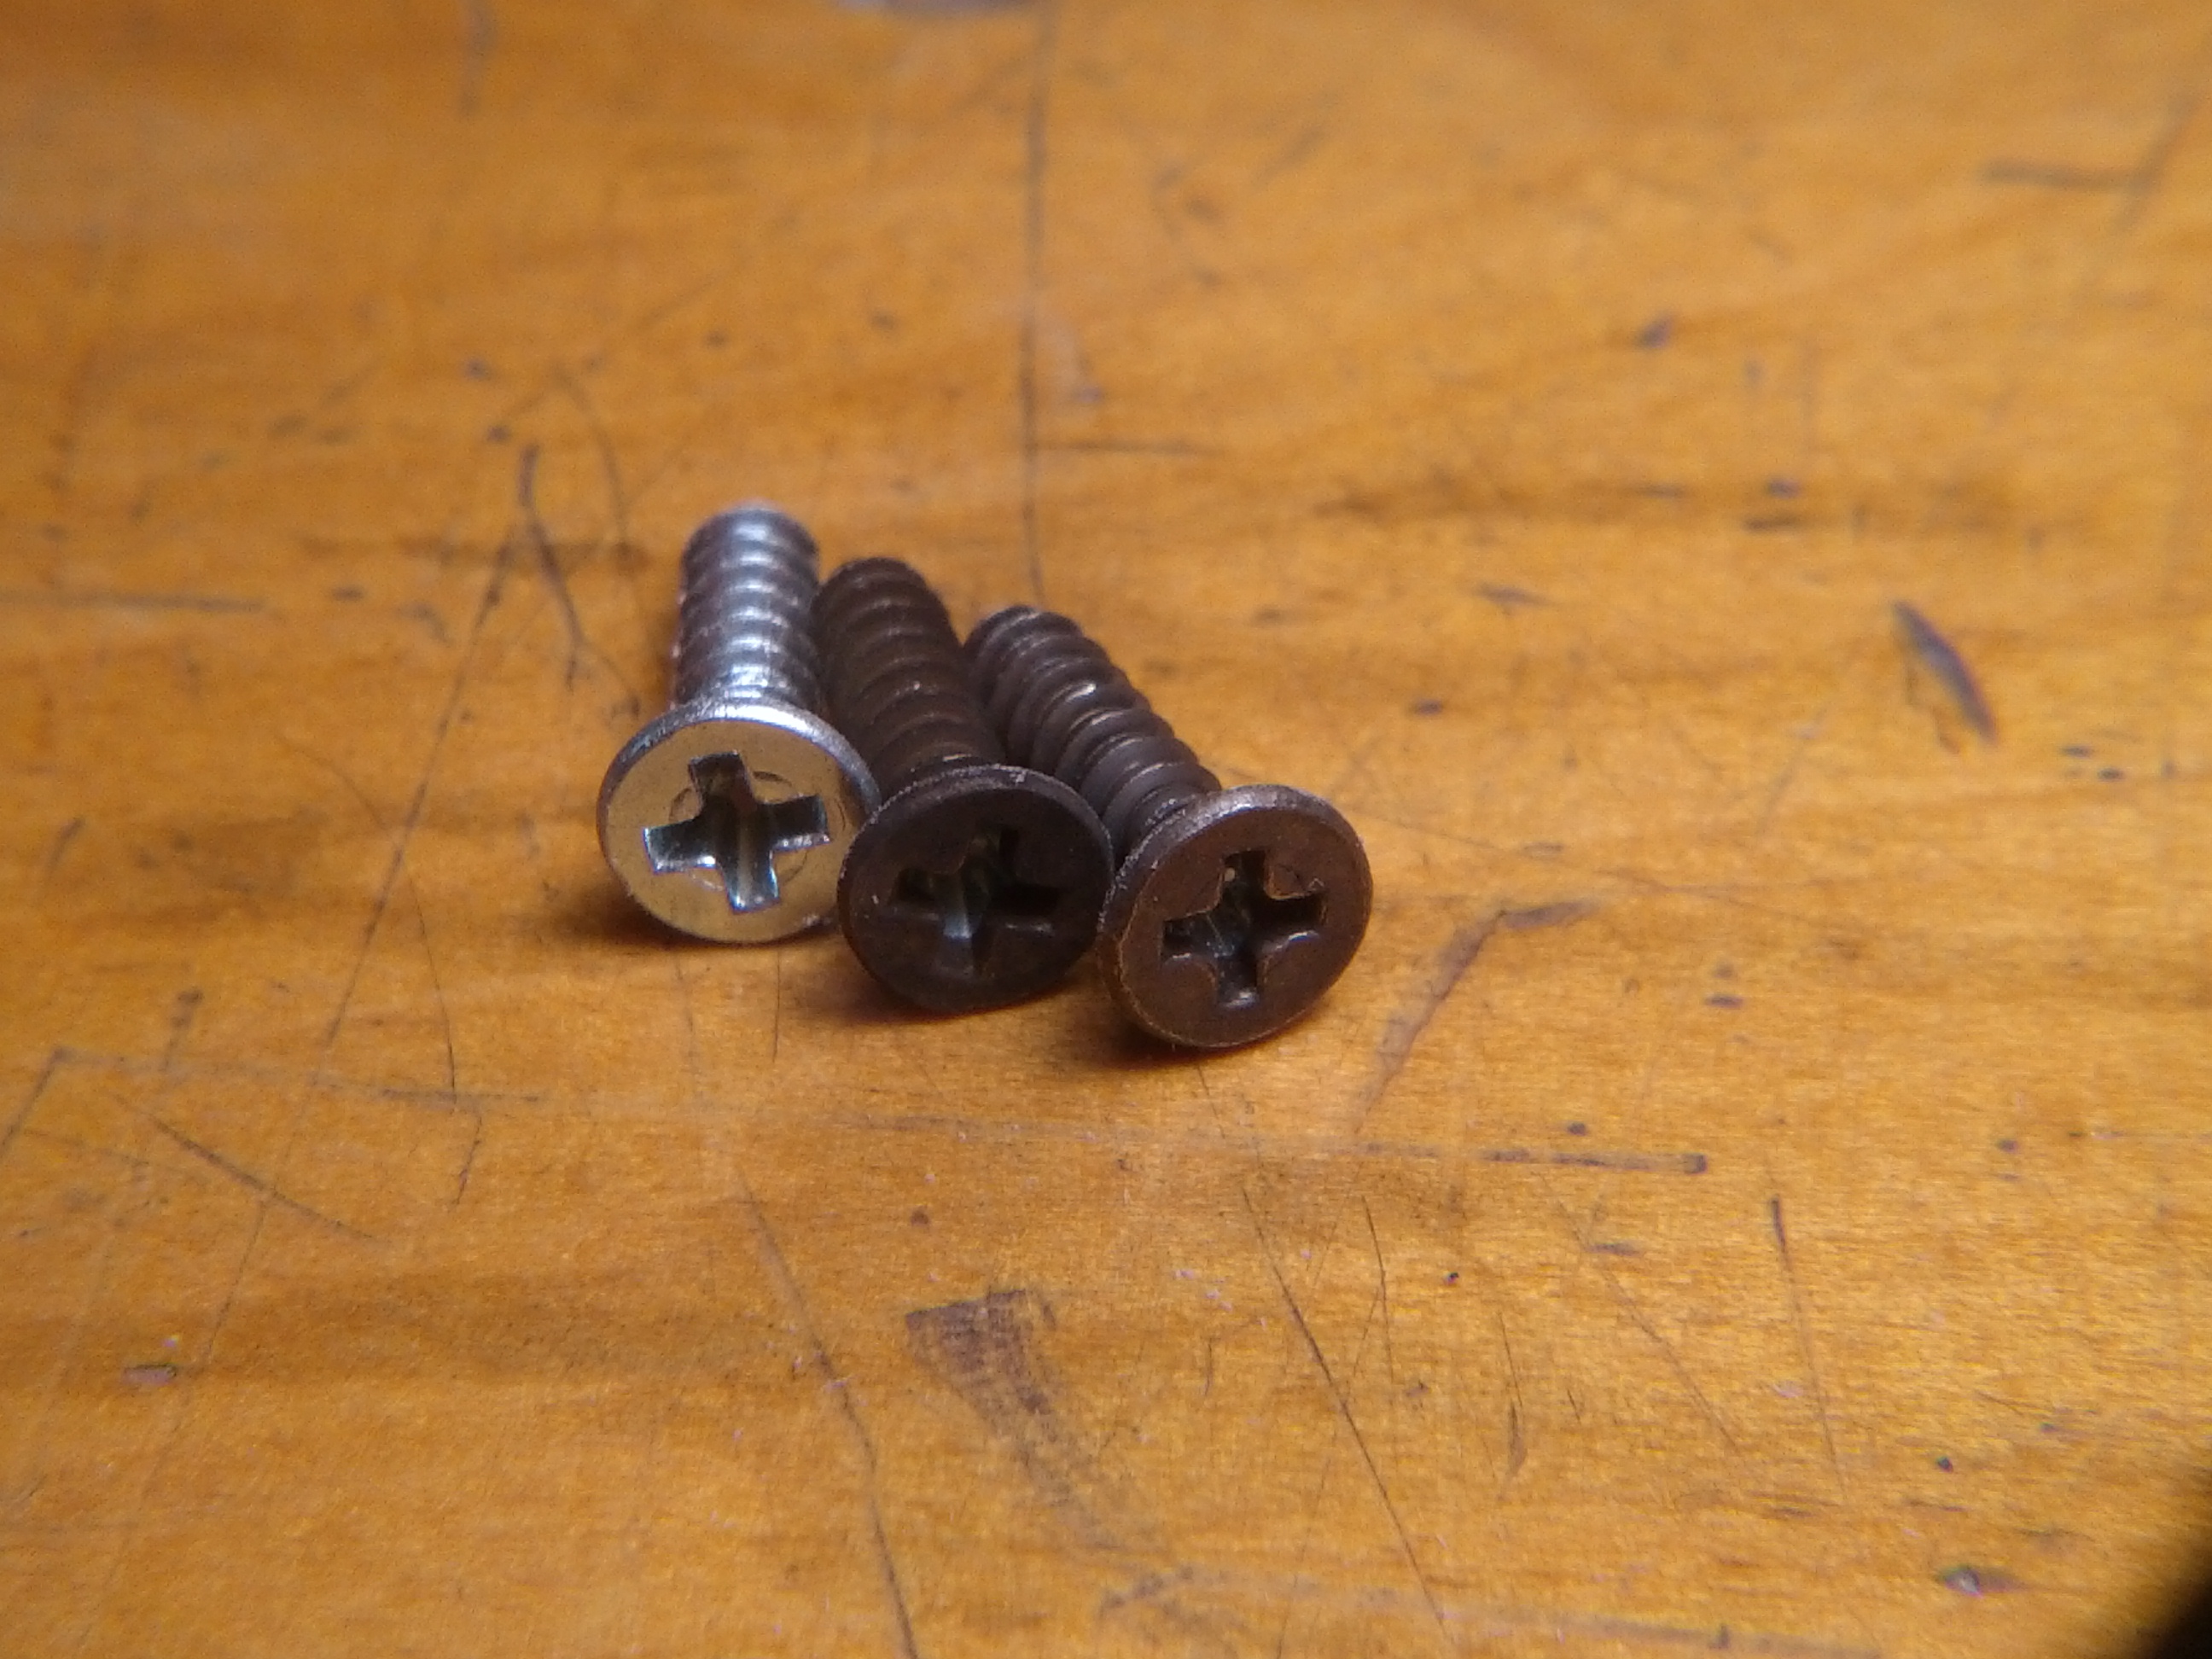
I also tried out some gun blue on the screws and was mostly happy with results. It’s some kind of nasty acid that oxidizes the surface to turn it basically black. The downside it that you have to wipe the screws down pretty thoroughly afterwards or they’ll continue to get black stuff on anything they touch. The head (the only part that really matters for the most part) still looks pretty dark even after wiping the black surface layer off, so the screws will have an aged look that seems to go better with the steam punk theme than simple shiny screws would.
So having sorted out the plan for treating the wood, it was time to start sanding. I pulled out only the panels that would be stained as I decided to not even sand the interior components so that at least I could save a little of the laser cut scorching. As near as I can tell, I’ll have to stain 16 panels including all of the exterior panels on the Y-bed assembly.
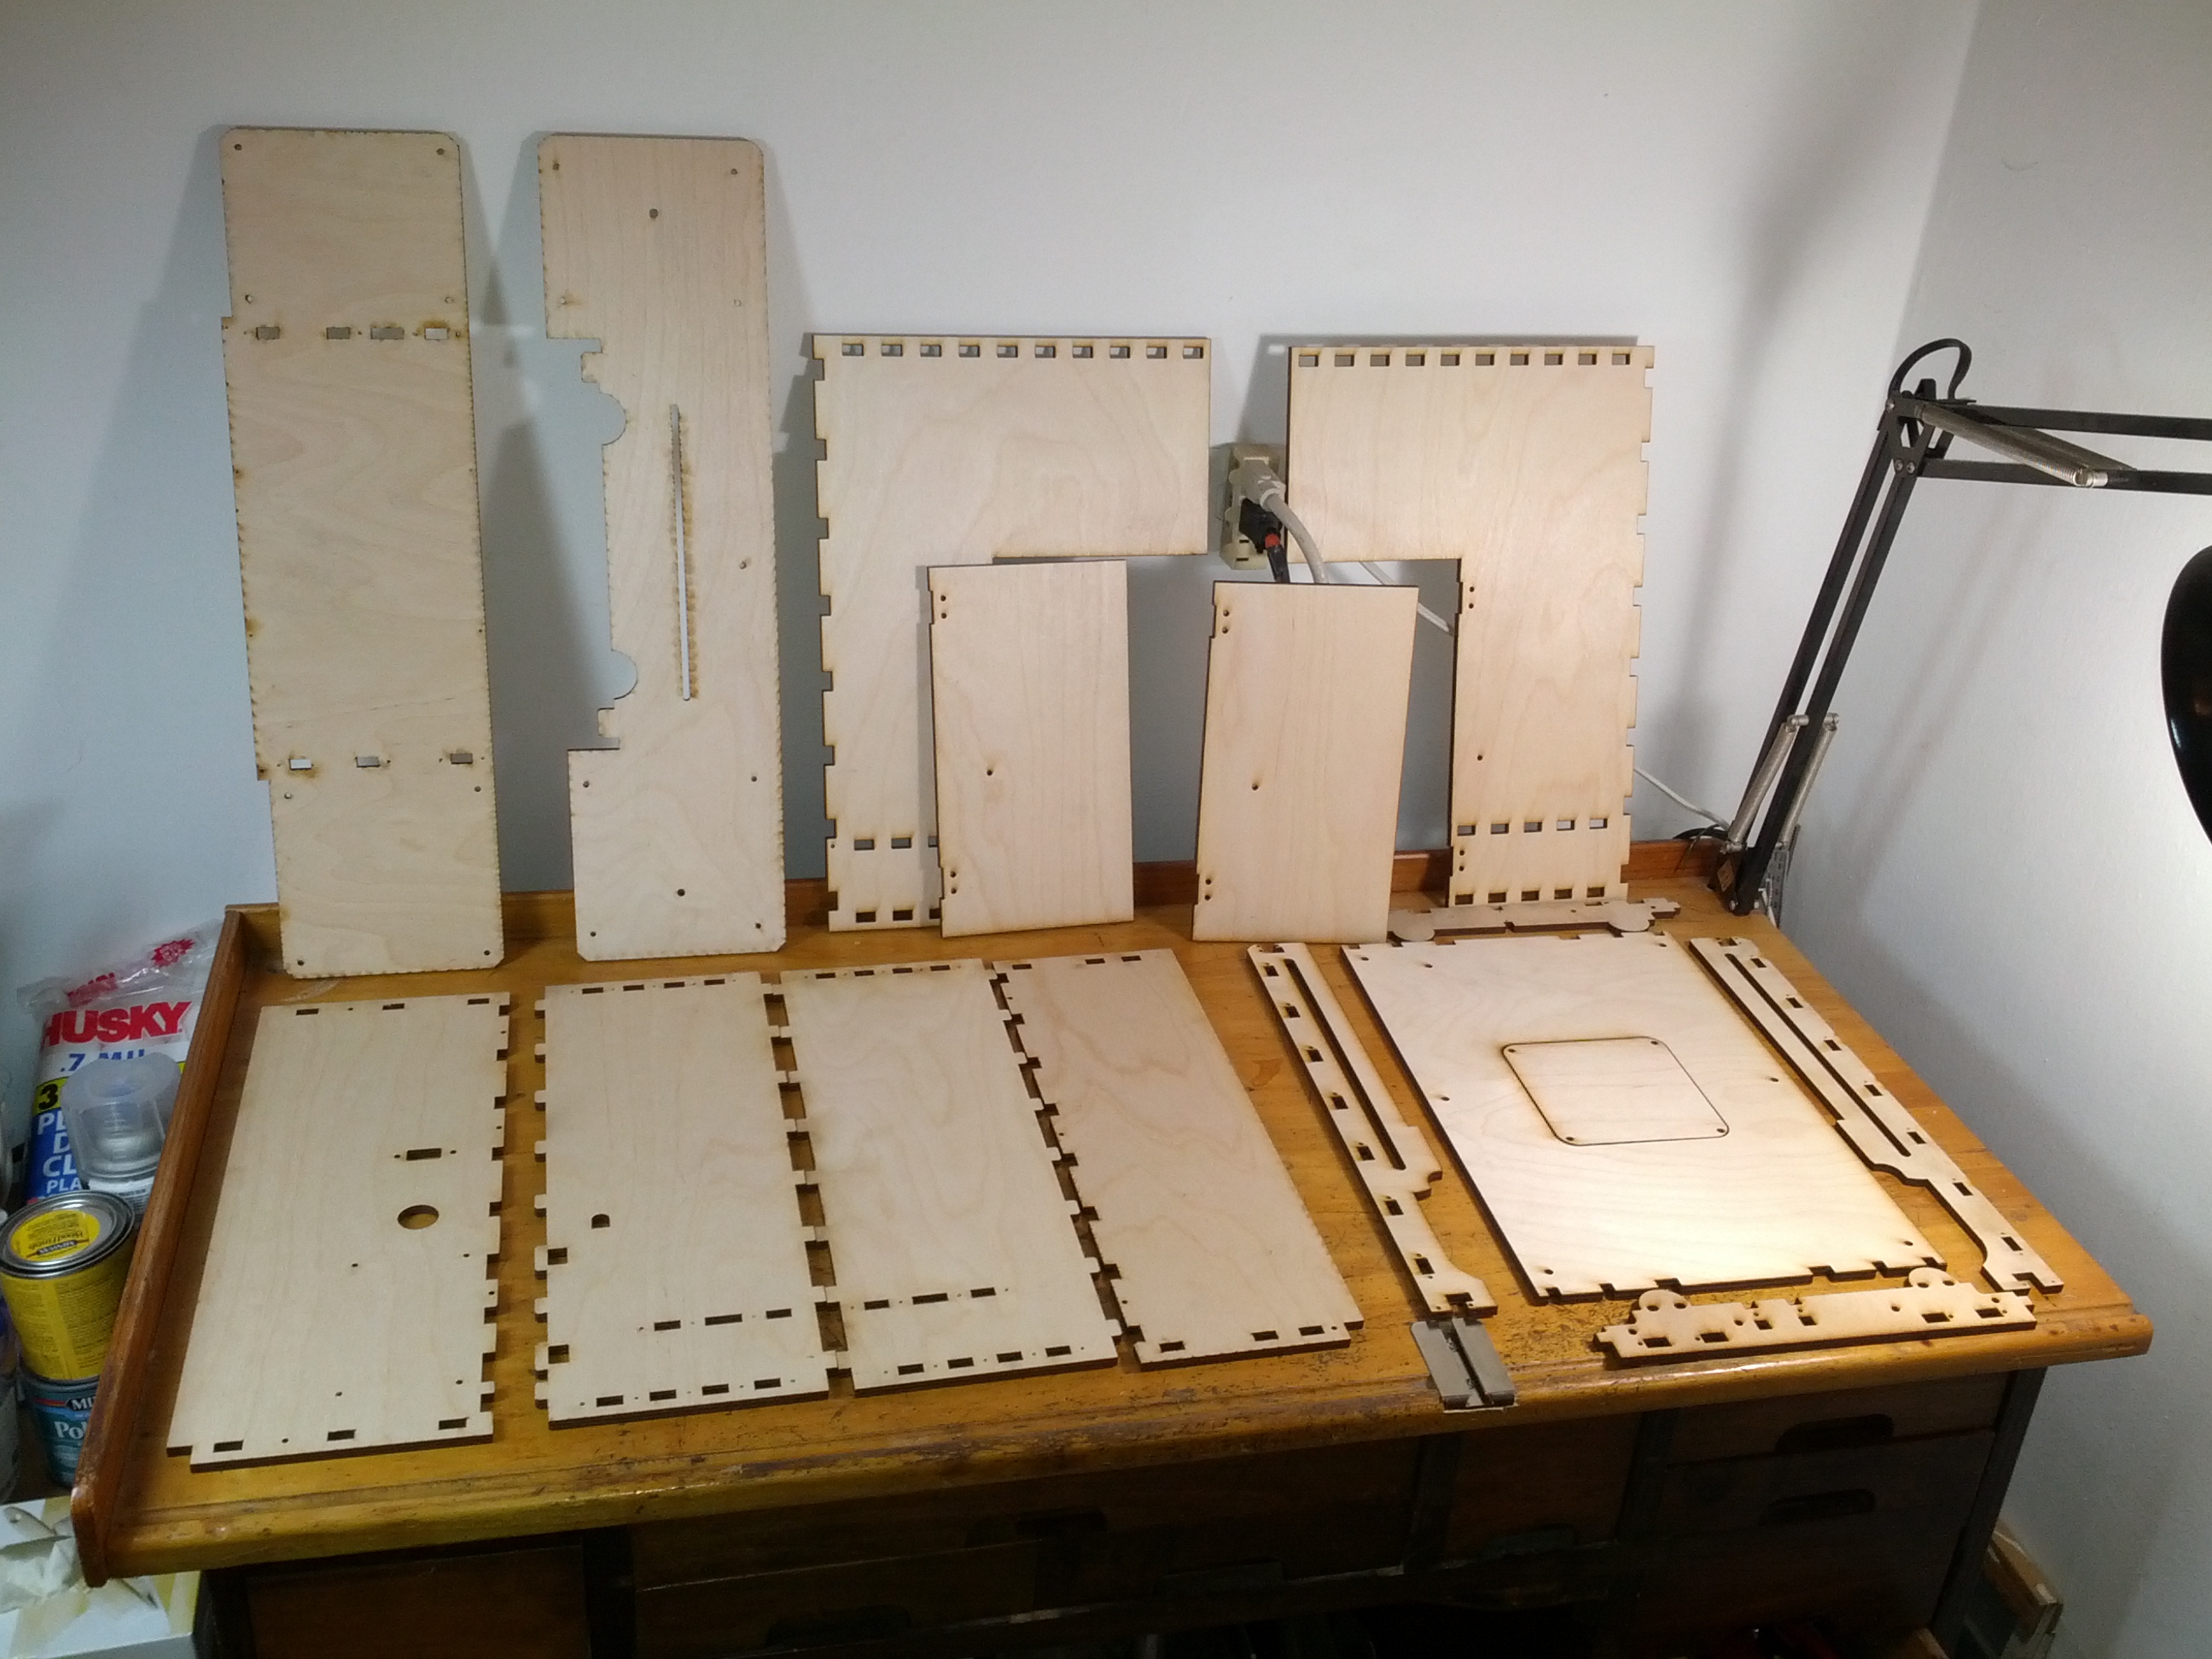
When I started sanding them, I ran into some slightly raggedy edges (as one might expect from plywood) and so I started putting a chamfer on the edges that I thought would be on the exterior corners. We watchmakers love bevels, and it seemed like a good idea to have the portions of the exterior of the bot that would contact human hands to have a nicely broken edge.
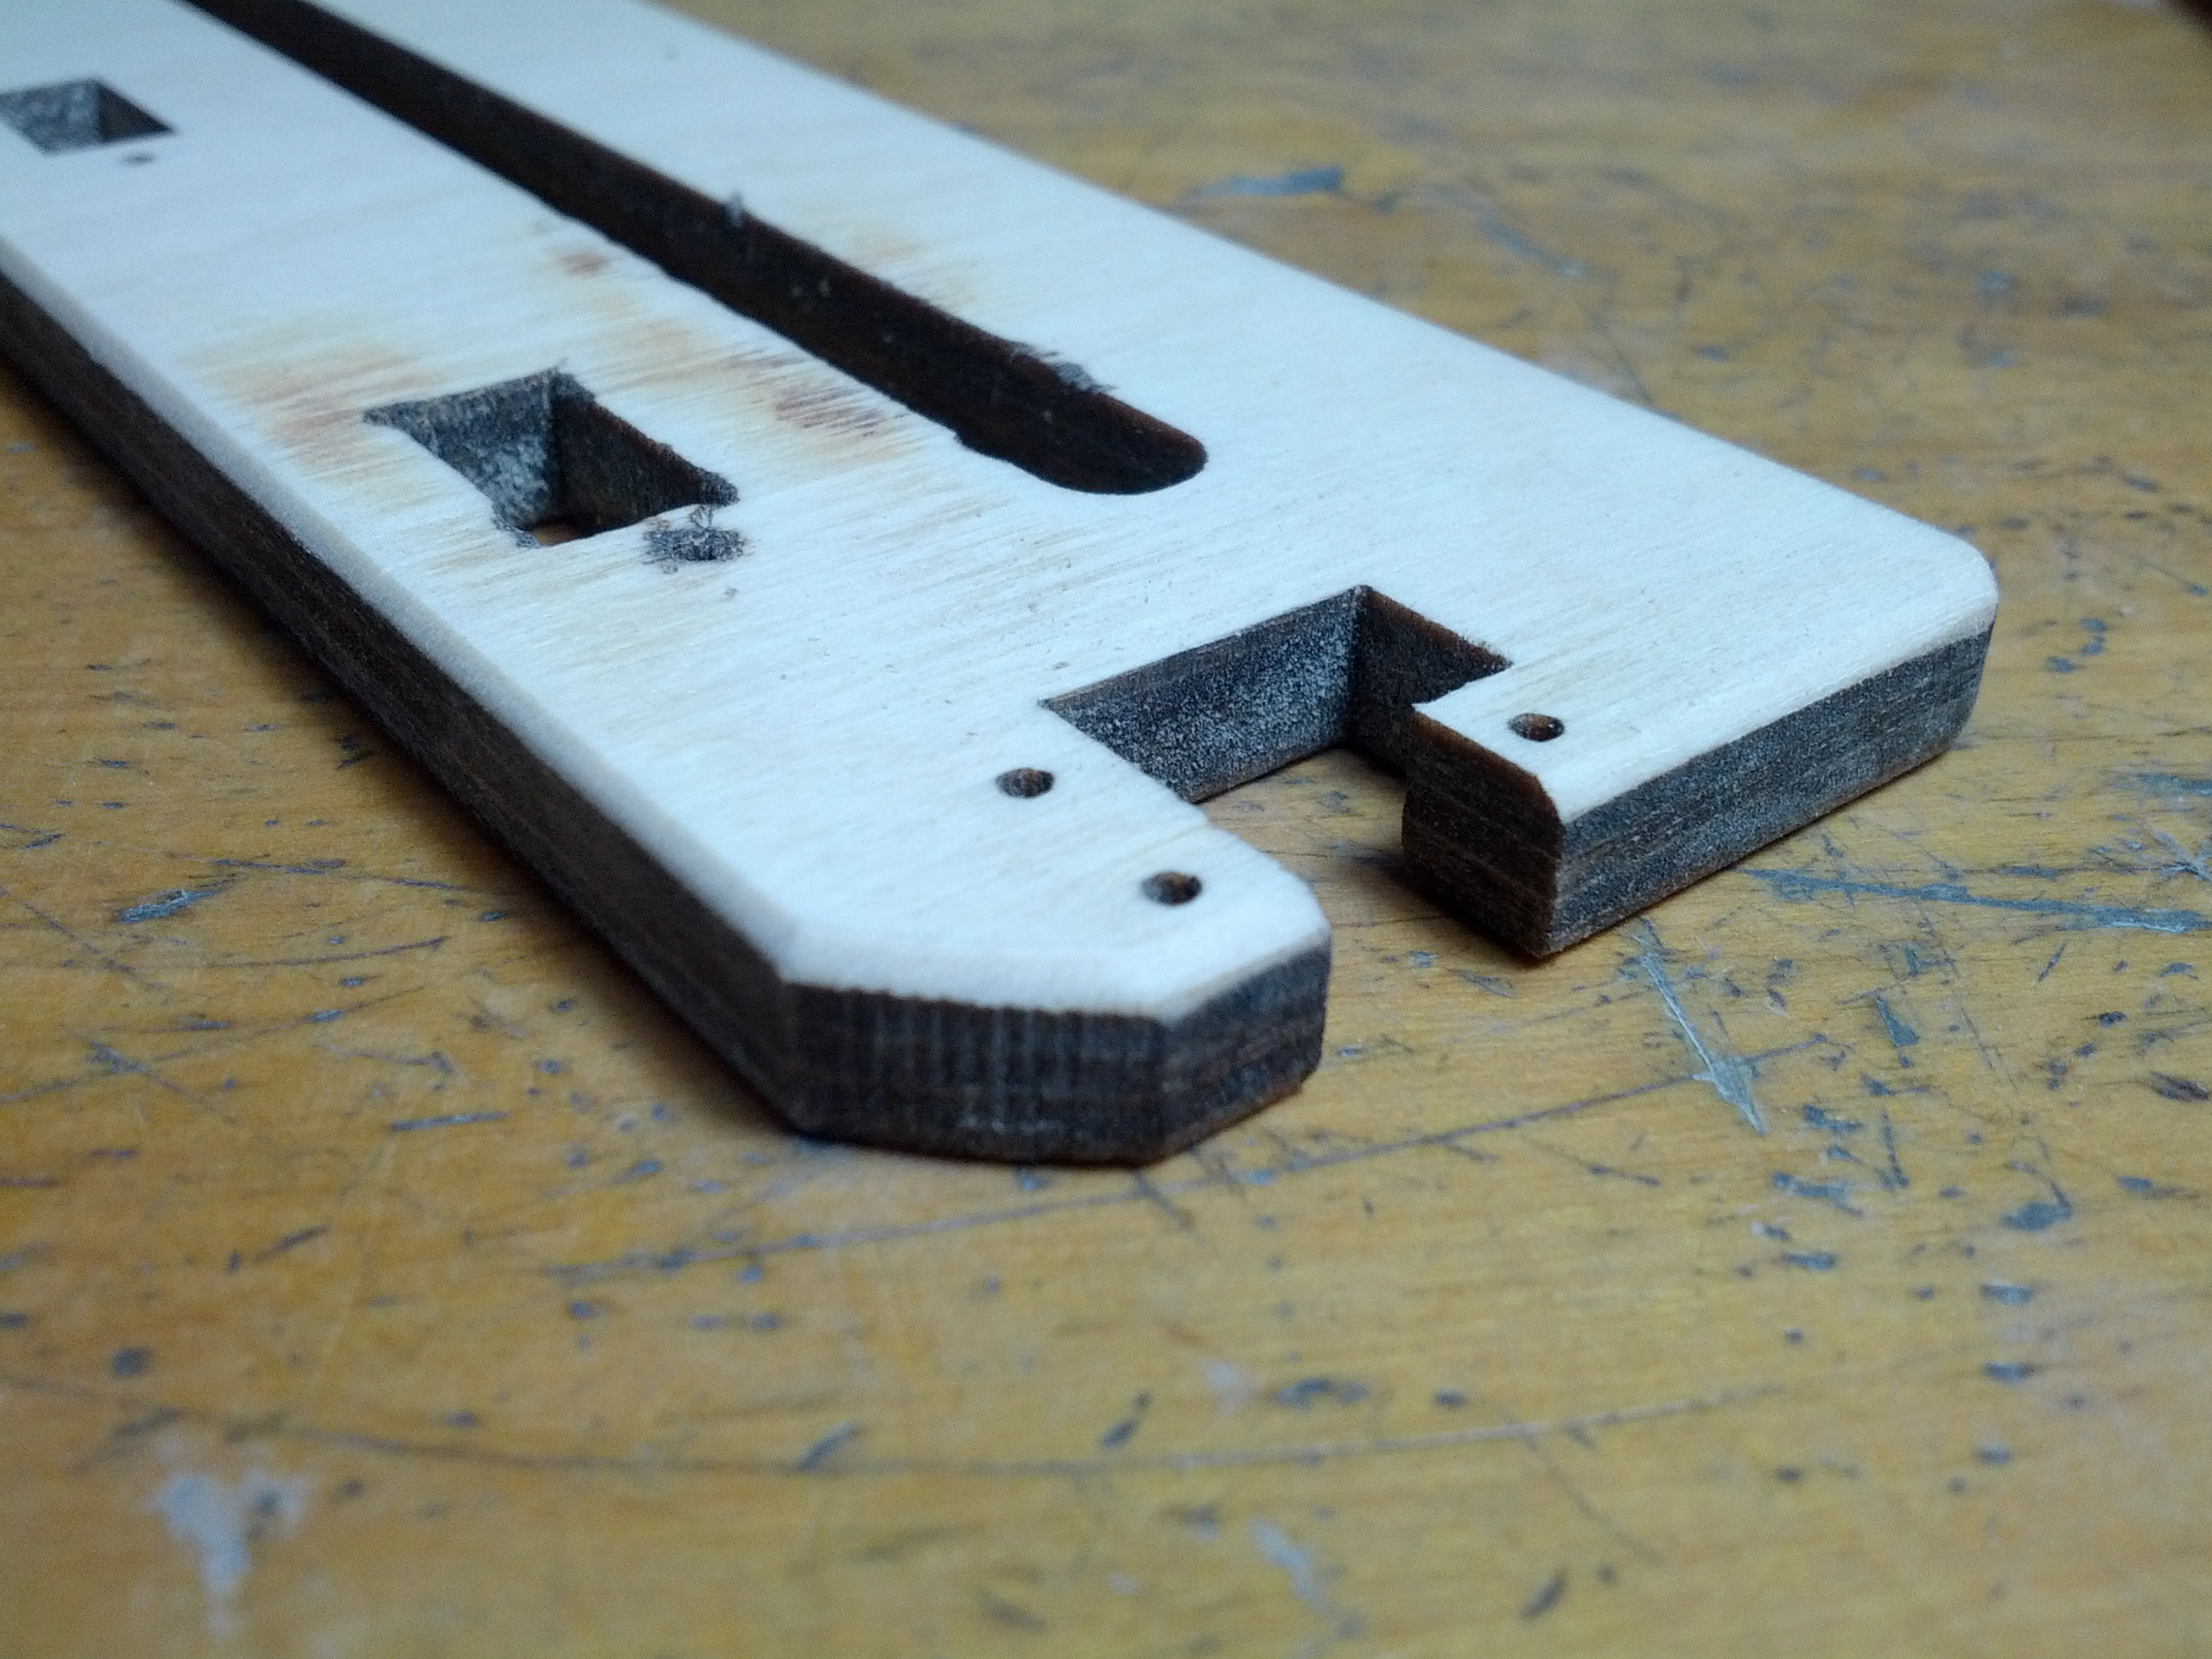
It was then that I ran into some conundrums. I don’t really know how the thing goes together, so it’s difficult to decide which edges need a bevel and which ones don’t. The beveling has to be done before the staining also. I’m pretty sure there’s going to be some additional sanding required during the assembly (Brook mentions one portion in particular as benefiting from liberal sanding). Since the beveling and any additional sanding really needs to be done before staining, what the heck sense does it make to try to do this before assembling the thing?
Now mind you, I am frightened of the difficulty of the build already, so the prospect of assembling and testing the thing with the intention then of disassembling it (at least partially) so I can properly finish the exterior panels is most daunting. I just don’t see any other way around it though, so I think it’s time to jump into the build itself (well, after I finish the preliminary sanding of these panels at least). I’m also going to tell myself that I’ll experiment and tweak it after the initial assembly and may want to upgrade some components when I disassemble it anyway. Yeah, that’s the ticket.
This is a blog about 3d printing (mostly) :
http://ei8htohms.tinyparts.net/?p=10
I bought a 3d printer:
http://ei8htohms.tinyparts.net/?p=66
It arrived:
http://ei8htohms.tinyparts.net/?p=340
I’m building it (current post) and we’re all doomed:
http://ei8htohms.tinyparts.net/?p=322
Welcome back!
_john
First off, I’m lost. Secondly, Dad’s are always right. When you have a kid, your IQ goes up ~23% minimum, assuming there’s no meth lab nearby.
Now what exactly are you doing?
I must have missed a step when I was in Mexico.