This post is long overdue so may be scant on details, but I wanted to recount a fun duel a friend and I organized between my printrbot and his Makerbot.
He is a horologist (like myself) and interested in exploring 3d printing for watch and clock components and had just recently picked up a Replicator 2 and begun playing with it and I was pretty impressed with the prints he was able to spit out with very little tweaking (from my perspective anyway). It prints in PLA only and has A LOT of the guess work engineered out of it so that you can use their very simplified control program to slice and drive the bot and get fantastically detailed prints without worrying too much about the hundreds (who am I kidding? thousands) of parameters you can tweak in Slic3r or KISSlicer, not to mention Skeinforge.
So anyway, I dragged my GO on its first proper subway ride down to Harlem with the power supply, my laptop, a few coils of PLA and ABS and a little roll of tools (more on that later) for a none-too-serious side-by-side comparison. Just by coincidence it was the same weekend that Make magazine was organizing their 2013 3d printer shootout (which I very much look forward to reading about).
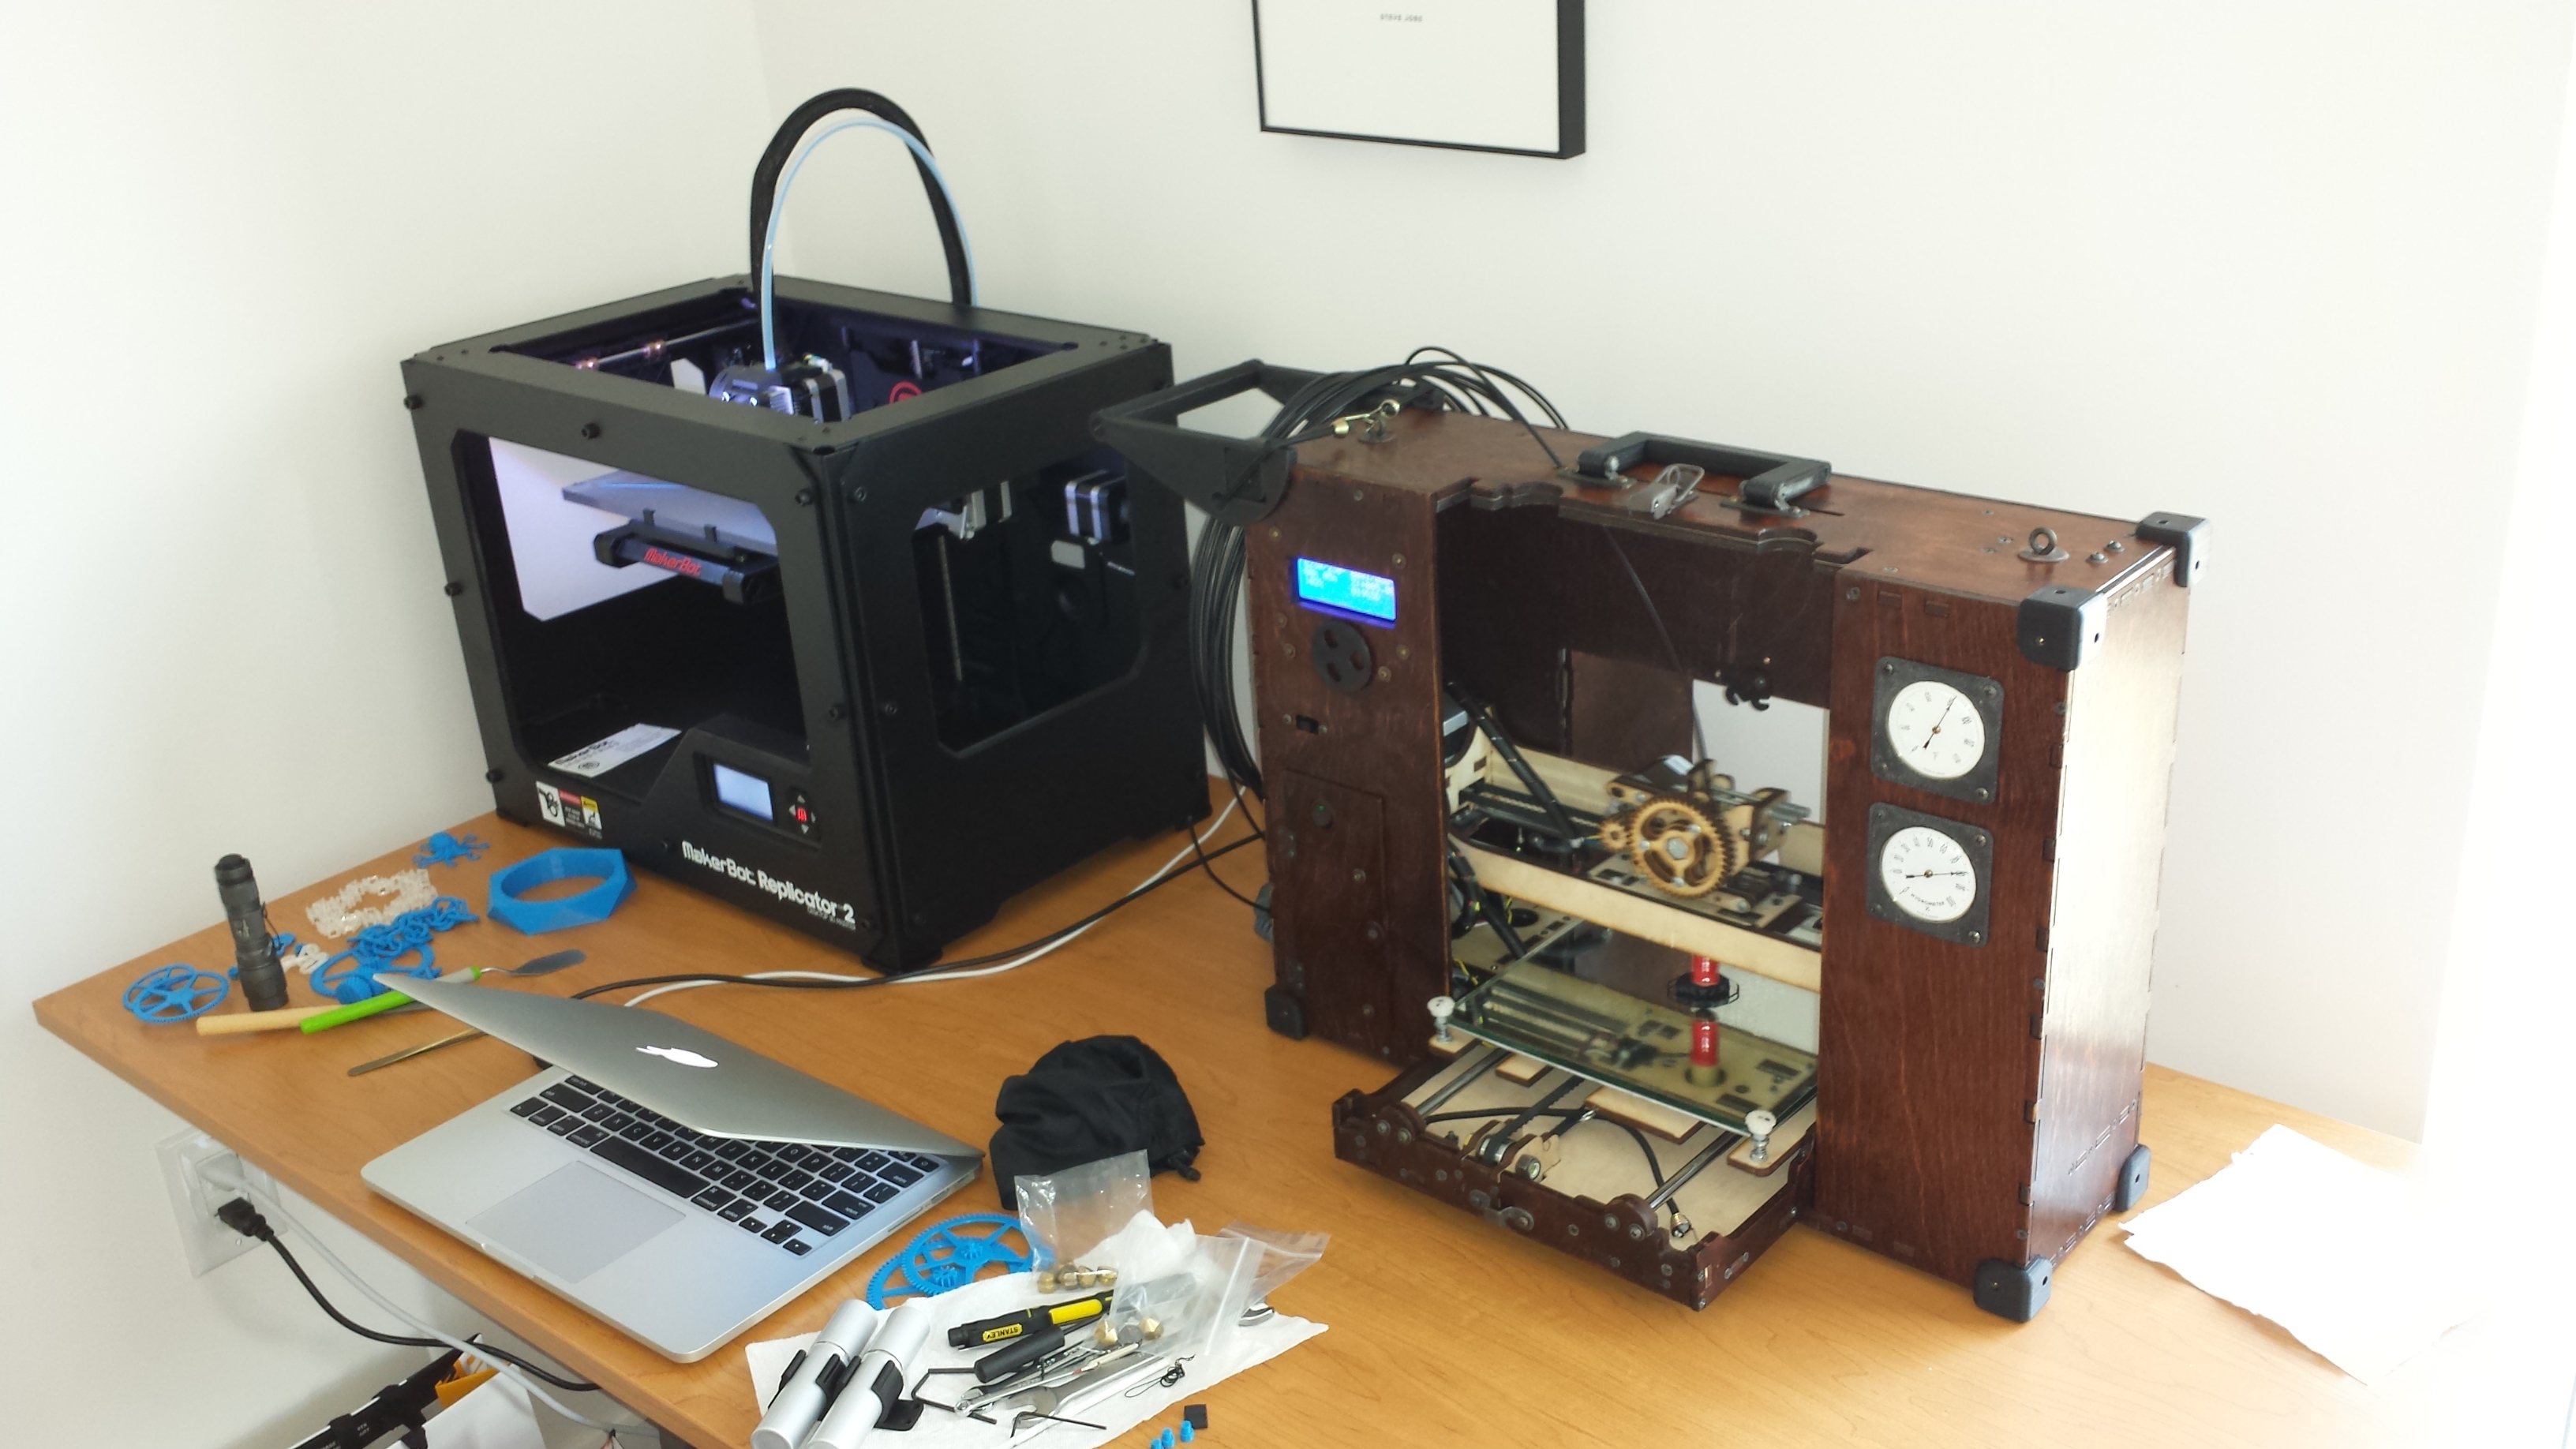
After we spent some time futzing with them, admiring them both, kvetching about them both and just generally hanging out, we decided to print the same model at the same layer height and compare results.
We decided on the iconic Yoda bust since neither of us had printed it before and stuck to 25% size at 200 micron layers. We diverged significantly in that he printed blue PLA and I printed black ABS and we didn’t bother too much thinking about print speed (he started a minute or two before I did, I slowed my print down about 30% in when I saw the chin detail getting too loopy, and we finished about the same time).
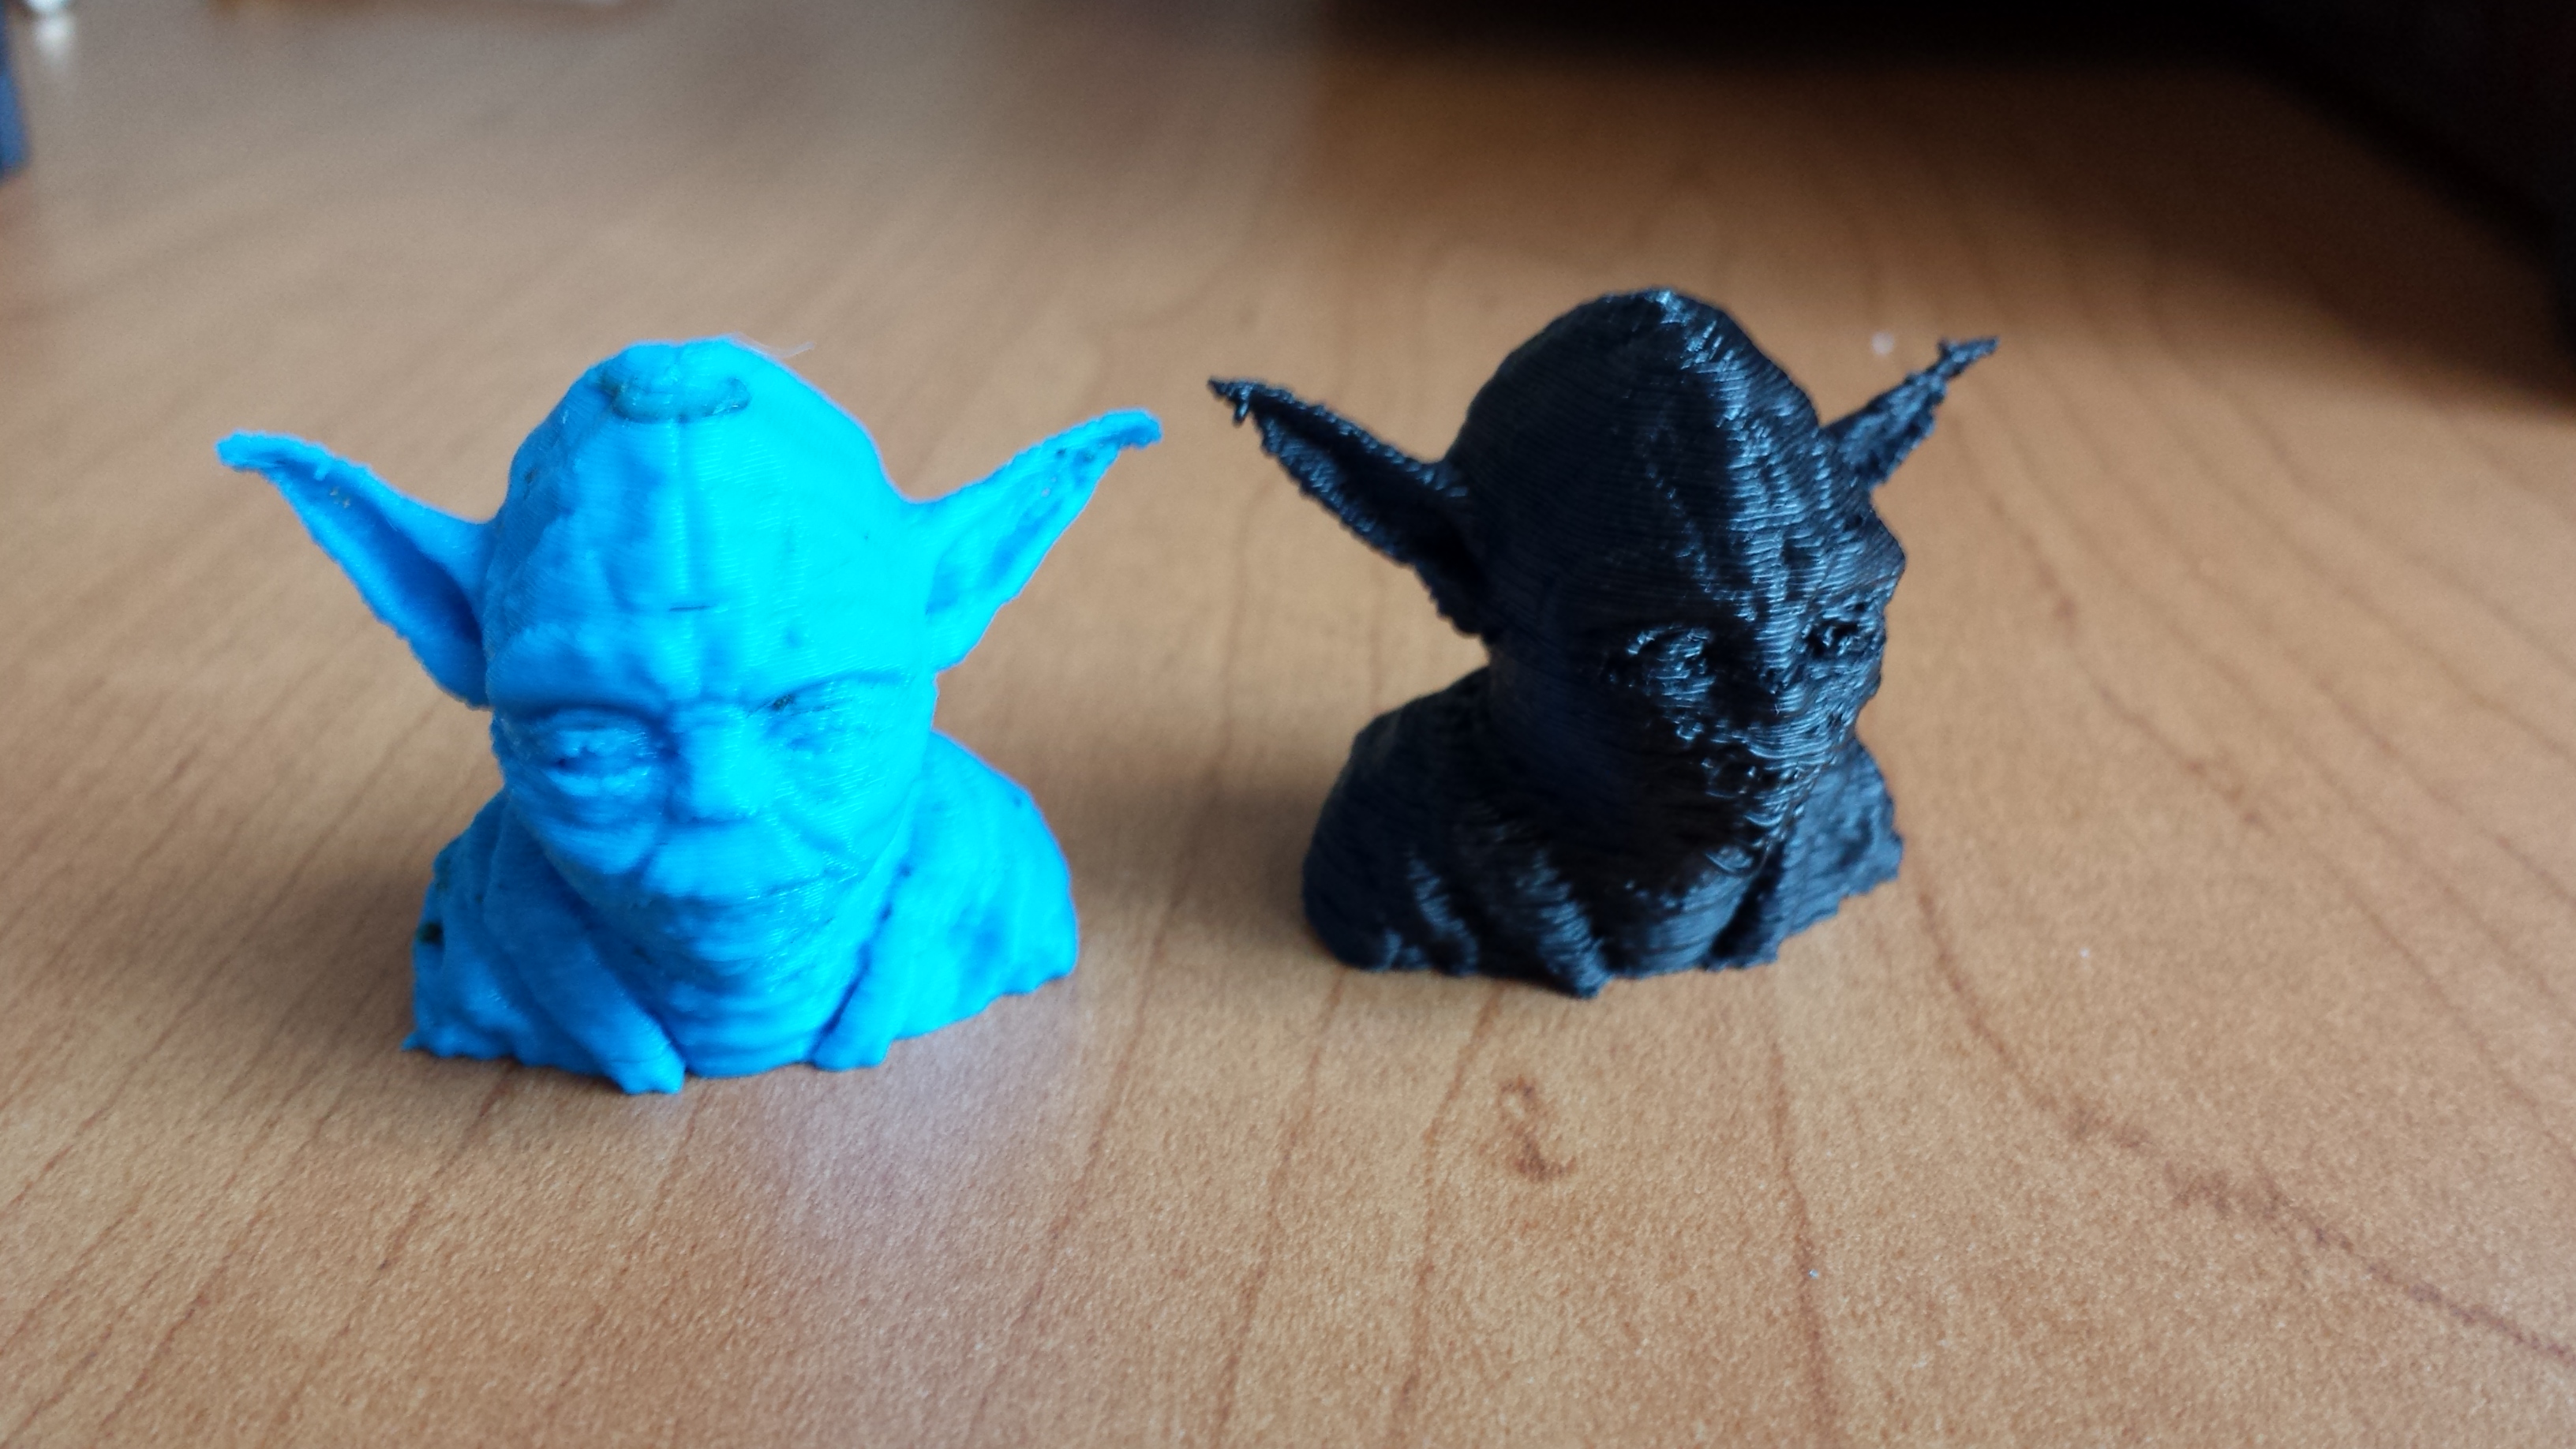
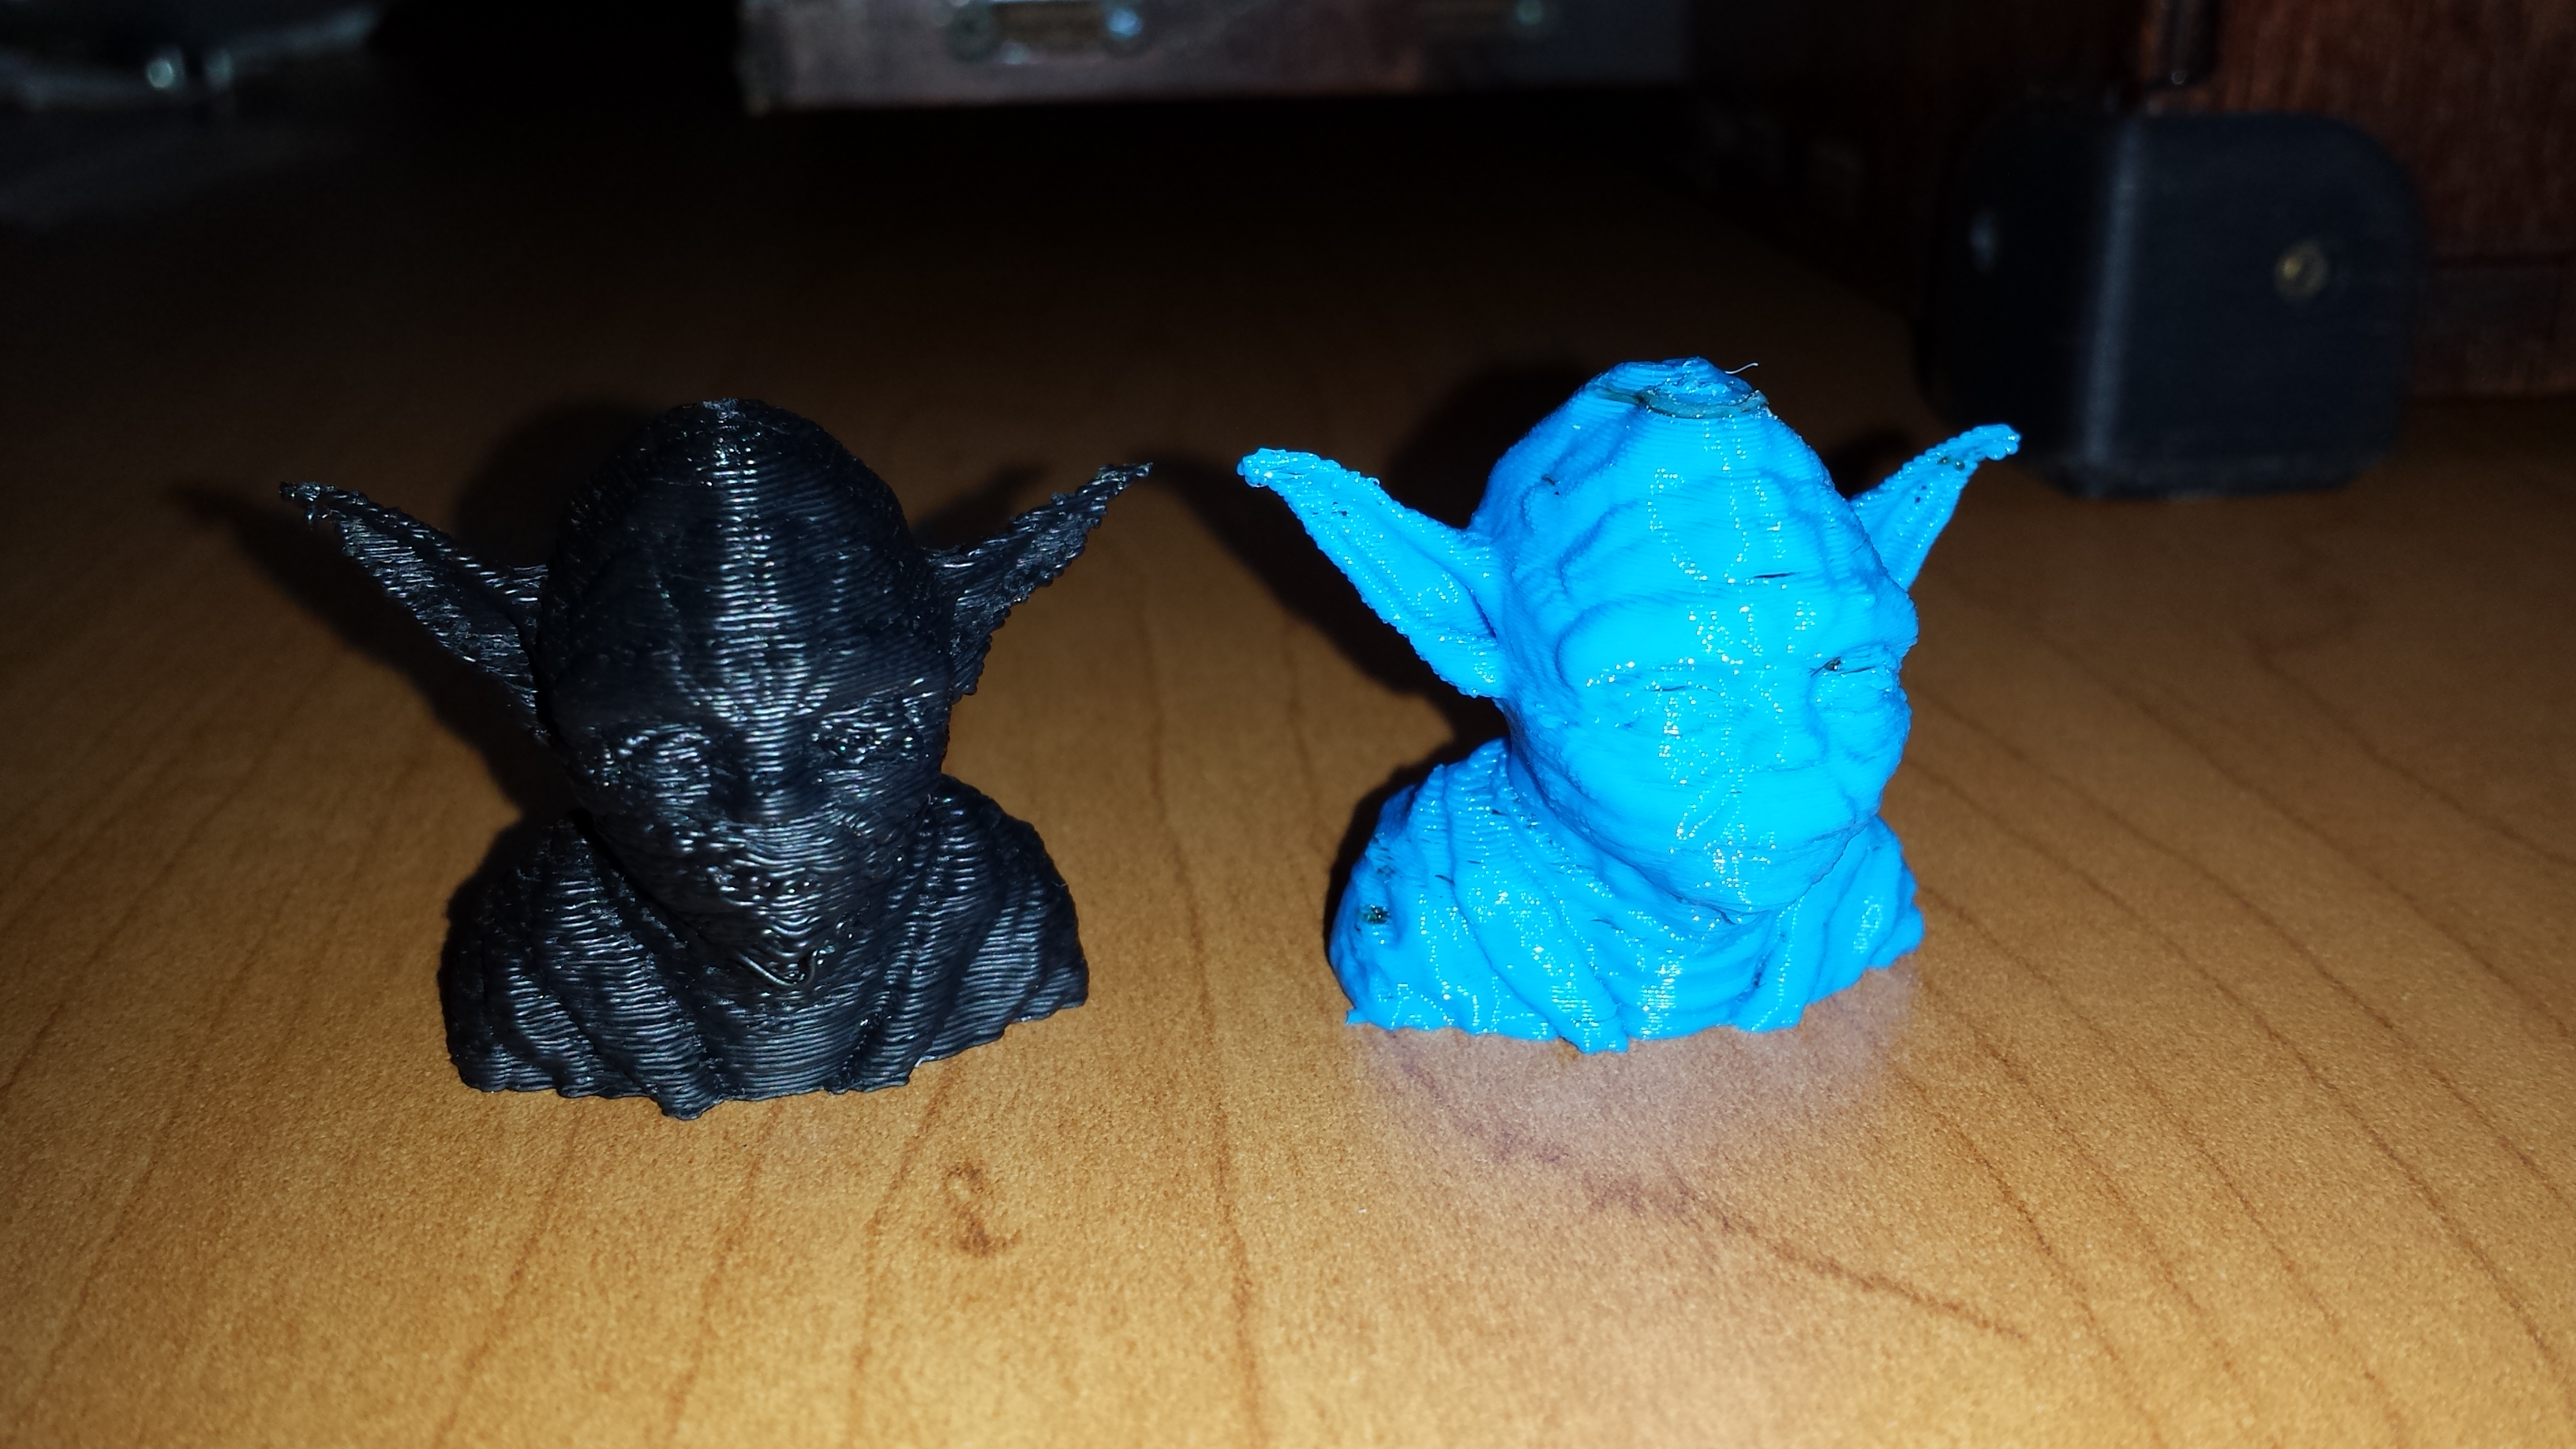
The pictures aren’t great and I don’t think either of us had any illusions about being able to say anything worthwhile about either of the two machines based on this simple and incredibly lazy test, but the level of detail was pretty similar (very hard to tell from the pics because of the color difference). We plan to do the comparison again once I’ve installed a fan or two and will both use PLA at that time.
Since this shootout I’ve already upgraded to GT2 belts and 8 mm brass rods and may have even upgraded again to ACME rods before this happens, so it will be a pretty different test and even more increasingly irrelevant with regards to “standard” printrbot performance, but I imagine it will be just as fun as the first test.
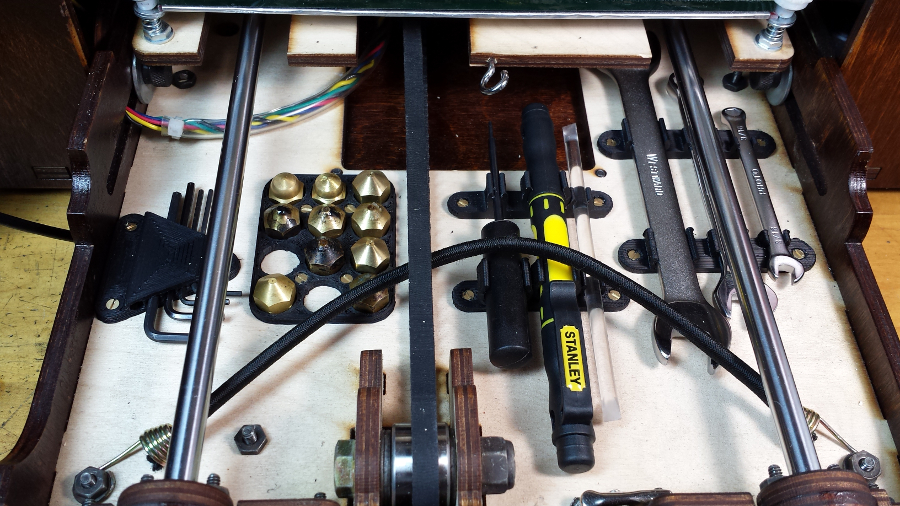
When I got home I realized that it was kind of annoying to drag around a rolled up wad of wrenches, hex keys, screwdrivers and whatnot with my otherwise fairly portable bot and decided to get serious about making some tool mounts to fit inside the drawer. There is a pretty decent amount of unused space underneath the bed and some other space behind the front panel on the right side of the bot so it seemed like the thing to do.
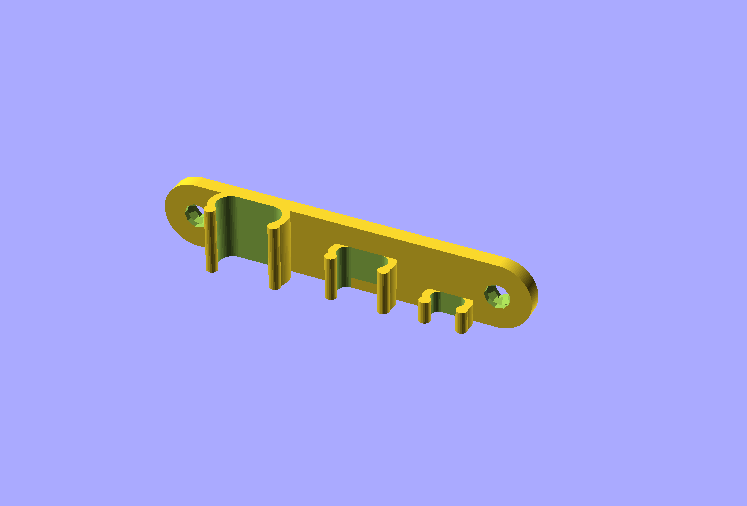
I started off by sketching out a generic clip type mount in OpenSCAD and after a couple tries found that it could print pretty well in ABS as long as I printed it vertically (so that the spring tension of the clips was NOT pulling against the adhesion of the layers).
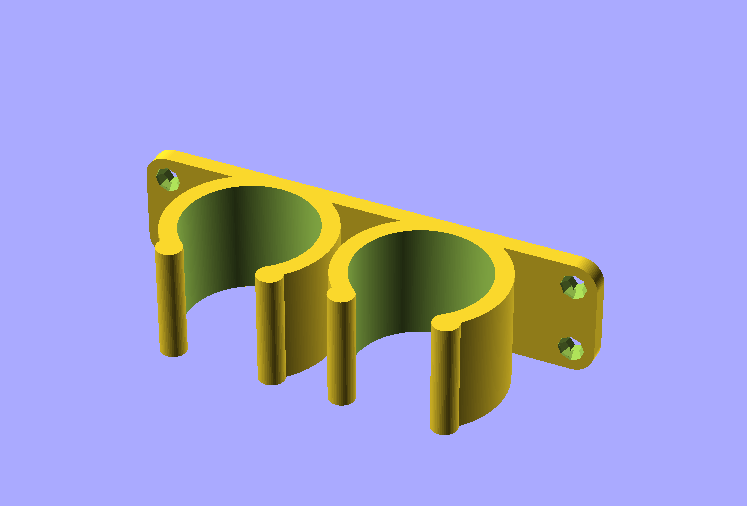
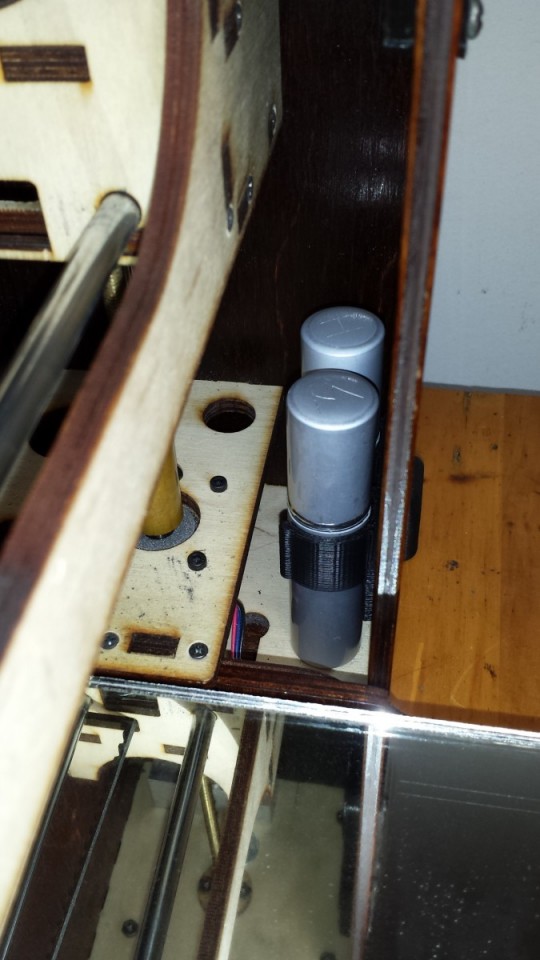
I put a two tiny bottles in the clips, one of Aquanet and one of Windex, and tucked it inside the panel underneath the weather gauges.
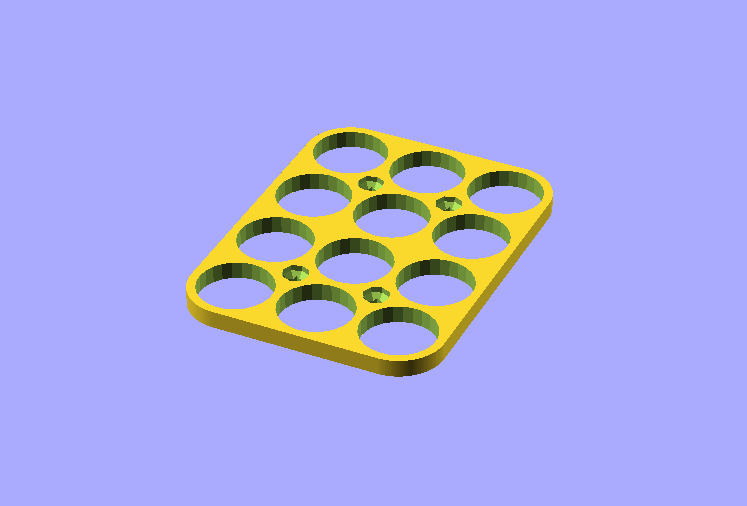
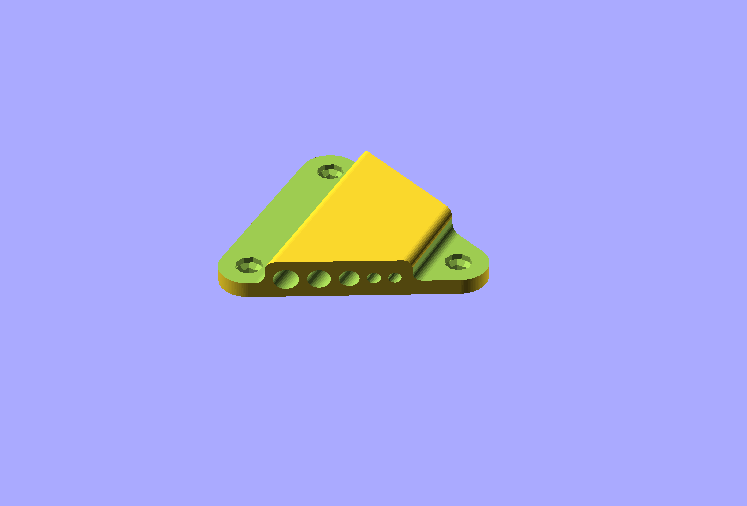
The I proceed to twist and manipulate this basic design into a pair of wrench mounts and miscellaneous tools mounts, sketched out a simple holder for spare nozzles and one for hex keys and printed all this stuff out over the course of the rest of the weekend.
 And with everything installed, I gotta say, life is glorious. Not only is this a MUCH more convenient way to actually carry the tools somewhere, it’s much more convenient just while working on the bot at home as well. I may still find/make a proper home for my little metal ruler and I want to try to find a reasonable sized paint scraper type tool as well, but this goes a long way towards improving the fundamental functionality of a bot that may well spend its entire life being modded.
I haven’t yet loaded any of the tool mount designs onto Thingiverse, but I’m sure I will at some point since they’re already quite parametric and could easily be tweaked for great customizability. If anyone wants one in particular before that time, drop me a line and I’ll send you the SCAD file(s).
One thought on “printrbot GO – shootout and new holsters”